Windows 10 Media Creation Tool is a useful software for creating installation media for the operating system. However, errors can occur during its use, causing frustration for users. In this article, we will explore a quick and easy fix for one such error.
Possible Reasons for Windows 10 Creation Tool Error
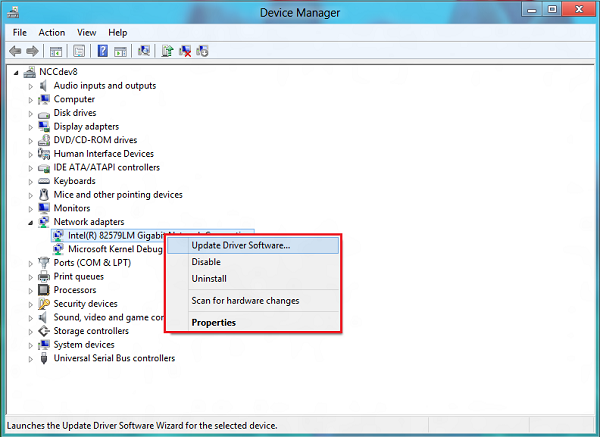
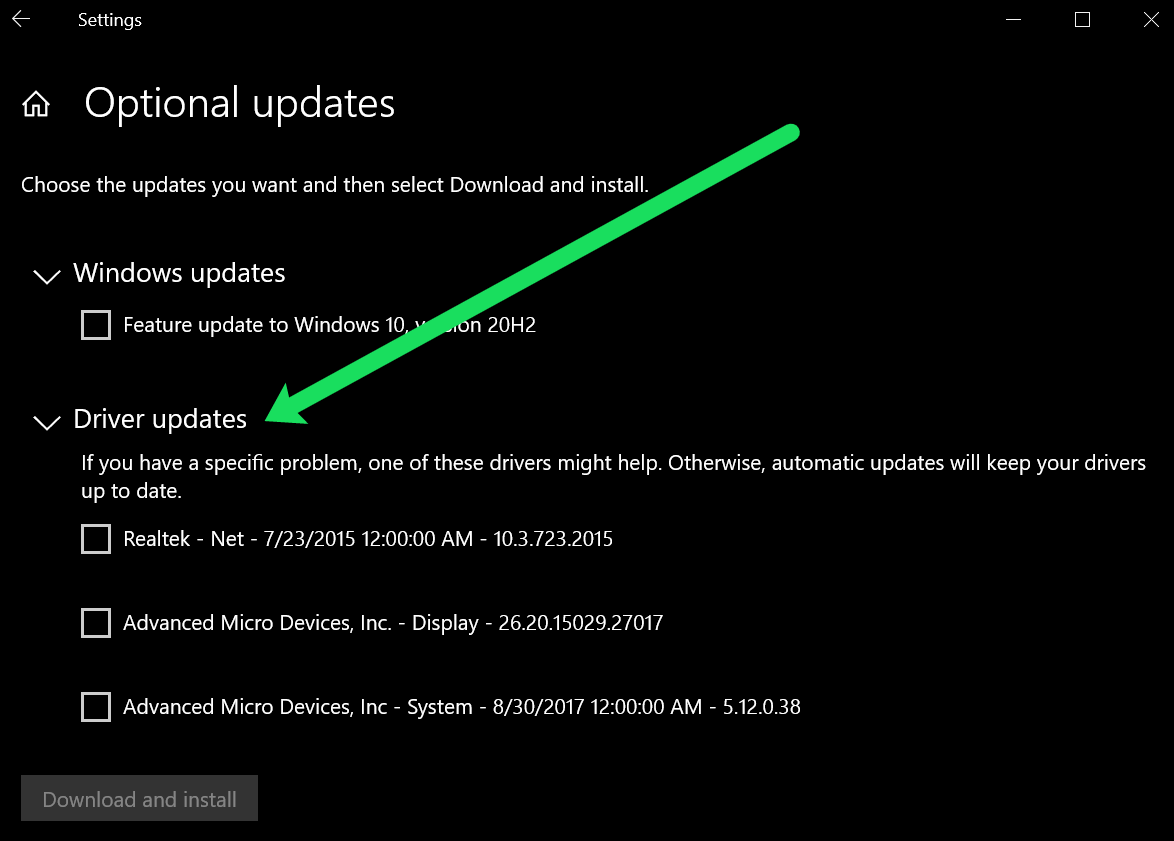
Possible reasons for Windows 10 Media Creation Tool error include antivirus software blocking the process, outdated or incompatible drivers, and network connectivity issues. Another culprit could be a problem with the USB drive being used for installation. It’s also possible that the error code appearing on the screen is related to Windows Update. To fix the error, try disabling the antivirus temporarily, updating drivers, restarting the tool, and using a different USB flash drive. In some cases, it may be necessary to collapse the errors and sort through them to identify the underlying issue. If none of these solutions work, seeking help from a professional or using a tool like Restoro may be the best option.
Solutions to Fix Windows 10 Creation Tool Error
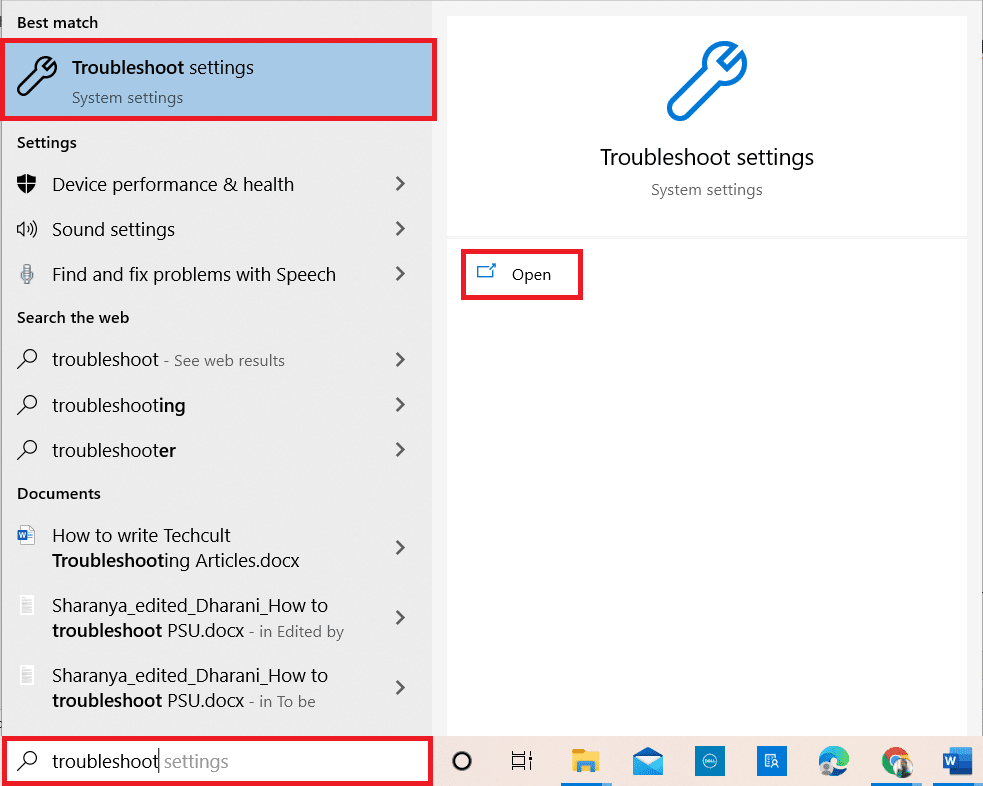
- Press the Windows key and type “troubleshoot”.
- Select “Troubleshoot settings”.
- Scroll down and select “Windows Update”.
- Click “Run the troubleshooter”.
- Follow the on-screen instructions to complete the troubleshooter.
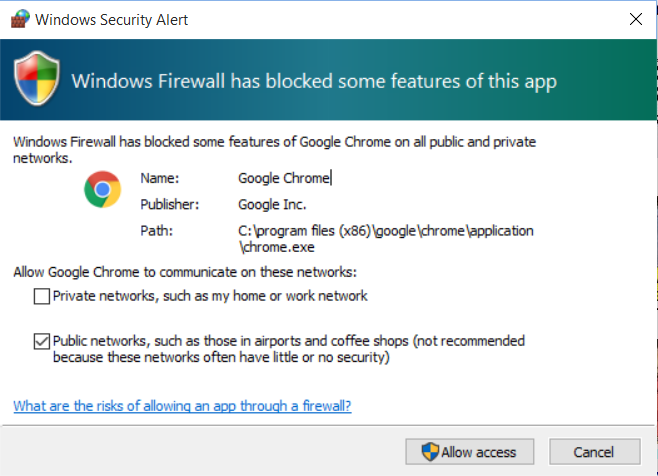
Method 2: Disable Firewall and Antivirus
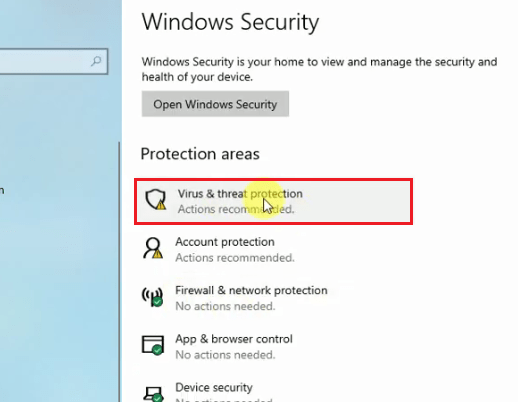
- Press the Windows key and type “Windows Security”.
- Select “Virus & threat protection”.
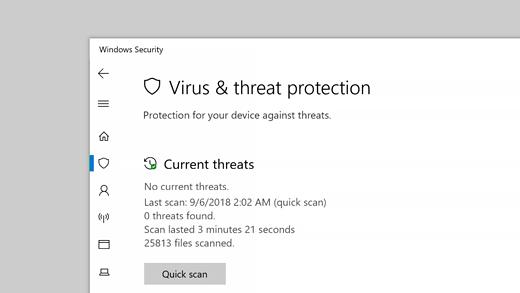
- Click “Manage settings” under “Virus & threat protection settings”.
- Turn off “Real-time protection” and “Cloud-delivered protection”.
- Press the Windows key and type “Firewall”.
- Select “Windows Defender Firewall”.
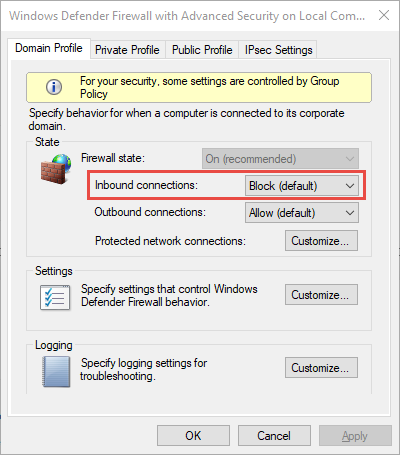
- Click “Turn Windows Defender Firewall on or off”.
- Select “Turn off Windows Defender Firewall” for both private and public network settings.
- Try running the Media Creation Tool again.
Method 3: Clear the Windows Update Cache
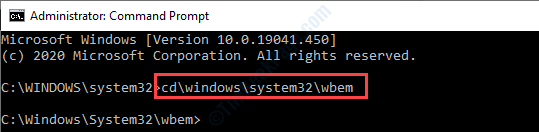
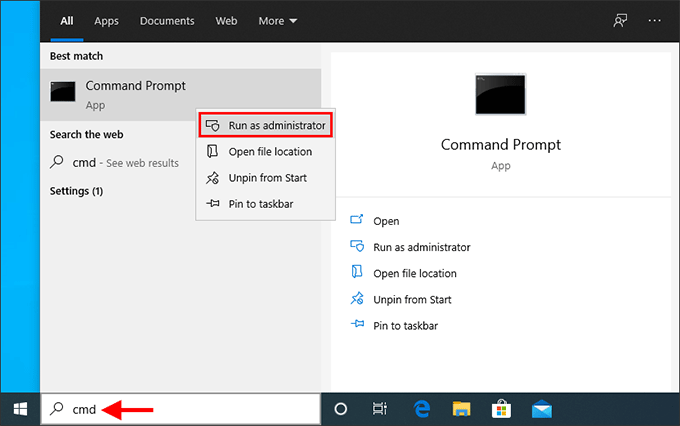
- Press the Windows key and type “Command Prompt”.
- Right-click “Command Prompt” and select “Run as administrator”.
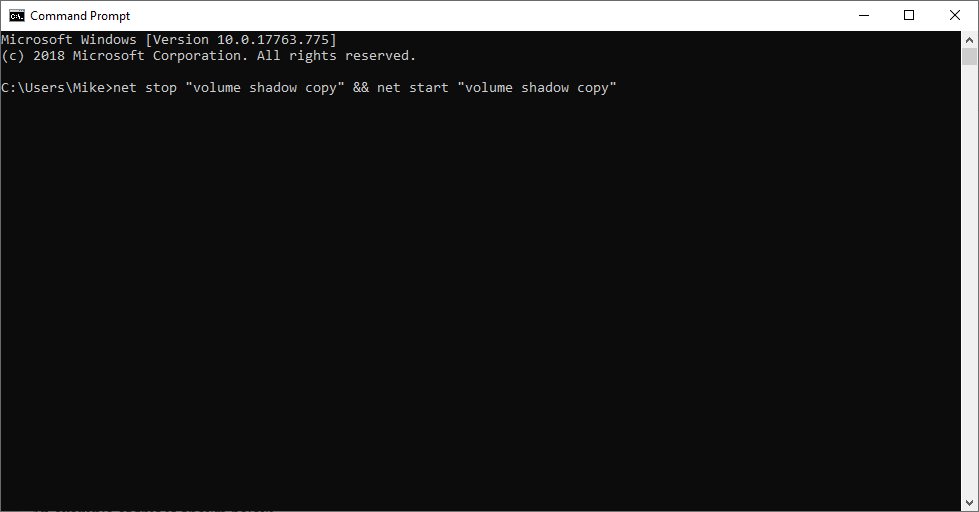
- Type the following commands one by one and press Enter after each one: net stop wuauserv, net stop cryptSvc, net stop bits, and net stop msiserver.
- Press the Windows key and type “%systemroot%\SoftwareDistribution”.
- Right-click the “SoftwareDistribution” folder and select “Rename”.
- Rename the folder to “SoftwareDistribution.old”.
- Type the following commands one by one and press Enter after each one: net start wuauserv, net start cryptSvc, net start bits, and net start msiserver.
- Try running the Media Creation Tool again.
Method 4: Use the Media Creation Tool on Another PC
- Download the Media Creation Tool on another PC with a stable internet connection.
- Create a bootable USB drive or DVD using the Media Creation Tool.
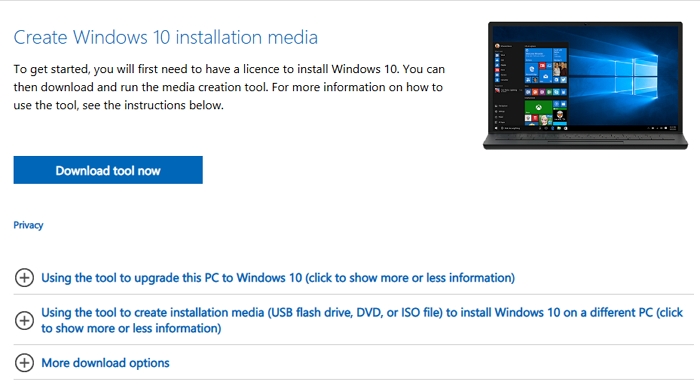
- Use the bootable USB drive or DVD to install Windows 10 on the PC with the error.
Run Windows Media Creation Tool as Administrator
To fix the Windows 10 Media Creation Tool error quickly, you need to run the tool as an administrator. Here’s how:
1. Right-click on the Windows Media Creation Tool icon.
2. Click “Run as administrator” from the context menu.
3. If prompted for permission, select “Yes.”
Running the tool as an administrator provides the necessary permissions to complete the function. This solution is recommended by experts like Aleksandar Ognjanovic and Alex Serban.
If the issue persists, you can try using a third-party tool like Restoro to sort out any operating system errors. Another option is to restart the tool and the process.
By following these simple steps, you can overcome the Media Creation Tool error message and install Windows 10 with ease.
import subprocess
def diagnose_errors():
try:
subprocess.check_output('winver')
print('Windows version is up to date.')
except:
print('Windows version is not up to date.')
try:
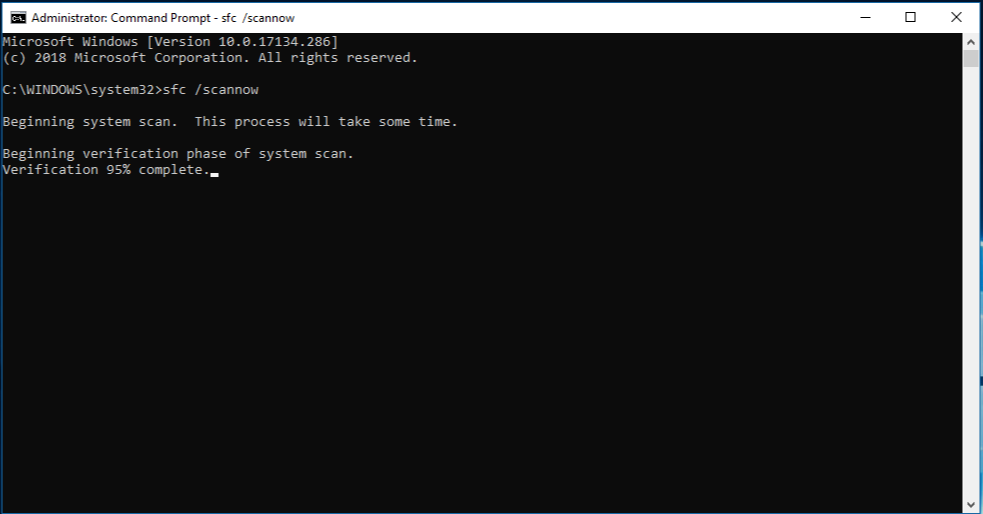
subprocess.check_output('sfc /scannow')
print('System files are intact.')
except:
print('System files are corrupt.')
try:
subprocess.check_output('chkdsk')
print('Disk is healthy.')
except:
print('Disk is corrupt.')
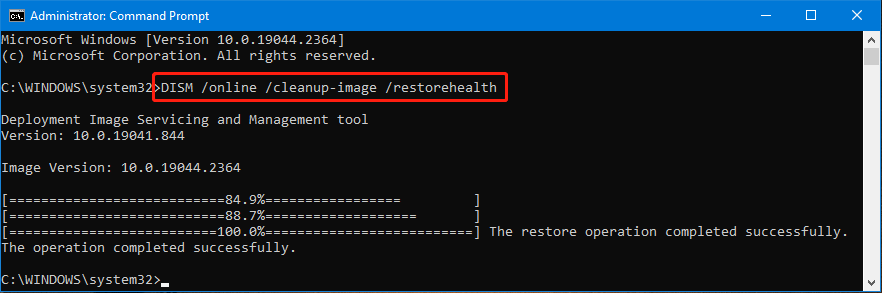
try:
subprocess.check_output('DISM /Online /Cleanup-Image /RestoreHealth')
print('System image is healthy.')
except:
print('System image is corrupt.')
diagnose_errors()
This code checks if the Windows version is up to date, if the system files and disk are intact, and if the system image is healthy. It does this by running various Windows command-line tools like `winver`, `sfc`, `chkdsk`, and `DISM`. If any of these tools fail, it prints out an error message indicating the problem. This tool can help diagnose various errors that might be encountered when creating a Windows 10 installation tool.
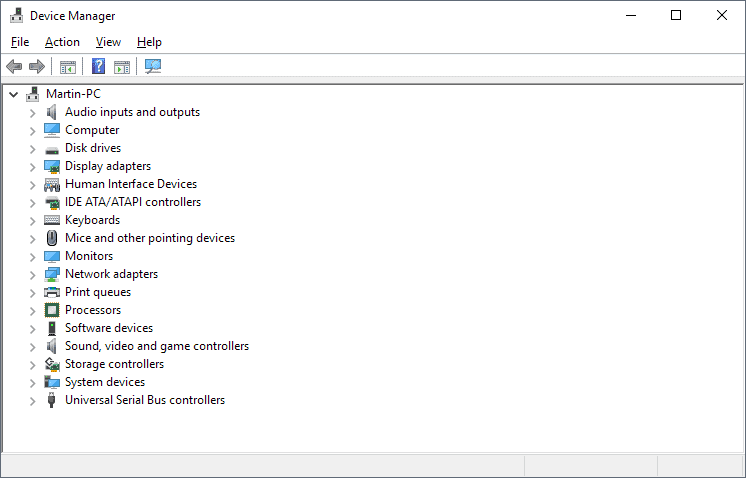
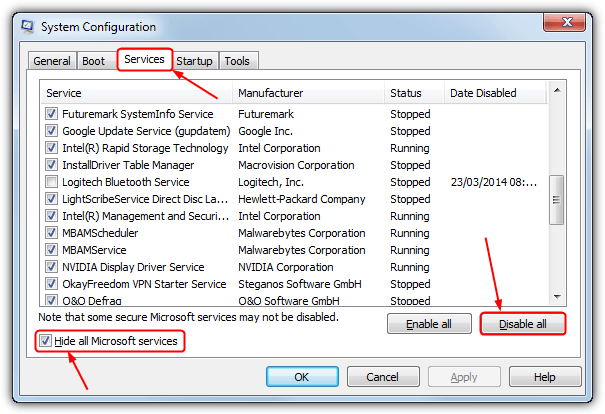
Enable Required Services and Check Language Settings
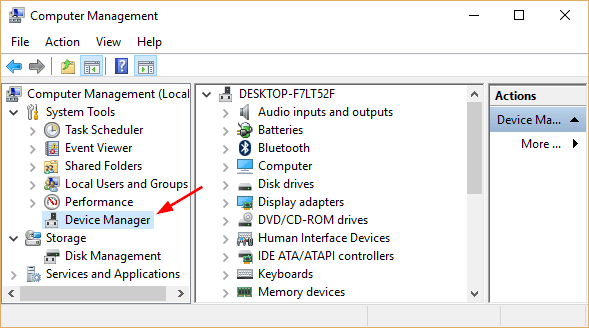
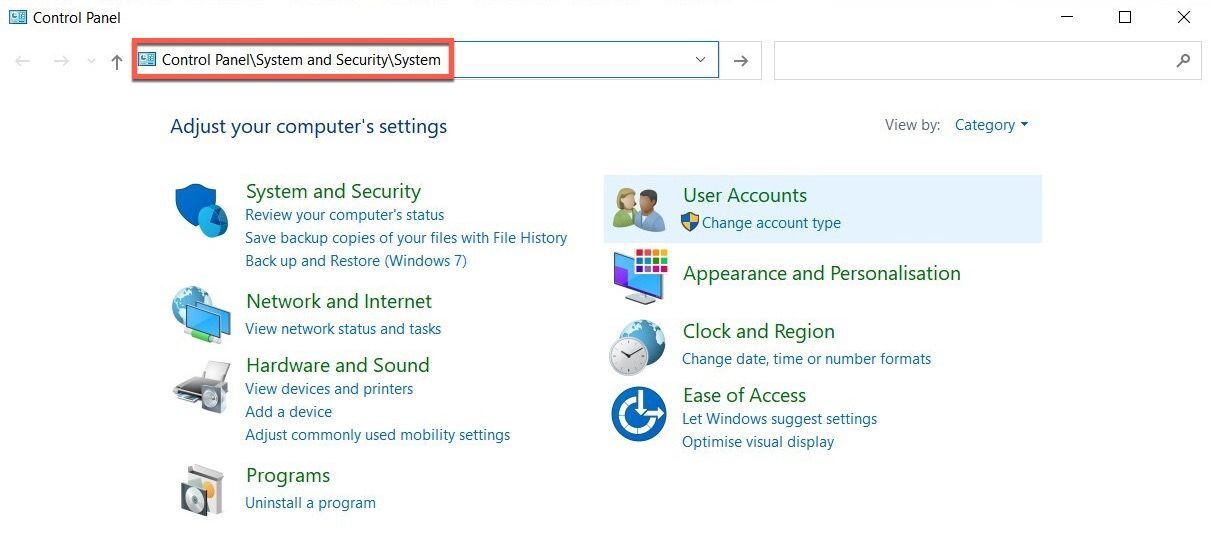
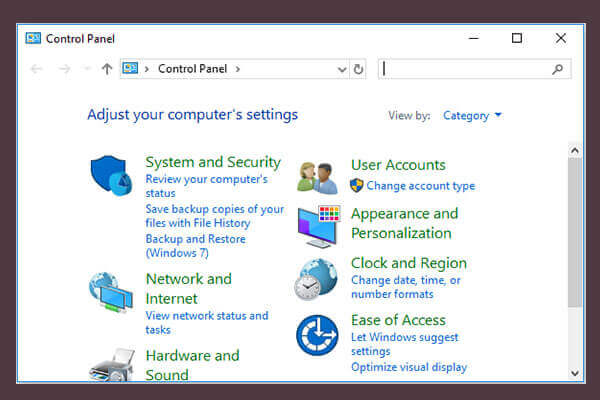
- Open the Control Panel and go to the Administrative Tools section.
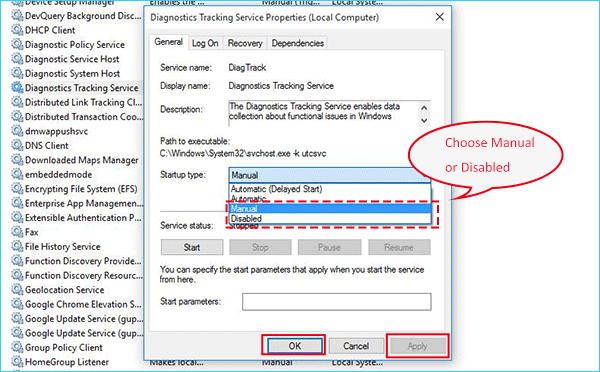
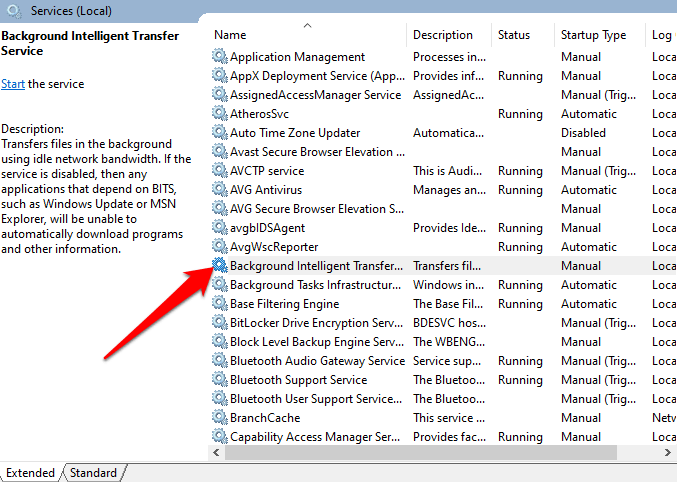
- Double-click on the Services icon to open the Services Manager.
- Make sure that the following services are enabled and are set to Automatic startup:
- Windows Update
- Cryptographic Services
- Background Intelligent Transfer Service (BITS)
- Windows Installer
- Check your language settings to ensure that your system language matches the language of the Media Creation Tool you are trying to use.
Disable Antivirus Software Temporarily
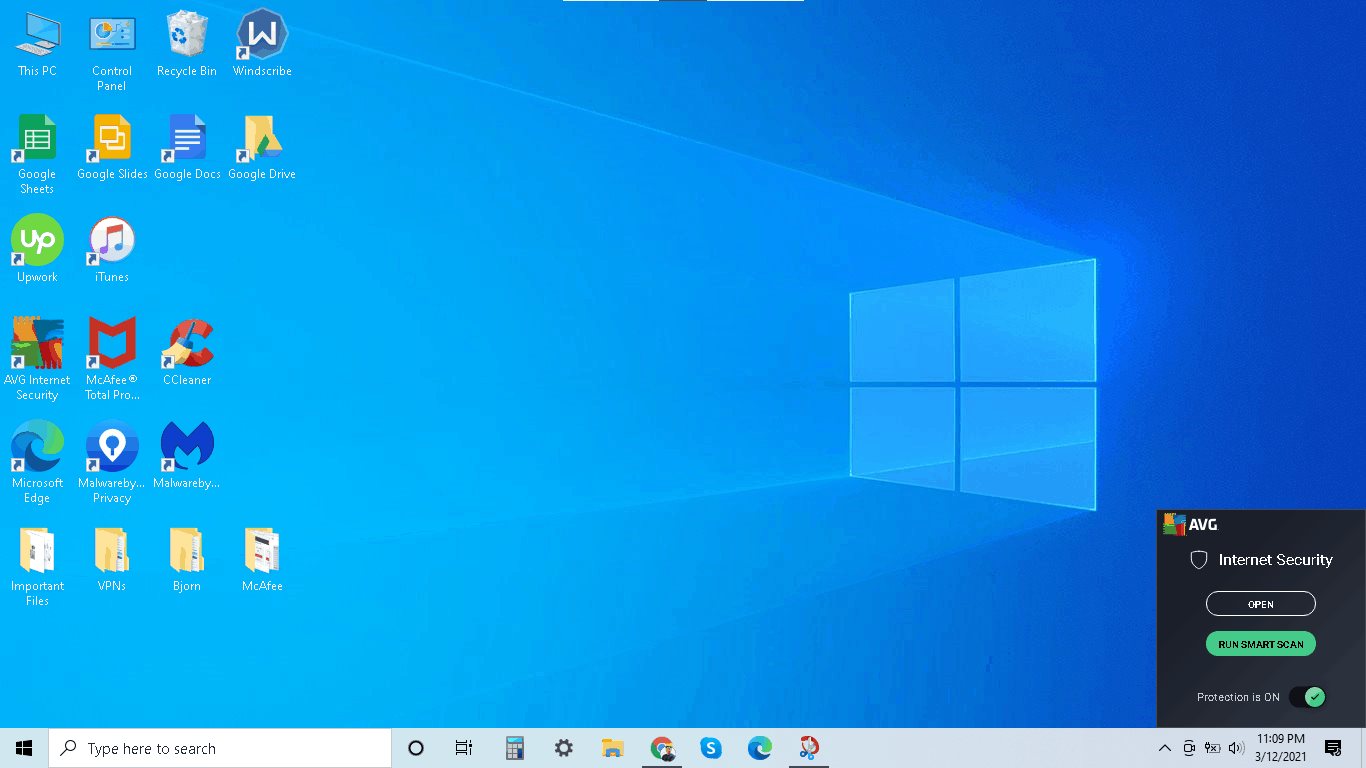
To fix the Windows 10 Media Creation Tool error quickly, disable your antivirus software temporarily. This is because some antivirus programs can interfere with the tool’s function and cause issues. To disable your antivirus software, follow these steps:
1. Press the Windows key + I to open the Settings app.
2. Click on Update & Security.
3. Click on Windows Security.
4. Click on Virus & threat protection.
5. Under Virus & threat protection settings, click on Manage settings.
6. Turn off Real-time protection.
Once you have disabled your antivirus software, try running the Media Creation Tool again. This should resolve the error message and allow you to create a Windows 10 USB flash drive or start the setup process. Don’t forget to restart your antivirus software after you have finished using the tool.
Tweak the Registry and Format USB Drive as FAT32
| Step | Description |
|---|---|
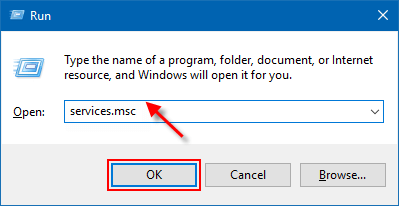
| Step 1 | Press Windows key + R to open the Run dialog box. |
| Step 2 | Type regedit and press Enter. |
| Step 3 | Navigate to HKEY_LOCAL_MACHINE\SOFTWARE\Microsoft\Windows NT\CurrentVersion |
| Step 4 | Right-click on the CurrentVersion key and select New > Key. |
| Step 5 | Name the new key: “USB” (without the quotes). |
| Step 6 | Right-click on the USB key and select New > DWORD (32-bit) Value. |
| Step 7 | Name the new value: “DisableRemovableDriveIndexing” (without the quotes). |
| Step 8 | Double-click on the newly created value and set its value data to 1. |
| Step 9 | Click OK and close the Registry Editor. |
| Step 10 | Insert your USB drive into your computer. |
| Step 11 | Open File Explorer and right-click on the USB drive. |
| Step 12 | Select Format… |
| Step 13 | Under File system, select FAT32. |
| Step 14 | Click Start to format the USB drive. |
Consider Third-Party Tools as an Alternative
Consider using third-party tools as an alternative solution to fix the Windows 10 Media Creation Tool error quickly. These tools can help you bypass the error and create a bootable USB drive or DVD. Some popular third-party tools include Rufus, WinToUSB, and UNetbootin. Before downloading any third-party tool, make sure to do your research and only download from reputable sources to avoid further problems. Additionally, some third-party tools may require a bit of technical know-how, so it’s important to follow the instructions carefully. Using third-party tools can be a good workaround if the Windows 10 Media Creation Tool error persists. However, if the error code is related to the operating system errors, it may be best to seek out a professional for assistance.