Unlock the full potential of Twitter on your iPhone, Android, or Chrome browser by learning how to troubleshoot and resolve video loading issues.
Approaches to Fix Twitter Videos Not Playing on Phone
1. Update your Twitter app: Make sure you have the latest version of the Twitter app installed on your device. This can often resolve video playback issues.
2. Check network strength: Poor network signal can cause videos to not play properly. Ensure you have a strong and stable internet connection.
3. Clear cache and cookies: Clearing your cache and cookies can help resolve compatibility problems with Twitter videos. Go to the settings menu of your browser or app and clear the cache and cookies.
4. Try a different browser: If you’re experiencing video playback errors on one browser, try using a different one to see if the issue persists.
5. Use video repair software: In case videos are still not playing, you can try using video repair software like MiniTool MovieMaker or Wondershare Repairit to fix any video-related problems.
Remember to follow these troubleshooting steps to resolve any video errors on Twitter.
Check Network Strength
If you’re experiencing video loading issues on the Twitter app, it’s important to first check your network strength. A weak or unstable network signal can cause playback errors and video won’t load properly. Here are some troubleshooting steps to fix the issue:
1. Update Chrome: Make sure you have the latest version of Chrome installed on your device. Compatibility problems with older versions can cause video playback problems.
2. Check Internet Connection: Ensure that your internet connection is stable and strong. Weak signals can lead to video errors.
3. Restart Device: Sometimes, a simple restart can fix minor glitches. Try restarting your iPhone, Android, or Chrome browser.
4. Disable Extensions: If you’re using any extensions on Chrome, temporarily disable them to see if they’re causing the problem.
5. Try Different Platforms: If the issue persists, try accessing Twitter on different devices or browsers to see if the problem is specific to a certain platform.
Remember, troubleshooting steps may vary depending on the device and version of the Twitter app you’re using. Following these solutions should help you resolve video loading issues on Twitter.
Launch Mobile Phone Browser to Check
Launch the mobile phone browser on your device and follow these steps to fix Twitter app video loading issues on iPhone, Android, and Chrome.
1. Update Chrome: Ensure you have the latest version of Chrome installed on your device to avoid any compatibility issues.
2. Check signal strength: Poor signal strength can cause video playback problems. Make sure you have a stable internet connection.
3. Clear cache and cookies: Open the browser menu and navigate to the settings. Clear the cache and cookies to resolve any temporary glitches.
4. Disable extensions: Some browser extensions can interfere with video playback. Disable any extensions that may be causing the issue.
5. Check video formats: Twitter supports various video formats, but some may not be compatible with your device. If you encounter playback errors, try converting the video to a different format using tools like MiniTool MovieMaker or Wondershare Repairit.
Remember, these solutions apply to all mobile browsers and can help you fix Twitter app video loading issues on your device.
Check the Twitter App
If you’re experiencing issues with video loading on the Twitter app for your iPhone, Android, or Chrome, we have some solutions to help you fix the problem. First, check your internet connection and make sure it’s stable. Clear the cache and data of the Twitter app on your device. If that doesn’t work, try updating the app to the latest version available. Another solution is to restart your device and then open the Twitter app again. If you’re still having trouble, try reinstalling the app on your device. These are some simple fixes that can often resolve video playback errors on the Twitter app. We hope this guide helps you get back to enjoying social media content on one of your favorite platforms.
Phone Update
If you’re experiencing issues with video loading on the Twitter app, here are some solutions to try.
First, make sure you have the latest phone update installed on your iPhone, Android, or Chrome. This can often resolve any compatibility issues between the app and your device.
Next, check your internet connection. Slow or unstable internet can cause videos to not load properly.
If the video won’t play at all, try closing and reopening the app. Sometimes a simple restart can fix the issue.
If you’re still having trouble, clear the cache of the Twitter app. This can help remove any temporary data that may be causing the problem.
Another solution is to update the app itself. Developers often release updates to fix bugs and improve performance.
If none of these fixes work, consider reaching out to Twitter support for further assistance. They may be able to provide specific troubleshooting steps for your case.
Remember, Twitter is a popular social media network, and video loading issues can happen to all users across different devices.
Twitter Servers
If you’re experiencing issues with video loading on the Twitter app, whether you’re using an iPhone, Android, or Chrome, we have a solution for you.
One common reason for video playback errors is a slow internet connection. To fix this, try connecting to a different network or ensuring that your current network has a stable connection.
Another possible reason is an outdated app version. Make sure you have the latest version of the Twitter app installed on your device.
If you’re using Chrome, an extension might be interfering with the video playback. Disable any extensions that could potentially cause conflicts.
For iPhone users, check if the video sound is muted or turned down. Sometimes, the issue is as simple as adjusting the volume.
If the video appears as a square on your timeline, you need to tap on it to expand and play the video.
Lastly, if none of these solutions work, you can try clearing the cache and data of the Twitter app. This can help resolve any underlying issues that may be causing the problem.
Remember, Twitter is a social media network where users can share tweets, videos, and other social media content. If you’re still experiencing problems, reach out to our support team or visit our help page for further assistance.
Fix Twitter Videos Not Playing with Video Repair Tool
Having trouble playing videos on Twitter? Don’t worry, there’s a simple solution! Use the Video Repair Tool to fix any video loading issues on your iPhone, Android, or Chrome browser.
To get started, download and install the Video Repair Tool on your device. Once installed, open the tool and follow these steps:
1. Click on the “Repair Videos” option.
2. Select the Twitter app from the list of installed applications.
3. Choose the video that won’t play from your timeline or tweets.
4. Click on the “Repair” button to fix the video.
The Video Repair Tool will automatically analyze and repair any issues with the video, ensuring smooth playback.
If you’re still experiencing problems, check your internet connection, clear the cache of the Twitter app, or try playing the video on a different device. Remember, this tool is specifically designed to fix video loading issues on the Twitter app, so it won’t work for other video platforms like YouTube.
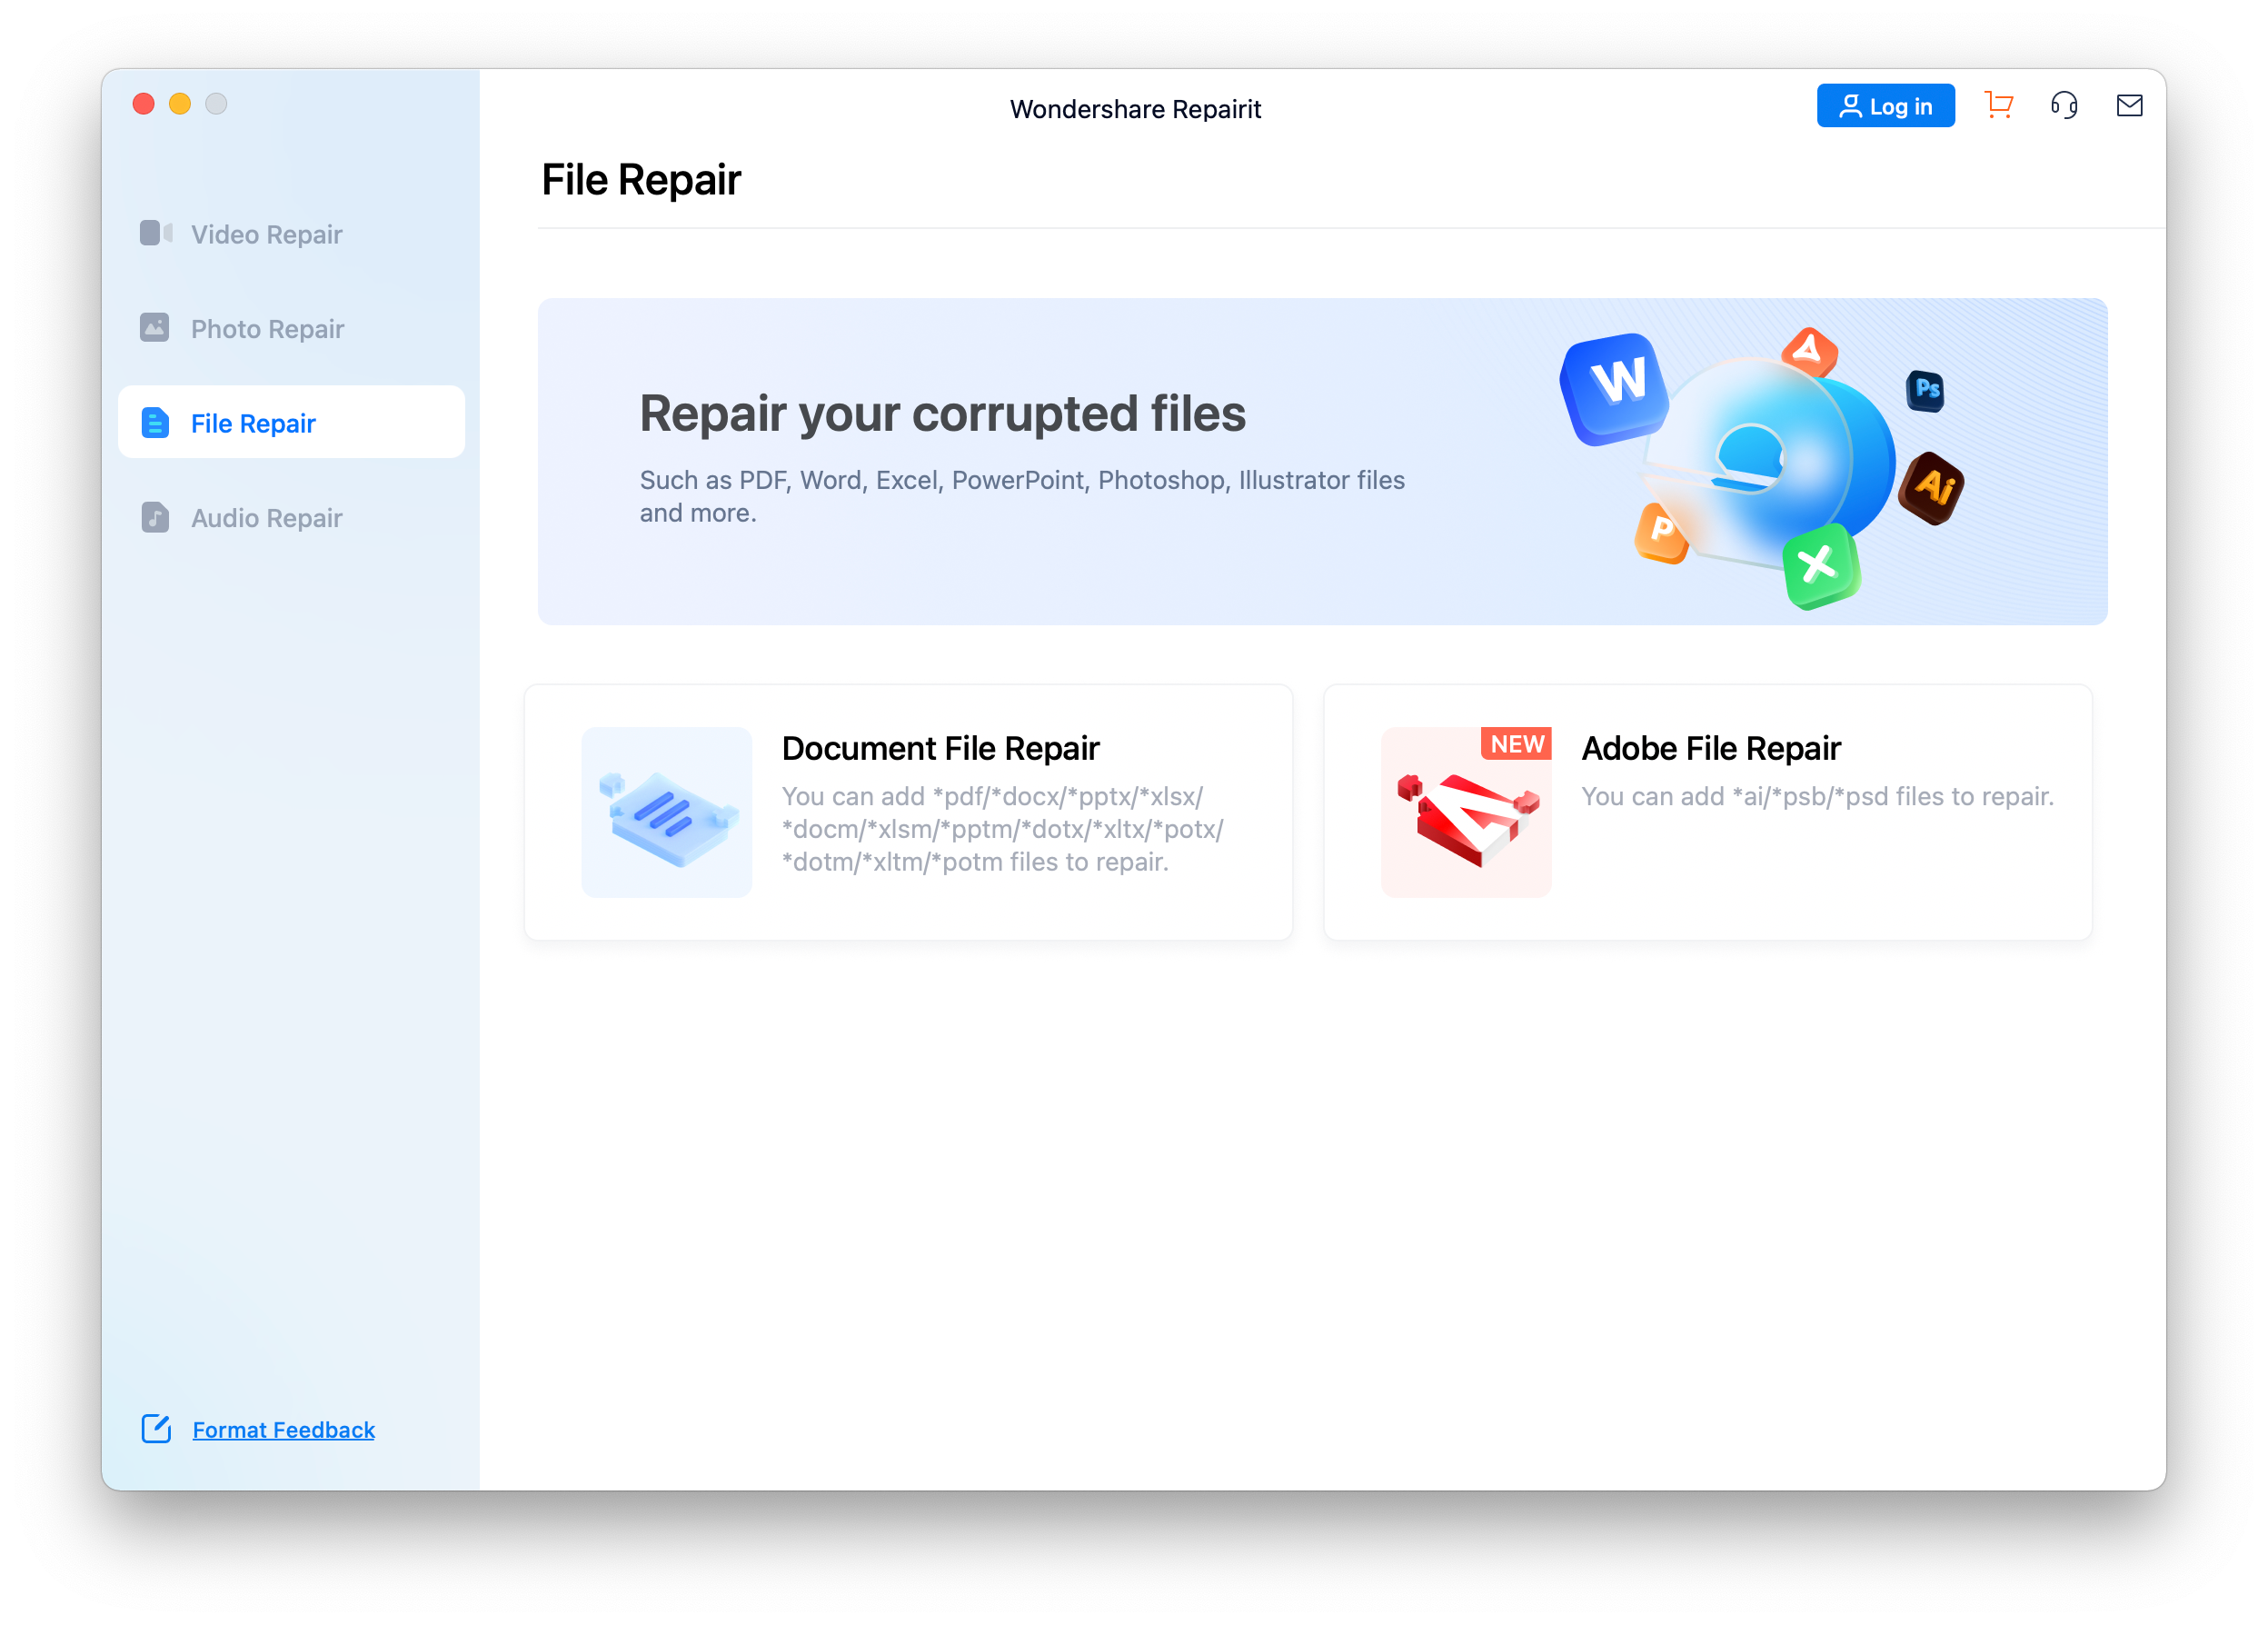
Steps to Repair Videos with Wondershare Repairit on computer or Mac
- Download and install Wondershare Repairit on your computer or Mac.
- Go to the official website of Wondershare Repairit.
- Click on the “Download” button to download the software.
- Once the download is complete, double-click on the downloaded file to start the installation process.
- Follow the on-screen instructions to install Wondershare Repairit on your computer or Mac.
- Launch Wondershare Repairit and add the corrupted video files.
- Locate the Wondershare Repairit icon on your desktop or in the Applications folder on your Mac.
- Double-click on the icon to launch the software.
- Click on the “Add” button to import the corrupted video files that you want to repair.
- Navigate to the location of the video files on your computer or Mac and select them.
- Click on the “Open” button to add the selected files to Wondershare Repairit.
- Select the repair method and repair the videos.
- Choose the appropriate repair method based on the type of corruption in your video files.
- Click on the “Repair” button to start the repair process.

- Wait for Wondershare Repairit to analyze and repair the videos. The time taken may vary depending on the size and complexity of the corrupted files.
- Once the repair process is complete, a notification will be displayed.
- Preview and save the repaired videos.
- Click on the “Preview” button to preview the repaired videos and ensure that they are successfully repaired.
- If you are satisfied with the repair results, click on the “Save” button to save the repaired videos to your desired location on your computer or Mac.

Advanced Video Repair Function of Wondershare Repairiit
To begin, download and install Wondershare Repairiit on your device. Open the program and select the “Advanced Video Repair” option.
Next, choose the problematic video from your device and click on the “Repair” button. Wait for the program to analyze and fix any issues with the video.
Once the repair process is complete, you can preview the fixed video and save it to your desired location.
Remember, if you encounter any playback errors or square video issues, Repairiit can help you resolve them. Keep in mind that network problems or iOS extensions can also be reasons for video loading problems. For specific troubleshooting steps, refer to our comprehensive guide.
Don’t let video loading issues hinder your Twitter experience. Try Wondershare Repairiit’s Advanced Video Repair Function today and enjoy seamless playback on your iPhone, Android, or Chrome device.
Reasons for Twitter Videos Not Playing
- Slow internet connection: Twitter videos may not play if you have a weak or slow internet connection. Ensure you have a stable and fast internet connection.
- Outdated Twitter app: An outdated Twitter app can cause video loading issues. Make sure you have the latest version of the Twitter app installed on your device.
- Insufficient device storage: If your device has limited storage space, it may hinder the playback of Twitter videos. Free up some storage space on your device to resolve this issue.
- Cache and data buildup: Accumulated cache and data on your Twitter app can lead to video loading problems. Clear the cache and data of the Twitter app to improve video playback.
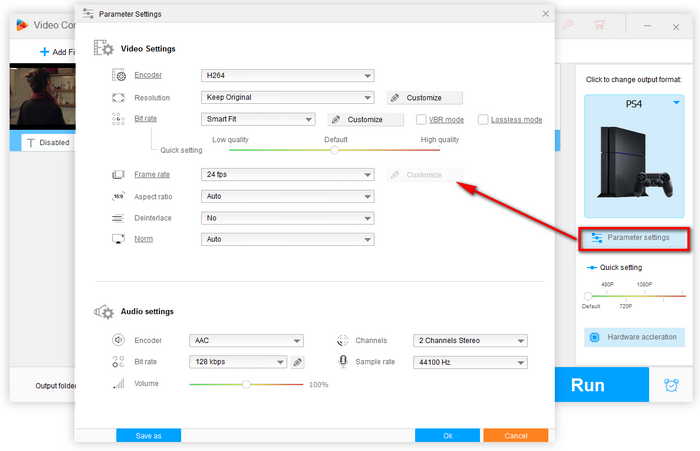
- Incompatible video format: Twitter may not support certain video formats. Check if the video you’re trying to play is in a compatible format (e.g., MP4) or convert it to a compatible format.
- Conflicting third-party apps: Some third-party apps or extensions on your device, such as ad-blockers or VPNs, can interfere with Twitter videos. Disable or uninstall any conflicting apps to see if it resolves the issue.
- Device or system issues: Occasionally, device or system-related issues can prevent Twitter videos from playing. Restart your device or update your operating system to address any potential conflicts.
- Twitter server issues: At times, Twitter’s servers may experience downtime or technical problems, causing video playback issues. Wait for some time and try playing the video again later.
How to Fix Twitter Videos Not Playing on Android/iPhone
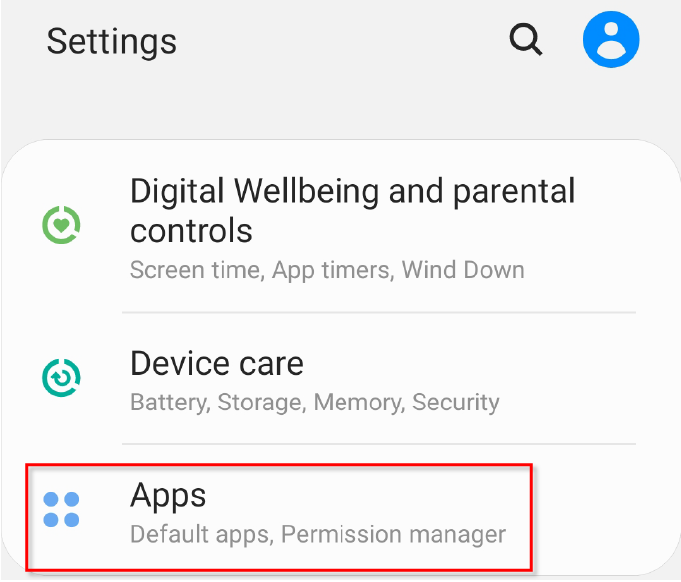
- Open the Settings app on your Android/iPhone.
- Scroll down and tap on Apps or Applications.
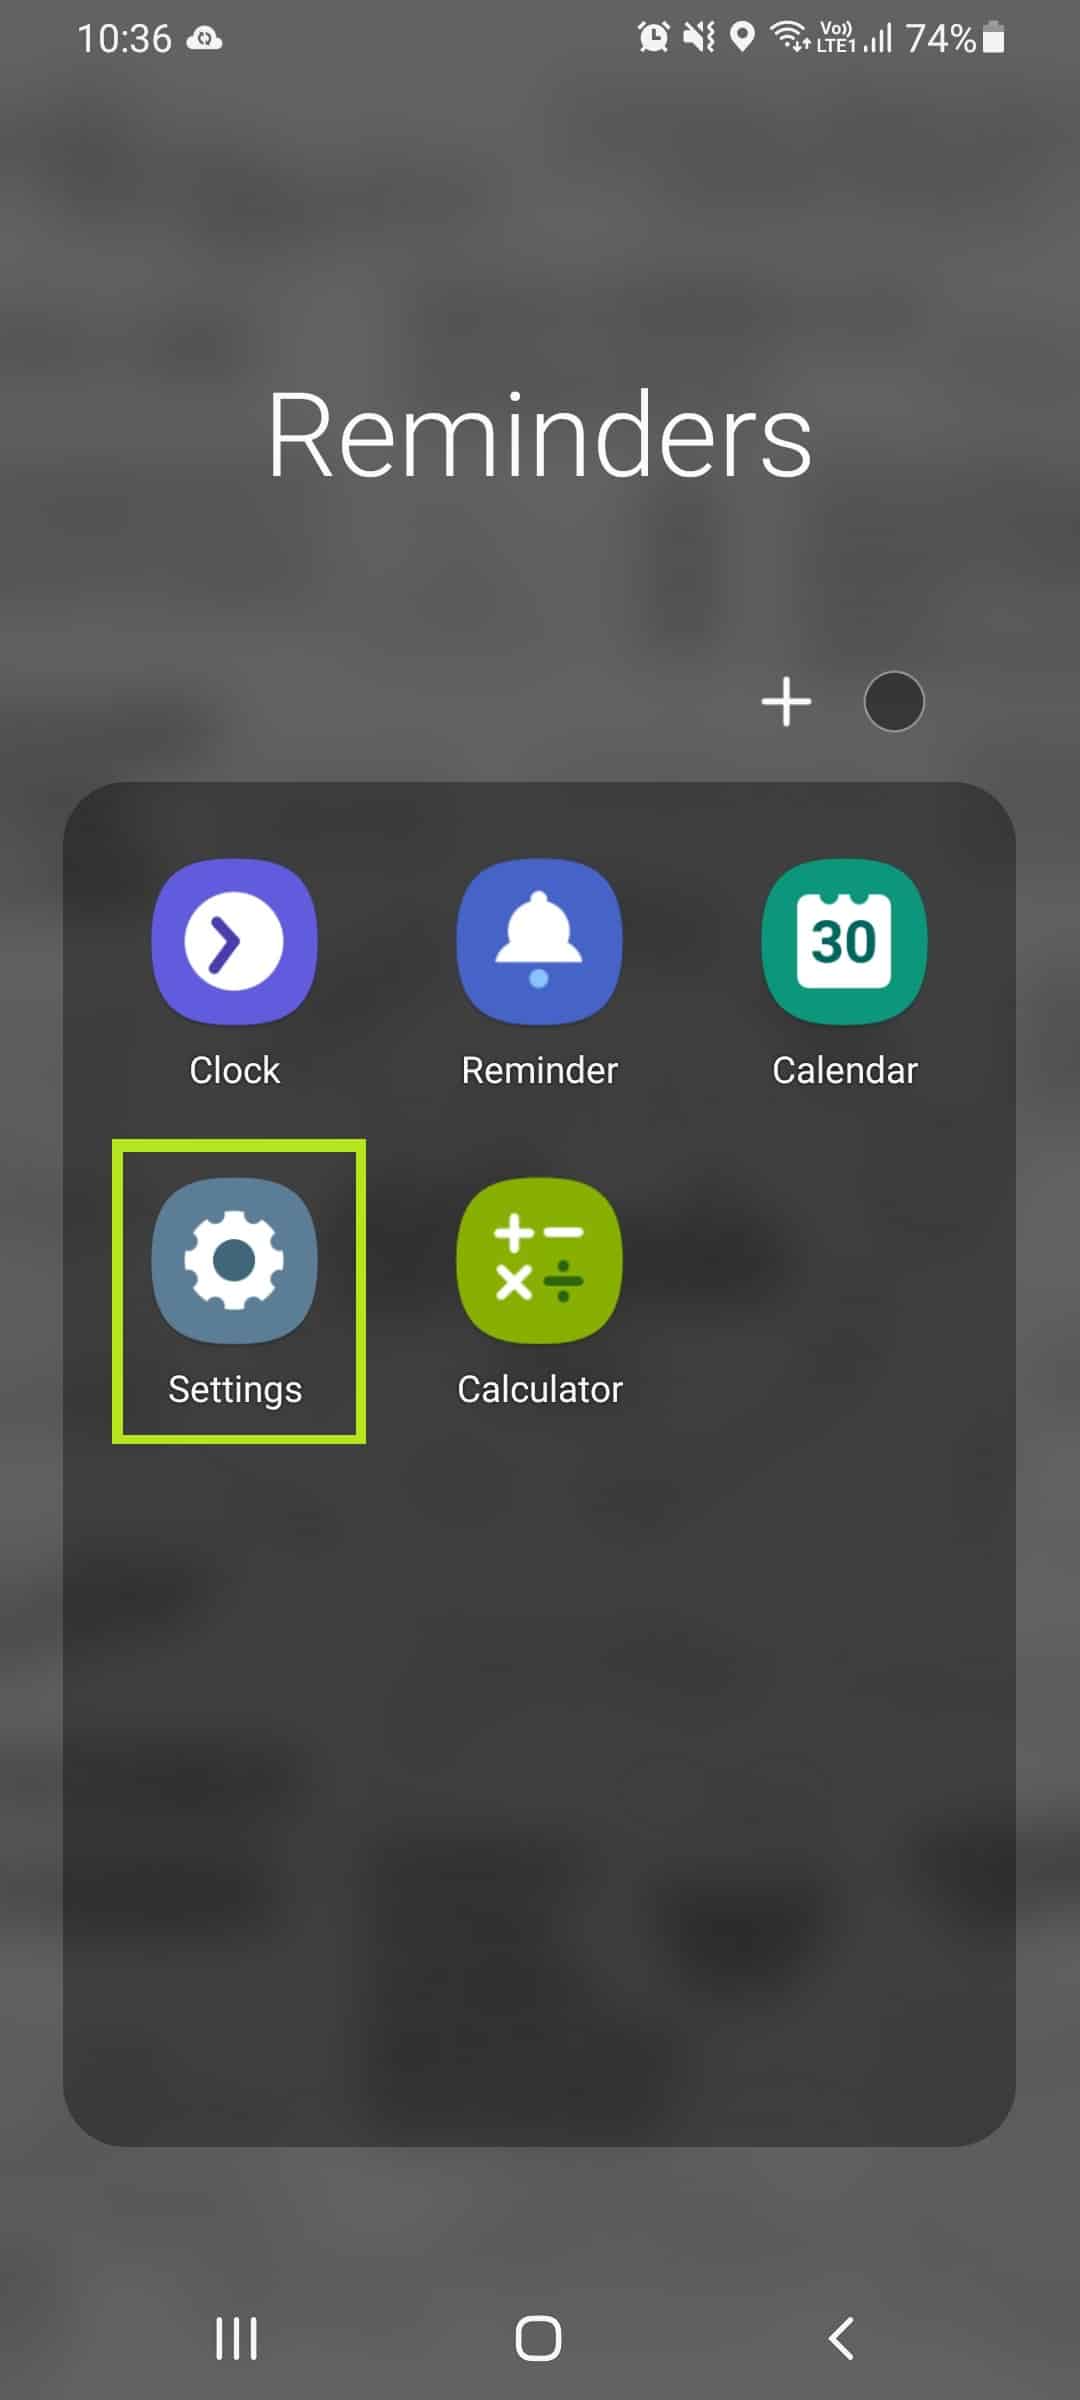
- Locate and tap on Twitter from the list of installed apps.
- Tap on Storage or Storage & Cache.
- Tap on Clear Cache and then tap on Clear Data.
Update Twitter App
- Open the Google Play Store on your Android or the App Store on your iPhone.
- Search for Twitter and tap on it.
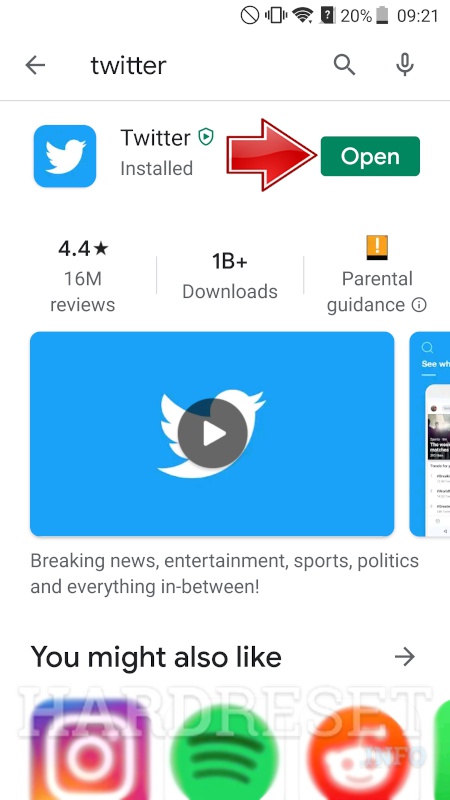
- If an Update button is available, tap on it to update the app.
Check Internet Connection
- Ensure that your Wi-Fi or Mobile Data is turned on.
- Try opening other apps or websites to check if your internet connection is working.

- If the connection seems weak or unstable, try switching to a different Wi-Fi network or restarting your router.
Restart Your Device
- Press and hold the Power button on your Android/iPhone.
- Tap on Restart or Reboot from the options that appear.

- Wait for your device to restart and then try playing Twitter videos again.
Update Operating System
- For Android: Open the Settings app, scroll down and tap on System or About phone, then tap on System Update or Software Update.
- For iPhone: Open the Settings app, tap on General, then tap on Software Update.

- If an update is available, tap on Download and Install to update your device’s operating system.
Reinstall Twitter App
- Hold down the Twitter app icon on your Android/iPhone.
- Tap on Uninstall or Remove App.
- Go to the Google Play Store or App Store, search for Twitter, and reinstall the app.
How to Fix Twitter Videos Not Playing in Chrome
If Twitter videos aren’t playing in Chrome, there are a few steps you can take to resolve the issue.
First, make sure you have the latest version of Chrome installed on your device. If not, update it from the app store or website.
Next, clear the cache and cookies in Chrome. Go to Settings > Privacy and security > Clear browsing data. Check the boxes for “Cached images and files” and “Cookies and other site data” and click “Clear data.”
If the problem persists, try disabling any extensions that could be interfering with video playback. Go to Settings > Extensions and toggle off any extensions that may be causing the issue.
Additionally, check your network connection. Weak or unstable networks can prevent videos from loading properly. Consider switching to a different network or contacting your service provider for assistance.
If you’re using an iPhone or Android device, ensure that your Twitter app is up to date. Updating the app can often resolve playback issues.
Lastly, if none of the above steps work, it may be worth reaching out to Twitter support for further assistance.
Further Reading: How to Make Twitter Video
If you’re experiencing issues with video loading on the Twitter app for iPhone, Android, or Chrome, here are some helpful tips to fix the problem:
1. Check your internet connection. Slow or unstable network connections can cause videos to not load properly. Connect to a stable and fast network, like Wi-Fi or 4G.
2. Clear cache and data. Sometimes, accumulated data and cache can interfere with video playback. On your device, go to Settings > Apps > Twitter > Storage > Clear cache and Clear data.
3. Update the Twitter app. Make sure you have the latest version of the Twitter app installed on your device. Outdated versions may have compatibility issues with video playback.
4. Disable browser extensions. If you’re using Twitter on Chrome, try disabling any browser extensions that might be interfering with video playback.
5. Try a different browser. If the issue persists on Chrome, try using a different browser like Safari or Firefox.
Remember to restart your device after making any changes. These steps should help resolve most video loading issues on Twitter.
How to Fix Twitter Videos Not Playing on iOS and Android Devices
If you’re experiencing issues with Twitter videos not playing on your iOS or Android device, there are a few solutions you can try.
First, make sure you have a stable internet connection. Poor network connectivity can often cause video playback issues.
Next, try restarting the Twitter app or your device. This can help resolve any temporary glitches that may be affecting video playback.
If the problem persists, check for any available updates for the Twitter app. Keeping your app up to date can fix bugs and improve performance.
You can also try clearing the cache and data of the Twitter app. This can help resolve any corrupted files that may be causing the issue.
If none of these solutions work, try using a different browser or updating your current browser to the latest version.
If you’re using Chrome, you can also try disabling any extensions that may be interfering with video playback.
Remember, these solutions are general and may not apply to every situation. If you’re still experiencing issues, it’s recommended to reach out to Twitter support for further assistance.