Ever experienced your computer screen going black while the system is still running? Here are 7 steps to help you fix it.
Understanding the Black Screen Problem
If your computer screen suddenly goes black but the system is still running, it can be a frustrating issue to deal with. Here are 7 steps to help you fix the black screen problem:
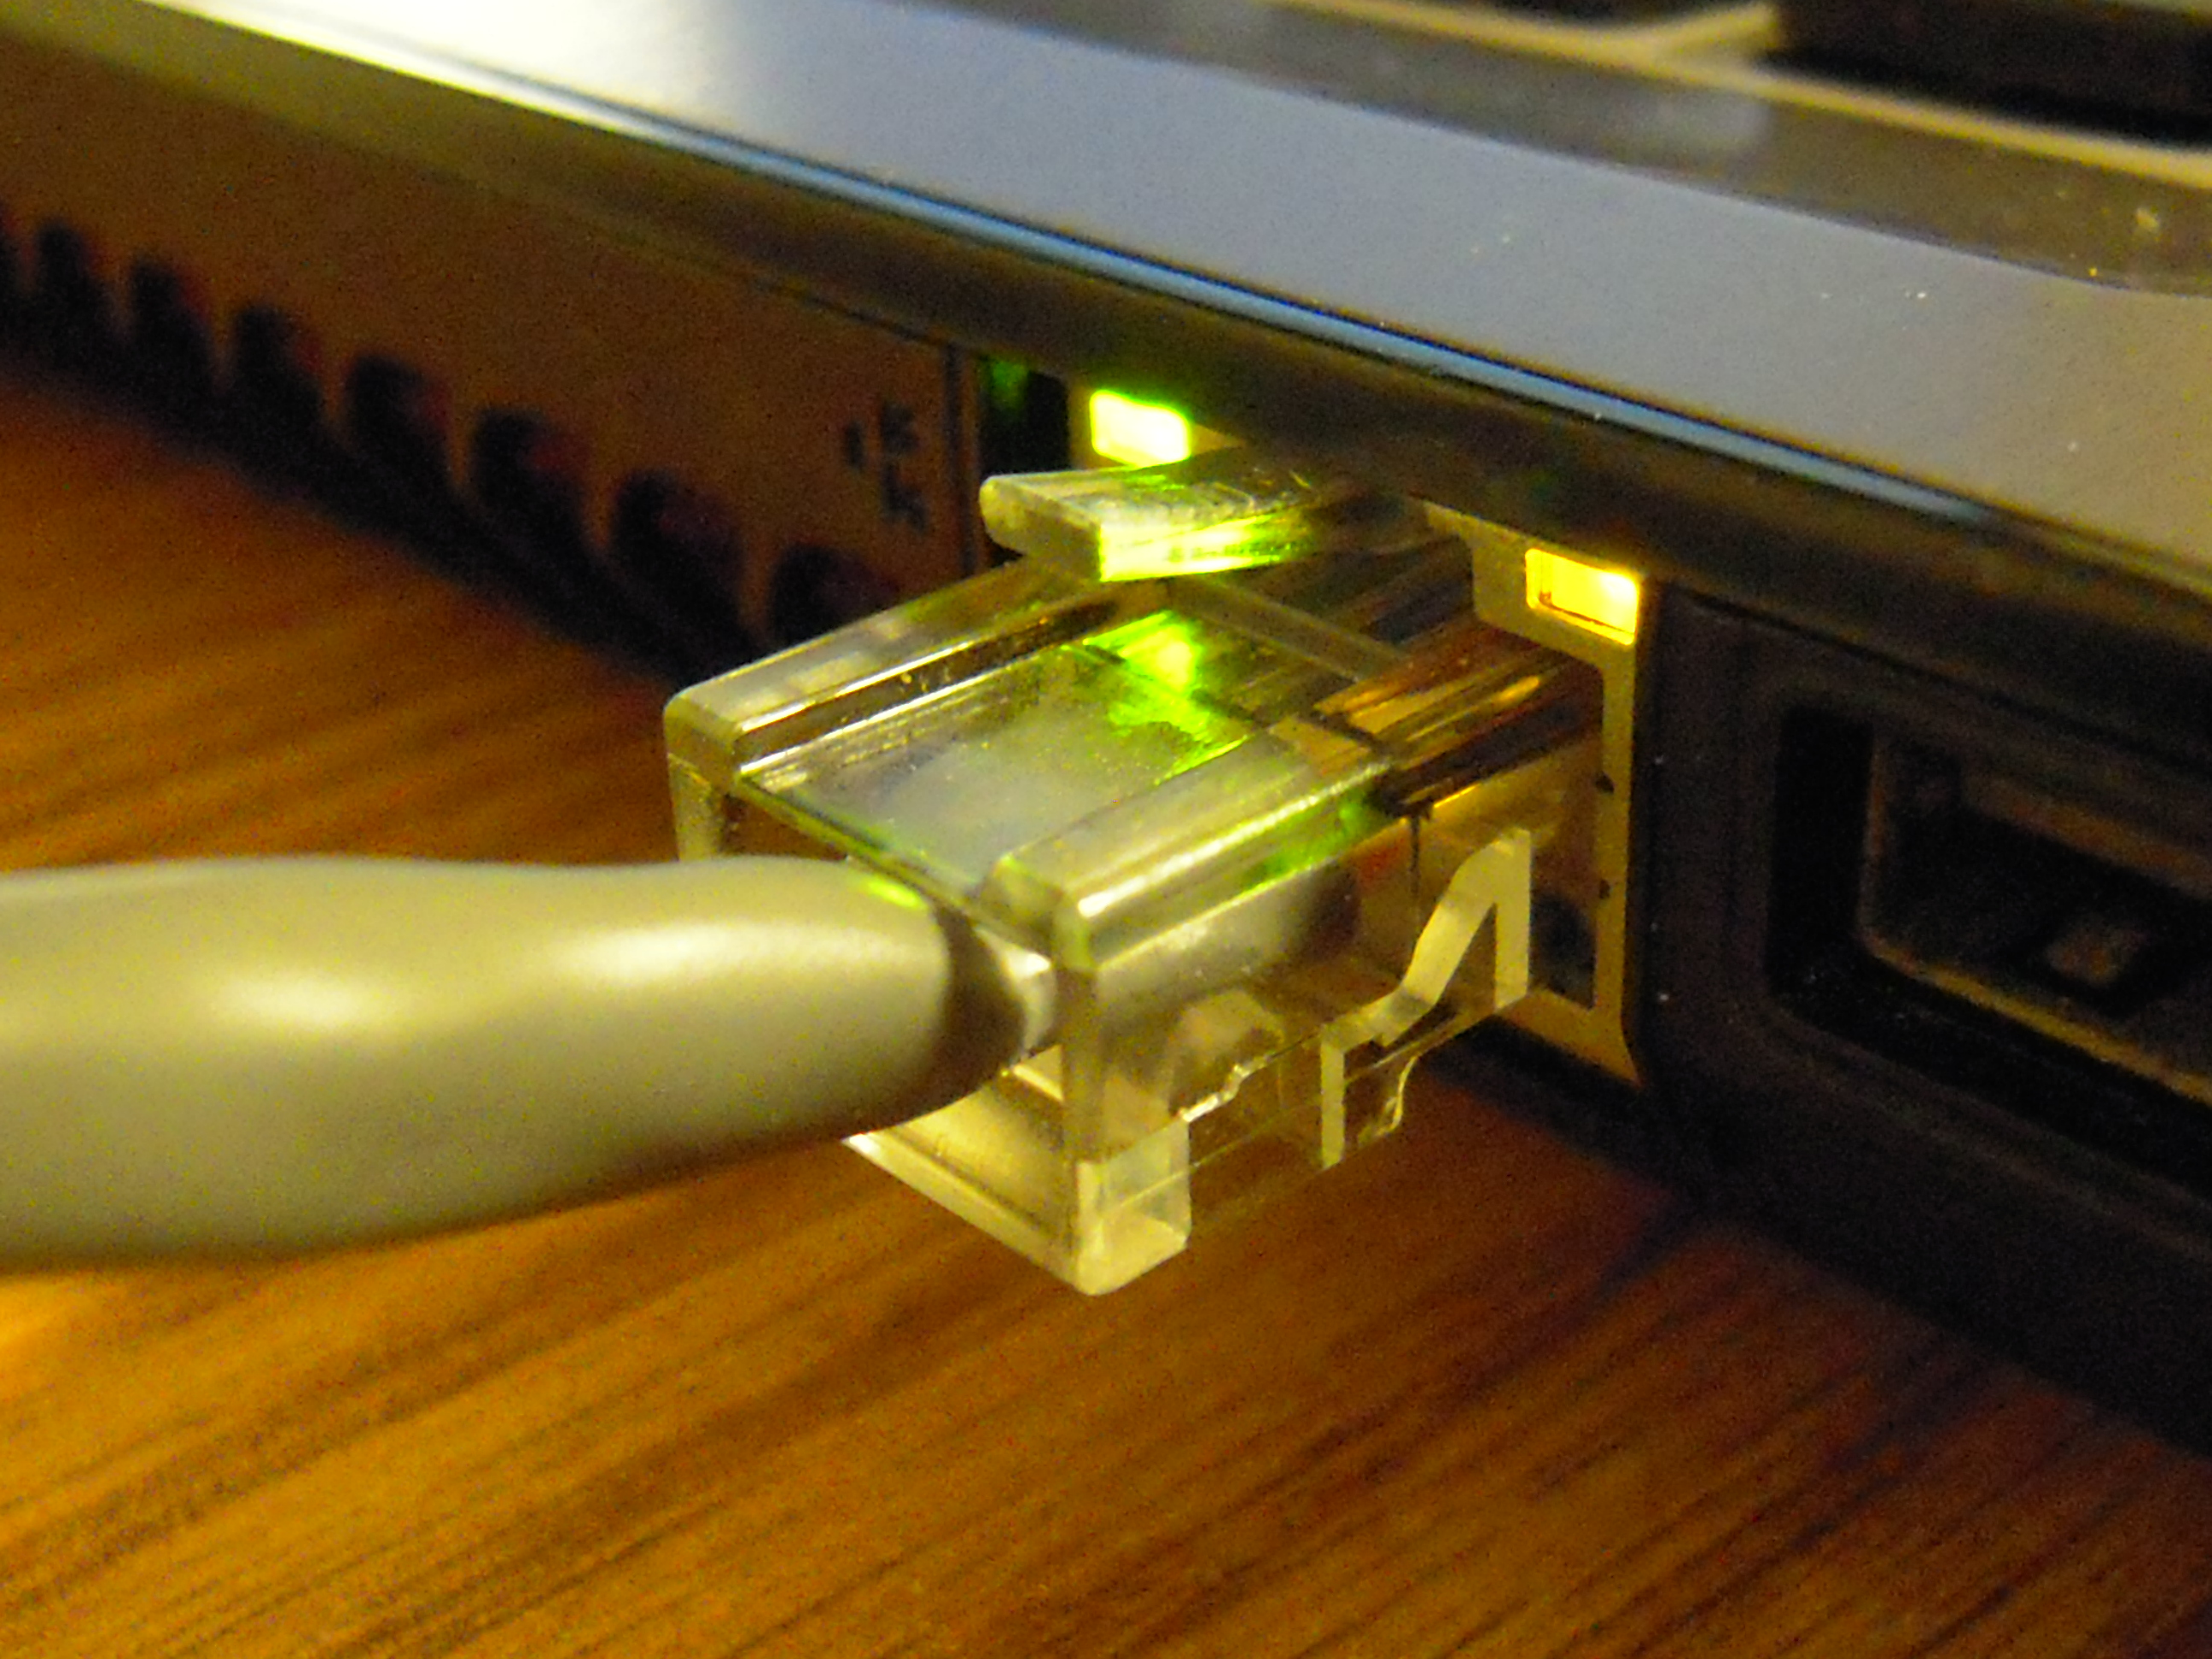
1. Check the connections: Make sure all cables connecting your monitor to the computer are secure. Sometimes a loose connection can cause the screen to go black.
2. Restart your computer: Try restarting your computer to see if the black screen issue resolves itself. Sometimes a simple reboot can fix the problem.
3. Boot into Safe Mode: Restart your computer and boot into Safe Mode to see if the black screen issue persists. This can help you determine if the problem is related to software or hardware.
4. Update your graphics driver: An outdated or corrupt graphics driver can cause the black screen problem. Update your graphics driver to see if it resolves the issue.
5. Run a virus scan: A computer virus can also cause the screen to go black. Run a full virus scan using your antivirus software to check for any malware.
6. Check for software incompatibility: Sometimes certain software can cause conflicts that lead to a black screen. Uninstall any recently installed software to see if it fixes the issue.
7. Restore your system: If all else fails, you can try restoring your system to a previous point where the black screen issue was not present. This can help undo any recent changes that may have caused the problem.
Common Causes of Screen Blackouts
-
Check Power Supply:
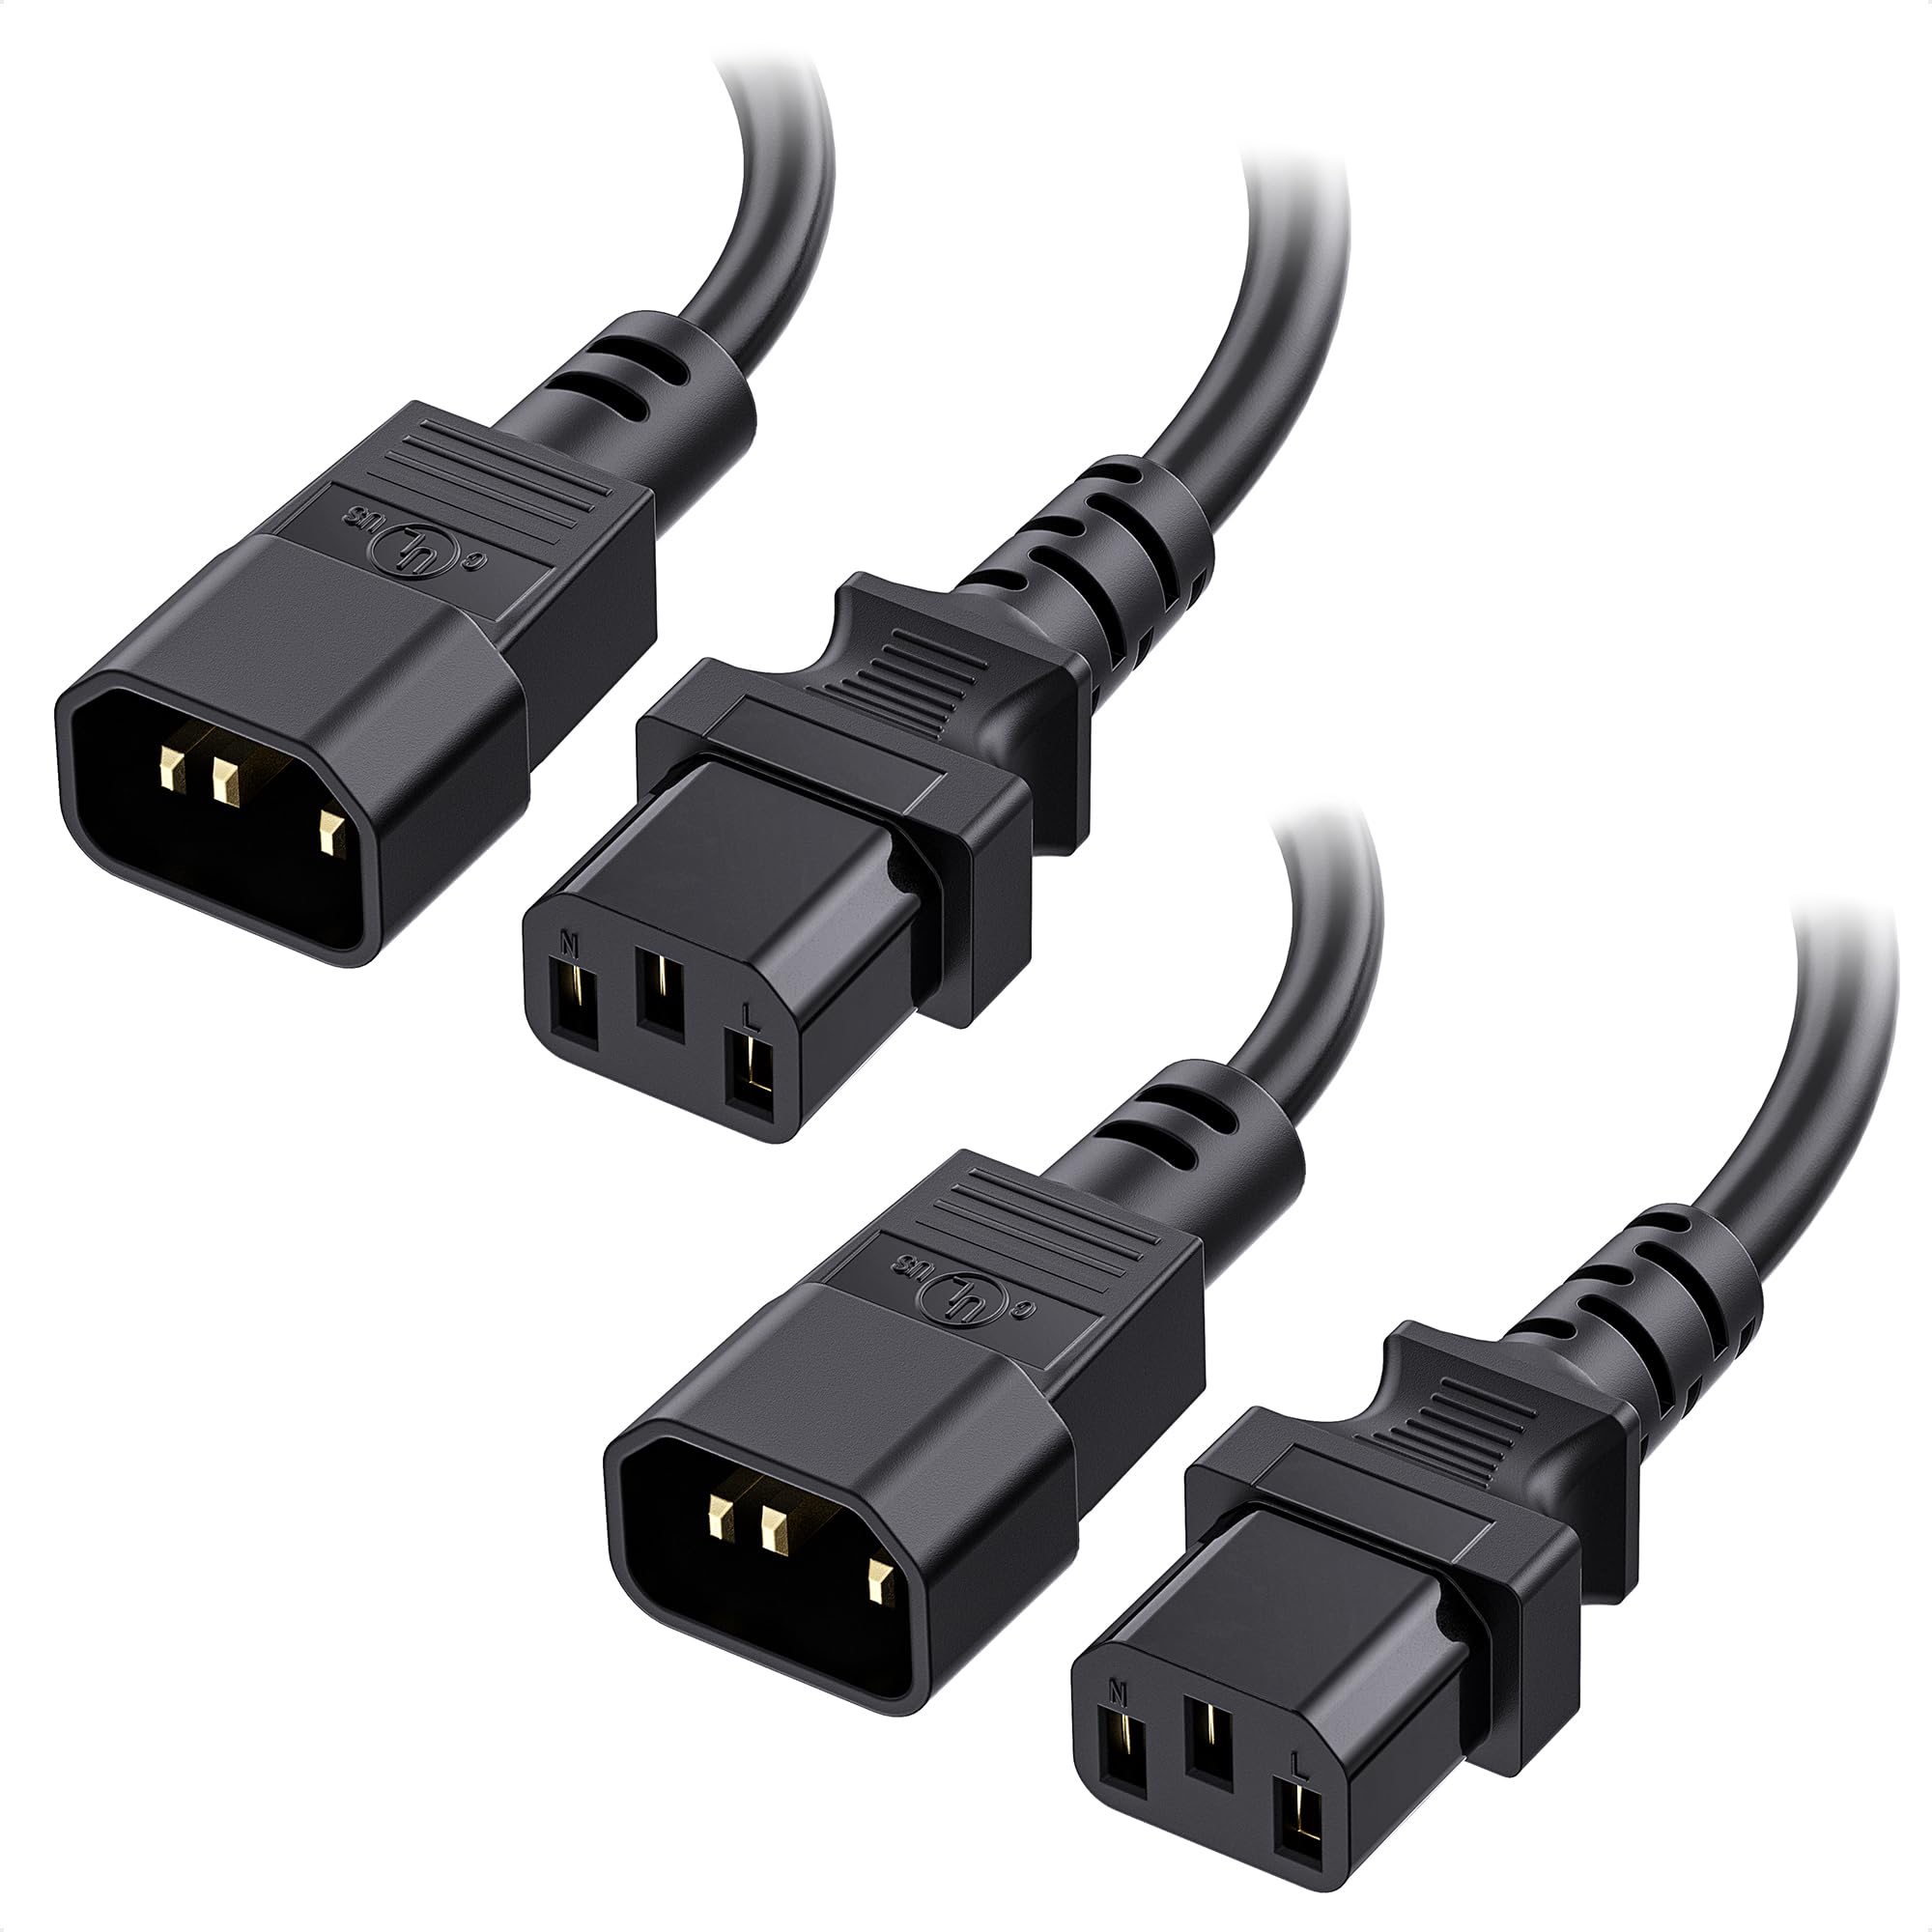
- Make sure the power cable is securely connected to the computer and outlet.
- Check for any loose connections or damaged cables.
- Try plugging the computer into a different outlet to rule out power issues.
-
Adjust Brightness Settings:
- Press the Fn key along with the brightness adjustment key on the keyboard to increase brightness.
- Check the display settings in the control panel to ensure brightness is not set to the lowest level.
-
Update Graphics Driver:
- Open Device Manager by pressing Windows key + X and selecting Device Manager.
- Expand the Display adapters section and right-click on the graphics driver to update it.
- Download the latest driver from the manufacturer’s website and install it.
-
Check for Software Issues:
- Press Ctrl+Shift+Esc to open Task Manager and check for any unresponsive programs.
- Close any programs that may be causing the screen to blackout.
- Run a malware scan to check for any malicious software affecting the display.
-
Reset Display Settings:
- Right-click on the desktop and select Display settings.
- Reset the display settings to default or adjust the resolution to see if it fixes the issue.
-
Test External Monitor:
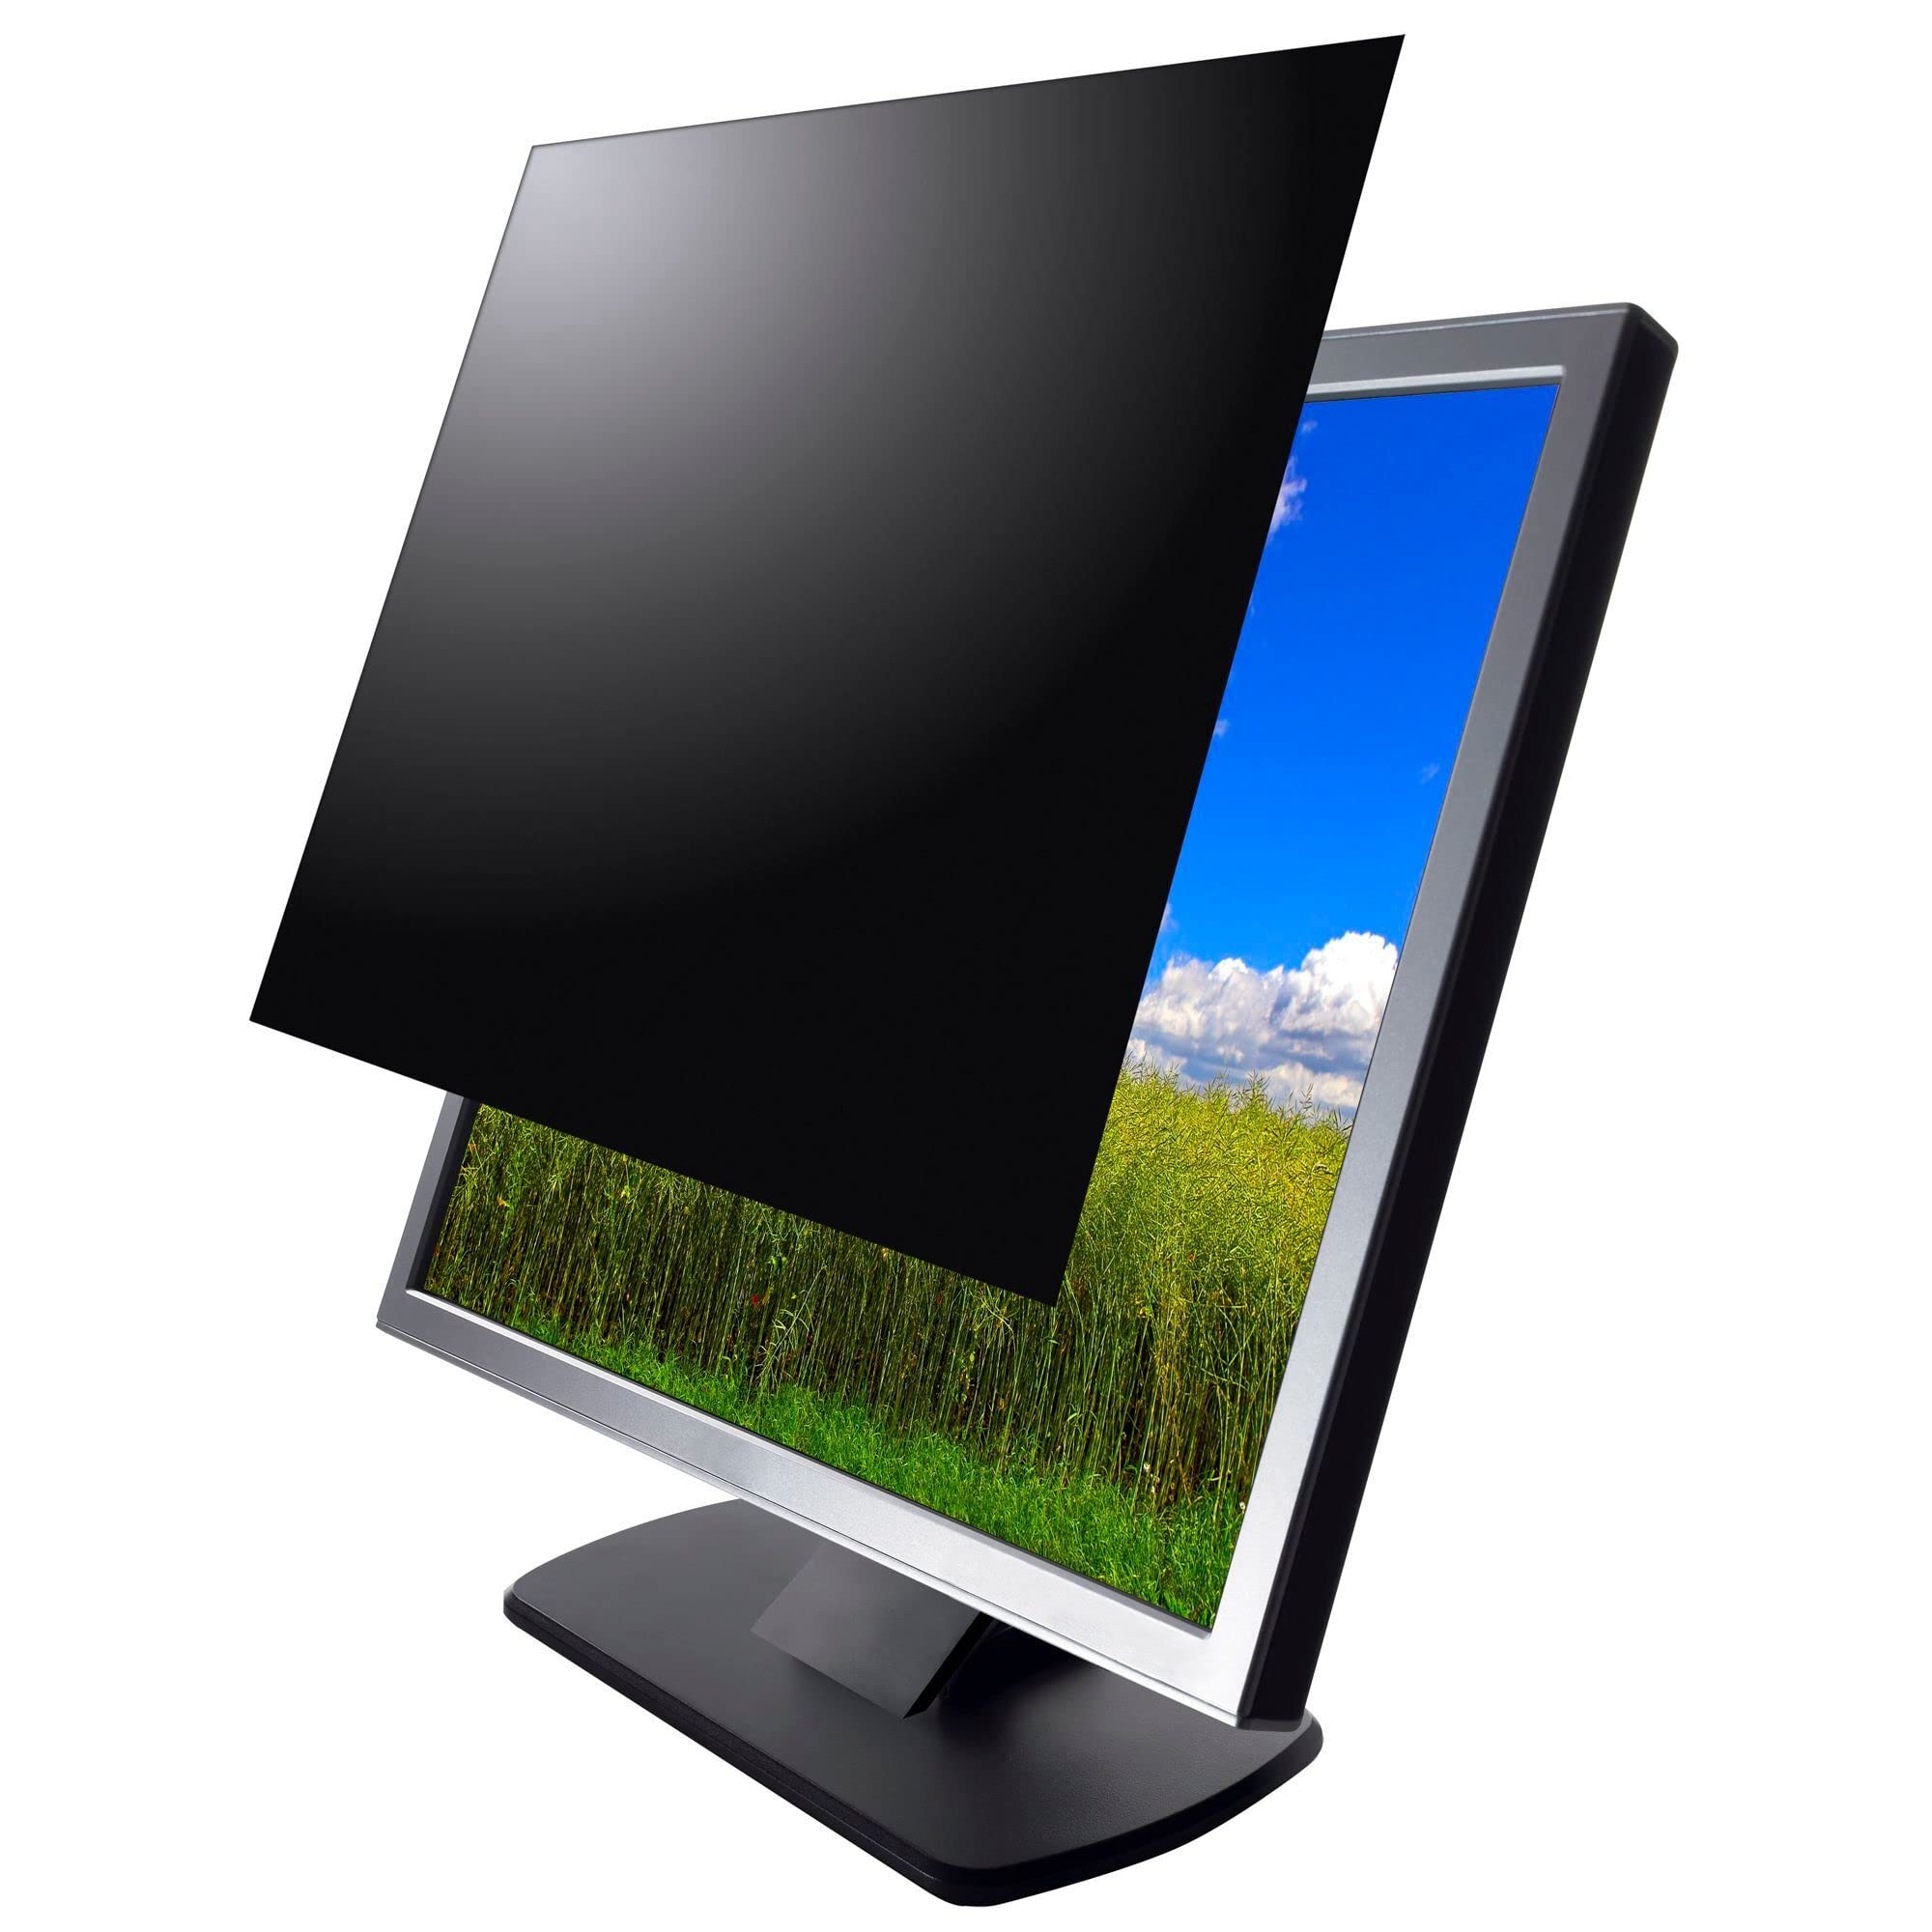
- Connect an external monitor to the computer to see if the issue is with the screen or the graphics card.
- If the external monitor works fine, the problem may be with the laptop screen.
- If the external monitor also shows a black screen, the issue may be with the graphics card.
-
Check Hardware Connections:
- Disconnect and reconnect the video cable between the computer and monitor to ensure a secure connection.
- Check for any loose connections or damaged cables that may be causing the screen blackout.
- Ensure the graphics card is properly seated in the motherboard and not loose.
Comprehensive Solutions Overview
1. Check the Power Source: Ensure that your computer is actually on by checking the power source and making sure it is plugged in properly.
2. Restart Your Computer: Sometimes a simple restart can fix the issue. Press the power button to turn off your computer, then turn it back on.
3. Check the Display Settings: Press “Ctrl + Shift + B” to reset the display settings. If that doesn’t work, check the brightness settings on your monitor.
4. Update Device Drivers: Go to the manufacturer’s website and download the latest device drivers for your graphics card or monitor.
5. Run a Virus Scan: Use your antivirus software to scan your computer for any viruses that may be causing the black screen.
6. Boot into Safe Mode: Restart your computer and press F8 repeatedly before Windows loads. Select “Safe Mode” and see if the black screen issue persists.
7. Perform a System Restore: If all else fails, use a boot disk or USB flash drive to perform a system restore to a point before the black screen issue started.
Hard Reset Your Laptop
If your computer screen suddenly goes black but the laptop is still running, a hard reset might be the solution. Here are 7 steps to help you fix this issue:
1. Press and hold the power button for about 10 seconds to force the laptop to shut down.
2. Unplug the power cord and remove the battery (if possible) from your laptop.
3. Hold down the power button for another 15-20 seconds to discharge any remaining power.
4. Reinsert the battery and plug in the power cord.
5. Turn on your laptop and see if the screen is back to normal.
6. If the screen is still black, try connecting an external monitor to see if there is an issue with the laptop screen itself.
7. If the external monitor works fine, there may be a problem with the laptop display or graphics card that requires professional repair.
Verify Laptop Display Integrity
To verify the integrity of your laptop display, follow these steps:
Step 1: Check if the screen brightness is turned down. Press the brightness adjustment keys on your keyboard to see if the display becomes visible.
Step 2: Connect your laptop to an external monitor using a VGA or HDMI cable. If the external monitor displays properly, the issue is likely with the laptop’s display.
Step 3: Restart your laptop and enter the BIOS settings. Look for any display related options and ensure they are set correctly.
Step 4: Boot into Safe Mode to see if the display works properly in this mode. If it does, the issue may be caused by a software conflict.
Step 5: Update your graphics card driver. Go to the manufacturer’s website and download the latest driver for your specific model.
Step 6: Run a virus scan to rule out any malware causing the black screen. Use a reliable antivirus program to scan your system thoroughly.
Step 7: If the issue persists, consider seeking professional help to diagnose any hardware problems with your laptop’s display.
Reinstall Computer Memory
Take the new memory modules and align them correctly with the slots. Press down firmly until you hear a click. Close the computer case, plug all cables back in, and boot up your computer.
Check if the computer screen is now working properly. If not, repeat the process to ensure the memory modules are installed correctly. If the issue persists, it may be related to other hardware or software problems.
Utilize Shortcut Keys for Monitor Awakening
To quickly awaken your monitor when faced with a black screen, utilize shortcut keys on your keyboard.
Press the Windows key + Ctrl + Shift + B simultaneously to reset the graphics driver and potentially resolve the black screen issue.
If the above shortcut doesn’t work, try pressing the Ctrl + Alt + Delete keys together to bring up the Task Manager.
From the Task Manager, select “File” and then choose “Run new task” to open a new window.
In the new window, type in “explorer.exe” and click “OK” to potentially restore the display.
If the screen remains black, try pressing the Windows key + P to bring up the projection settings and switch between display modes.
You can also try adjusting the brightness and contrast settings on your monitor if the issue persists.
By utilizing these shortcut keys, you may be able to fix the black screen on your computer monitor and resume normal operation.
Boot in Safe Mode for Troubleshooting
Boot your computer in Safe Mode to troubleshoot the black screen issue. Restart your computer and continuously press the F8 key as it boots up.
Once in Safe Mode, check if the black screen issue persists. If the screen works fine in Safe Mode, the problem might be caused by a software conflict.
Update your device drivers and run a full system scan for viruses or malware that might be affecting your screen display.
If the black screen issue continues, try restoring your system to a previous point before the problem occurred using System Restore.
Check your display settings, especially if you recently changed them, and revert to default settings if necessary.
Uninstall any recently installed applications or updates that may have caused the black screen problem.
If all else fails, consider seeking professional help to diagnose and fix the issue with your computer screen.
Reinstall Graphics Card Driver
To reinstall the graphics card driver, follow these steps:
Step 1: Press the Windows key + X on your keyboard and select Device Manager from the menu.
Step 2: Locate the Display adapters section and right-click on your graphics card.
Step 3: Select Uninstall device from the dropdown menu.
Step 4: Restart your computer to allow Windows to reinstall the graphics card driver automatically.
Step 5: If the driver is not automatically reinstalled, visit the manufacturer’s website to download and install the latest driver for your graphics card.
Step 6: Follow the on-screen instructions to complete the installation process.
Step 7: Restart your computer once again to apply the changes and check if the issue has been resolved.
Modify Power Settings for Stability
Next, update your graphics card driver to ensure it is compatible with your system. Go to the device manager, find your graphics card, and select “Update driver.” Check for any Windows updates that may address compatibility issues with your system.
If you are still experiencing a black screen, run a virus scan to rule out any malware causing the issue. Consider booting into Safe Mode to troubleshoot further. If you suspect a hardware issue, check your connections and consider testing your monitor on another computer.
Conduct Virus and Malware Scans
To fix a computer screen that has gone black but is still running, one of the steps you can take is to conduct a virus and malware scan. Viruses and malware can sometimes cause issues with the display on your computer, so it’s important to rule out this possibility.
Start by running a full virus and malware scan on your computer using a reliable antivirus program. This will help identify any malicious software that may be causing the black screen issue. Make sure to update your antivirus program before scanning to ensure it has the latest virus definitions.
If the scan detects any viruses or malware, follow the recommended steps to remove them from your system completely. Some malware can be persistent, so you may need to run multiple scans or use additional tools to completely eliminate the threat.
After removing any viruses or malware, restart your computer and check to see if the black screen issue has been resolved. If the problem persists, you may need to try other troubleshooting steps or seek help from a professional.
Adjust Nvidia PowerMizer Settings
Step 1: Right-click on your desktop and select “Nvidia Control Panel.”
Step 2: Click on “Manage 3D Settings” and then “Global Settings.”
Step 3: Locate “Power management mode” and change it to “Prefer maximum performance.”
Step 4: Click “Apply” to save the changes.
Step 5: Restart your computer to apply the new settings.
Step 6: Check if the black screen issue persists.
Step 7: If the problem continues, consider updating your Nvidia drivers or seeking further assistance.
Adjusting the PowerMizer settings can help prevent your computer screen from going black while still running.
Restart Windows Explorer Process
To restart the Windows Explorer process, press Ctrl + Shift + Esc to open the Task Manager. Look for “Windows Explorer” under the Processes tab, then right-click and select End task. After that, click on File > Run new task and type in “explorer.exe” before hitting Enter.
This will restart the Windows Explorer process and hopefully fix the black screen issue. If the problem persists, you may need to restart your computer completely by clicking on the Windows icon and selecting Restart.
Sometimes, a black screen can be caused by a corrupted user profile. To fix this, create a new user account by going to Settings > Accounts > Family & other users and adding a new account. Sign in with the new account and see if the black screen is resolved.
If none of these steps work, you may need to update your graphics card drivers. Go to the device manager by pressing Windows key + X and selecting Device Manager. Look for your graphics card under Display adapters, right-click, and select Update driver.
In some cases, a Windows update may have caused the black screen issue. To uninstall the latest update, go to Settings > Update & Security > Windows Update and click on View update history. Select Uninstall updates and remove the most recent update.
If the problem persists, you may need to perform a System Restore to a point before the black screen occurred. Go to Control Panel > System and Security > System > System Protection and select System Restore.
If all else fails, you can try booting into Safe Mode by restarting your computer and pressing F8 repeatedly. From there, you can troubleshoot further or seek professional help if needed.
Disable Fast Startup Feature
To disable the Fast Startup feature on your computer, follow these steps:
1. Press the Windows key + R to open the Run dialog box.
2. Type in “control panel” and hit Enter to open the Control Panel.
3. Click on “Power Options” and then select “Choose what the power buttons do” from the left panel.
4. Click on “Change settings that are currently unavailable.”
5. Scroll down to find the “Shutdown settings” section and uncheck the box next to “Turn on fast startup (recommended).”
6. Click on “Save changes” to apply the new setting.
7. Restart your computer to disable the Fast Startup feature.
Update Screen Saver Preferences
To update your screen saver preferences, follow these steps:
Step 1: Right-click on the desktop and select “Personalize.”
Step 2: Click on “Lock screen” and then choose “Screen saver settings.”
Step 3: Select a screen saver from the drop-down menu.
Step 4: Adjust the wait time before the screen saver activates.
Step 5: Customize any additional settings for the screen saver.
Step 6: Click “Apply” and then “OK” to save your changes.
Step 7: Test the screen saver to ensure it is working correctly.
Restore BIOS Settings Using Shortcuts
Once in the BIOS, navigate using the arrow keys and locate the option to reset to default settings. This should revert any changes that may have caused the black screen.
After resetting the BIOS settings, save and exit the utility to reboot your computer. This may resolve the issue of a black screen while the computer is still running.
If the black screen persists, you may need to consult your computer’s manual or the manufacturer’s website for specific instructions on restoring BIOS settings.
Remember to backup any important data before making changes to the BIOS as this process could potentially lead to data loss if not done correctly.
System Reinstallation Guide
Step 1: Ensure that your computer is still on by listening for fan noise or seeing indicator lights.
Step 2: Check all connections, including power cables and peripherals, to make sure everything is securely plugged in.
Step 3: Press the power button to shut down the computer and then restart it to see if the screen comes back on.
Step 4: If the screen remains black, try accessing Safe Mode by pressing F8 or Shift + F8 during startup.
Step 5: If Safe Mode doesn’t work, you may need to reinstall the operating system using a Windows installation disk or USB drive.
Step 6: Boot from the installation media and follow the on-screen instructions to reinstall the system.
Step 7: Remember to back up your important files before reinstalling the system to prevent data loss.
Backing Up Files: A Critical Step
- Connect an External Hard Drive
- Create a Backup Folder
- Transfer Important Files
- Verify Backup Completion
Preventing Data Loss with AOMEI Backupper Standard
To prevent data loss when your computer screen goes black but is still running, it is important to use a reliable backup software like AOMEI Backupper Standard. Follow these 7 steps to fix the issue and ensure your data is safe:
Step 1: Press the power button to turn off your computer and then turn it back on. This may resolve the black screen issue.
Step 2: If the screen remains black, try restarting your computer in Safe Mode. To do this, press F8 repeatedly as your computer boots up.
Step 3: Check for any loose connections between your monitor and computer. Make sure all cables are securely plugged in.
Step 4: Update your device drivers and software to ensure compatibility with your system. Visit the manufacturer’s website for the latest updates.
Step 5: Use AOMEI Backupper Standard to create a backup of your important files and data. This will protect them in case of a system failure.
Step 6: If the black screen persists, consider running a virus scan to check for malware that may be causing the issue.
Step 7:
FAQ
How do I fix my computer if my screen is black but my computer is running?
To fix your computer when the screen is black but the computer is running, you can start by optimizing your startup applications, checking cables and connections, unplugging unnecessary accessories, resetting BIOS/UEFI, checking the boot order, launching a Windows repair, booting into Safe Mode, and rolling back or updating drivers in Safe Mode.
Why is my computer screen black but the power is on?
Your computer screen is black even though the power is on because your device drivers may be outdated or broken. To resolve this issue, update or reload the drivers that are causing the problem by going to Device Manager.
Why is my computer screen off but still running?
Your computer screen is off but still running because of potential issues like loose cable connections or a faulty monitor. Check all cable connections to ensure they are secure and replace any damaged cables. If the problem persists, the monitor itself may be faulty and need to be repaired or replaced.
Why does my computer screen go black but has sound?
When your computer screen goes black but still has sound, it could be due to issues with the monitor’s power supply, backlight driver, or graphics card driver. The monitor may be resetting and resuming operation, or the graphics card may have timed out and required a reset.