Having issues with Outlook 2013 not responding in Windows 7? Here are some solutions to help resolve the issue.
Start in Safe Mode to Diagnose Issues
To diagnose issues with Outlook 2013 not responding in Windows 7, start in Safe Mode. Press the “Windows key + R” to open the “Run” dialog, then type “outlook.exe /safe” and hit Enter. This will launch Outlook in Safe Mode, disabling any plugins or add-ins that may be causing the problem.
If Outlook opens in Safe Mode without any issues, then the problem likely lies with a plugin or add-in. Disable them one by one in the “File” menu under “Options” to identify the culprit. You can also try running Windows Update to ensure your system is up to date, as outdated software can cause compatibility issues.
Additionally, running a scan with your antivirus software can help identify and remove any potential threats that may be affecting Outlook’s performance. If the issue persists, consider creating a new user profile in Outlook or repairing your Microsoft Office installation through the Control Panel.
Check for Open Dialog Boxes
When troubleshooting Outlook 2013 not responding in Windows 7, be sure to check for any open dialog boxes that may be hidden behind other windows. These dialog boxes can sometimes cause the program to appear unresponsive.
If you suspect that a dialog box may be open, press Alt-Tab to cycle through the open windows and see if any dialog boxes are hidden. You can also try minimizing all windows to see if any dialog boxes are revealed on the desktop.
Make sure to close any open dialog boxes before attempting to use Outlook again. This simple step can often resolve the issue and get Outlook back up and running smoothly.
By being aware of hidden dialog boxes and promptly closing them, you can help prevent Outlook from becoming unresponsive and improve your overall user experience with the software.
Verify No Large Processes Are Running
Verify No Large Processes Are Running: Check the Task Manager to ensure there are no large processes consuming excessive resources. Press Ctrl + Shift + Esc to open Task Manager. Look for any processes that are taking up a significant amount of CPU or memory. If you find any, end those processes to free up resources for Outlook.
This can help resolve the issue of Outlook 2013 not responding in Windows 7.
Install Latest Windows and Office Updates
To resolve the issue of Outlook 2013 not responding in Windows 7, it is important to ensure that you have the latest Windows and Office updates installed.
1. Check for Windows Updates: Go to Control Panel > System and Security > Windows Update and install any available updates.
2. Update Office: Open any Office application, go to File > Account > Update Options and select Update Now.
3. Restart your computer: After installing updates, restart your computer to apply the changes.
Regularly updating Windows and Office can help address software bugs and vulnerabilities that may be causing Outlook to freeze. If the issue persists, consider troubleshooting further or seeking additional support.
Ensure Outlook is Not in Use by Another Process
Ensure Outlook is not in use by another process: Check the Task Manager for any Outlook processes running in the background. If you find any, end those processes and try opening Outlook again. Additionally, restart your computer to ensure all processes are closed properly.
This should help resolve any issues related to Outlook not responding.
Repair Office Programs Automatically
To automatically repair Office programs, first close all Office applications and go to Control Panel. Then, click on Programs and Features, select your Office program, and choose Change. From there, select Repair and follow the on-screen instructions to complete the process. This will help resolve any issues with Outlook 2013 not responding in Windows 7.
After the repair is done, restart your computer and check if the problem is resolved. If Outlook is still not responding, you may need to consider other solutions such as updating Windows or reinstalling Office.
Investigate and Repair Outlook Data Files
If Outlook 2013 is not responding in Windows 7, there may be issues with the data files. To investigate and repair these files, follow these steps:
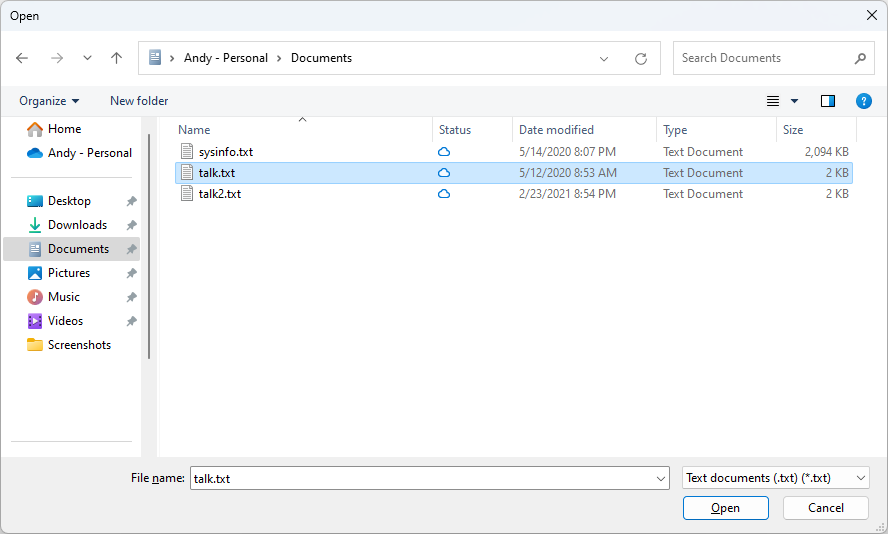
1. Run the Microsoft Outlook Repair Tool: Navigate to the Control Panel and search for “Mail”. Click on “Mail (32-bit)” and then select “Data Files”. Choose the Outlook data file that is causing issues and click on “Repair”. Follow the on-screen instructions to complete the repair process.
2. Create a new Outlook profile: Sometimes, creating a new Outlook profile can resolve the issue. Go to Control Panel and click on “Mail”. Select “Show Profiles” and then click on “Add”. Follow the prompts to create a new profile and set it as the default.
3. Check for corrupt data files: Use the Inbox Repair Tool (Scanpst.exe) to check for and repair any corrupt data files. This tool is usually located in the following directory: C:\Program Files (x86)\Microsoft Office\root\Office16.
Examine Possible Add-In Conflicts
When Outlook 2013 is not responding in Windows 7, one possible cause could be add-in conflicts. To examine this issue:
First, open Outlook in safe mode by holding down the Ctrl key while launching the program. If Outlook opens in safe mode without any issues, then an add-in conflict may be causing the problem.
Next, disable all add-ins by going to File > Options > Add-ins. From there, select “COM Add-ins” from the Manage dropdown menu and click “Go.” Uncheck all add-ins and restart Outlook to see if the issue persists.
If Outlook now responds properly, re-enable the add-ins one by one to determine which one is causing the conflict. Remember to restart Outlook after each re-enable to test for responsiveness.
Once the problematic add-in is identified, consider updating it or contacting the add-in developer for further assistance. By resolving add-in conflicts, you can improve the performance of Outlook 2013 in Windows 7.
Verify Mailbox Size is Not Too Large
Verify Mailbox Size is Not Too Large: One common reason for Outlook 2013 not responding in Windows 7 is due to an excessively large mailbox size. To check the size of your mailbox, go to File > Info > Mailbox Settings > Tools > Mailbox Cleanup. From there, you can see the size of your mailbox and clean up unnecessary emails or attachments to reduce its size.
Keeping your mailbox under control can help improve the performance of Outlook and prevent it from freezing or crashing. Regularly managing your mailbox size is essential for a smooth Outlook experience.
Update or Check Antivirus Software Compatibility
To resolve the issue of Outlook 2013 not responding in Windows 7, it is important to update or check the compatibility of your antivirus software. Make sure your antivirus software is up to date with the latest patches and versions to ensure that it is compatible with Outlook 2013 and Windows 7. If your antivirus software is not updated, it may cause conflicts with Outlook and lead to unresponsiveness.
Additionally, check the settings of your antivirus software to ensure that it is not blocking Outlook or any of its features. Sometimes, security settings can prevent Outlook from functioning properly. By adjusting the settings or adding Outlook as an exception, you can prevent any conflicts from occurring.
It is also recommended to run a scan on your computer using the antivirus software to check for any potential threats or malware that could be causing Outlook to freeze or become unresponsive. Removing any malicious files can help improve the performance of Outlook and prevent further issues from arising.
Create a New Outlook User Profile
To create a new Outlook user profile in Windows 7 and resolve the issue of Outlook 2013 not responding, follow these steps. First, open Control Panel and navigate to User Accounts. Click on Mail and then Show Profiles. Next, select Add to create a new profile.
Enter a name for the profile and click OK. Set up the new profile with your email account information. Finally, open Outlook and select the new profile from the dropdown menu. This should resolve any issues with Outlook not responding in Windows 7.
Perform a Selective Startup for Advanced Troubleshooting
- Open the System Configuration window by pressing Windows key + R and typing msconfig then hitting Enter
- Click on the Services tab and check the box that says Hide all Microsoft services
- Click on Disable all to disable all non-Microsoft services
- Click on the Startup tab and Open Task Manager by pressing Ctrl+Shift+Esc
- Disable all the startup items by selecting them and clicking on Disable
- Close Task Manager and click OK on the System Configuration window
- Restart your computer to apply the changes
FAQ
Why is Outlook 2013 not responding?
Outlook 2013 may not be responding due to corrupted data files, outdated or conflicting antivirus software, a corrupted user profile, or conflicts with another program.
How do I fix Outlook not opening in Windows 7?
To fix Outlook not opening in Windows 7, you can try restarting your computer, opening Outlook in Safe Mode, checking for Windows updates, scanning for malware, repairing Outlook, repairing your Outlook profile, repairing your Outlook data files, and resetting the navigation pane.
How do I restart Outlook that is not responding?
To restart Outlook that is not responding, you can try launching it in safe mode by typing “Outlook.exe /safe” in the Start menu search bar (for Windows 10) and pressing Enter. This may help fix the issue and allow you to open Outlook normally again.
Is Outlook 2013 still supported?
Outlook 2013 is no longer supported as of Ap. Continuing to use it could pose security risks.