Unveiling the Solutions: Troubleshooting Windows 10 USB Device Recognition Errors
Symptoms of Windows 10 not recognizing USB devices
If your Windows 10 is not recognizing USB devices, there are a few steps you can take to fix the issue. First, try restarting your computer and reconnecting the device. If that doesn’t work, check if the USB port is working properly by connecting another USB device. You can also try updating your device drivers through Device Manager. If the issue persists, try using a different USB port or a different USB cable.
If none of these solutions work, there may be a problem with the device itself and you may need to contact the manufacturer for further assistance.
Possible causes of Windows 10 not recognizing USB devices
- Faulty USB port
- Outdated USB driver
- USB selective suspend setting
- Corrupted USB drivers
- Power supply issues
- USB device compatibility issues
Repair steps:
-
Check the USB port:
- Try plugging the USB device into a different USB port on your computer.
- If possible, test the USB device on another computer to ensure it is functioning correctly.

- If the USB device works on another computer, the USB port on your computer may be faulty.
-
Update USB drivers:
- Open Device Manager by pressing Win + X and selecting Device Manager from the menu.
- Expand the Universal Serial Bus controllers category.

- Right-click on each USB driver and select Update driver.
- Choose the option to Search automatically for updated driver software.
- Restart your computer and check if the USB device is recognized.
-
Disable USB selective suspend:
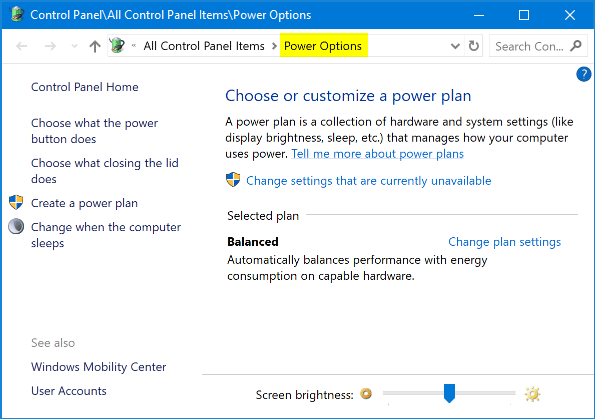
- Open the Power Options menu by pressing Win + X and selecting Power Options from the menu.
- Click on Change plan settings next to your selected power plan.
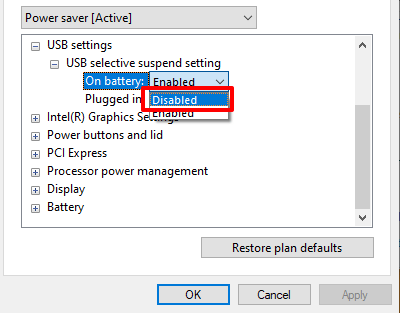
- Click on Change advanced power settings.
- Expand the USB settings category.
- Expand the USB selective suspend setting and set it to Disabled.
- Click Apply and OK to save the changes.
- Restart your computer and check if the USB device is recognized.
-
Reinstall USB drivers:
- Open Device Manager by pressing Win + X and selecting Device Manager from the menu.
- Expand the Universal Serial Bus controllers category.
- Right-click on each USB driver and select Uninstall device.
- Restart your computer.
- Windows will automatically reinstall the USB drivers.
- Check if the USB device is recognized.

-
Check power supply:
- Make sure the USB device is adequately powered.
- Try using a different power source or USB hub.

- Ensure that the USB cable is not damaged or loose.
-
Check USB device compatibility:
- Verify if the USB device is compatible with Windows 10.
- Check the manufacturer’s website for any available drivers or updates.
- Consider contacting the device manufacturer for further assistance.
Uninstall and reconnect the external hard drive
Uninstall and Reconnect External Hard Drive
If your external hard drive is not being recognized by your Windows 10 computer, follow these steps to fix the issue:
1. Open Device Manager by right-clicking on the Start menu and selecting it from the context menu.
2. Expand the Universal Serial Bus controllers category.
3. Locate the USB device that is not working properly.
4. Right-click on the device and select Uninstall device.
5. Disconnect the external hard drive from your computer.
6. Restart your computer.
7. Reconnect the external hard drive to a different USB port.
8. Windows will automatically reinstall the necessary drivers for the device.
If the problem persists, try connecting the external hard drive to a different computer to determine if the issue is with the drive itself or your computer’s USB ports.
python

import time

import pyautogui
# Open Device Manager
pyautogui.hotkey('win', 'x')
time.sleep(1)
pyautogui.press('m')
# Select Universal Serial Bus controllers
time.sleep(1)
pyautogui.press(['tab', 'tab'])
pyautogui.press('right')
# Find and update drivers
time.sleep(1)
pyautogui.hotkey('alt', 'a')
pyautogui.press('down')
pyautogui.press('enter')
# Restart the computer
time.sleep(1)
pyautogui.hotkey('win', 'x')
time.sleep(1)
pyautogui.press(['u', 'r'])
# Additional steps or error handling can be added as needed
Again, please note that this code is a basic example and may not address your specific issue. It is always recommended to follow official troubleshooting guides or consult technical support for accurate assistance.
Install hotfixes for Windows 7 compatibility
To fix USB device recognition errors in Windows 10, follow these steps:
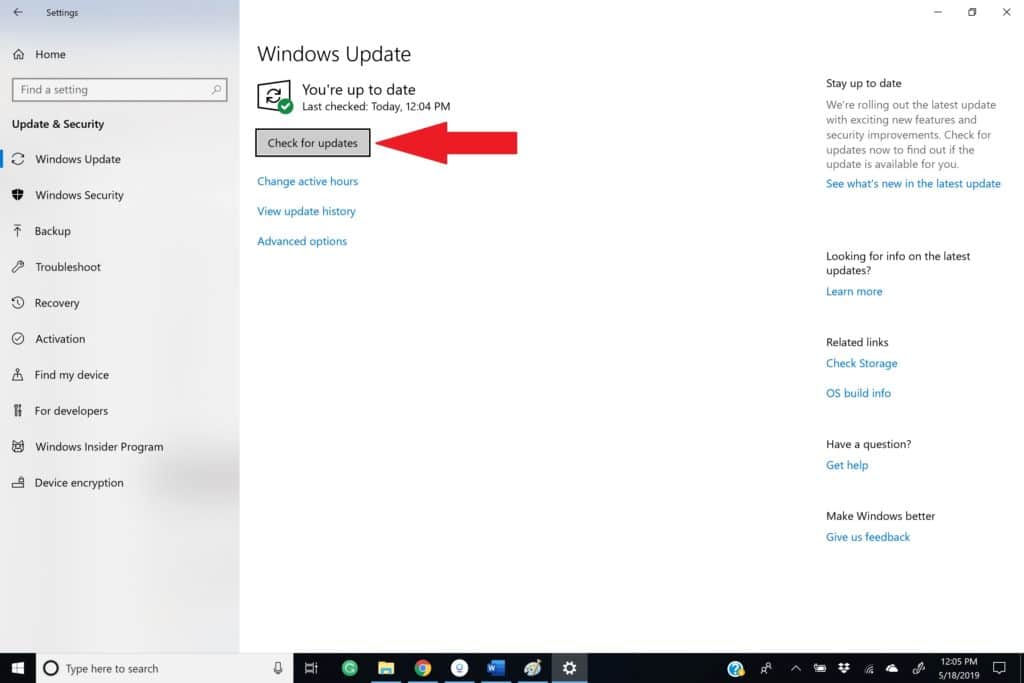
1. Check for and install any available Windows updates. Open the Start menu, search for “Windows Update,” and select it from the results.
2. Make sure you have the latest drivers for your USB hardware. Visit the manufacturer’s website or use Device Manager to update the drivers.
3. Restart your computer. Sometimes, a simple reboot can resolve USB recognition issues.
4. Try connecting the USB device to a different USB port or using a different USB cable. Faulty ports or cables can cause recognition problems.
5. If you’re using a USB hub, disconnect it and connect the USB device directly to your computer. Some hubs may not be compatible with certain devices.
6. Check the USB device on another computer. If it works, the issue may be with your computer’s hardware or software.
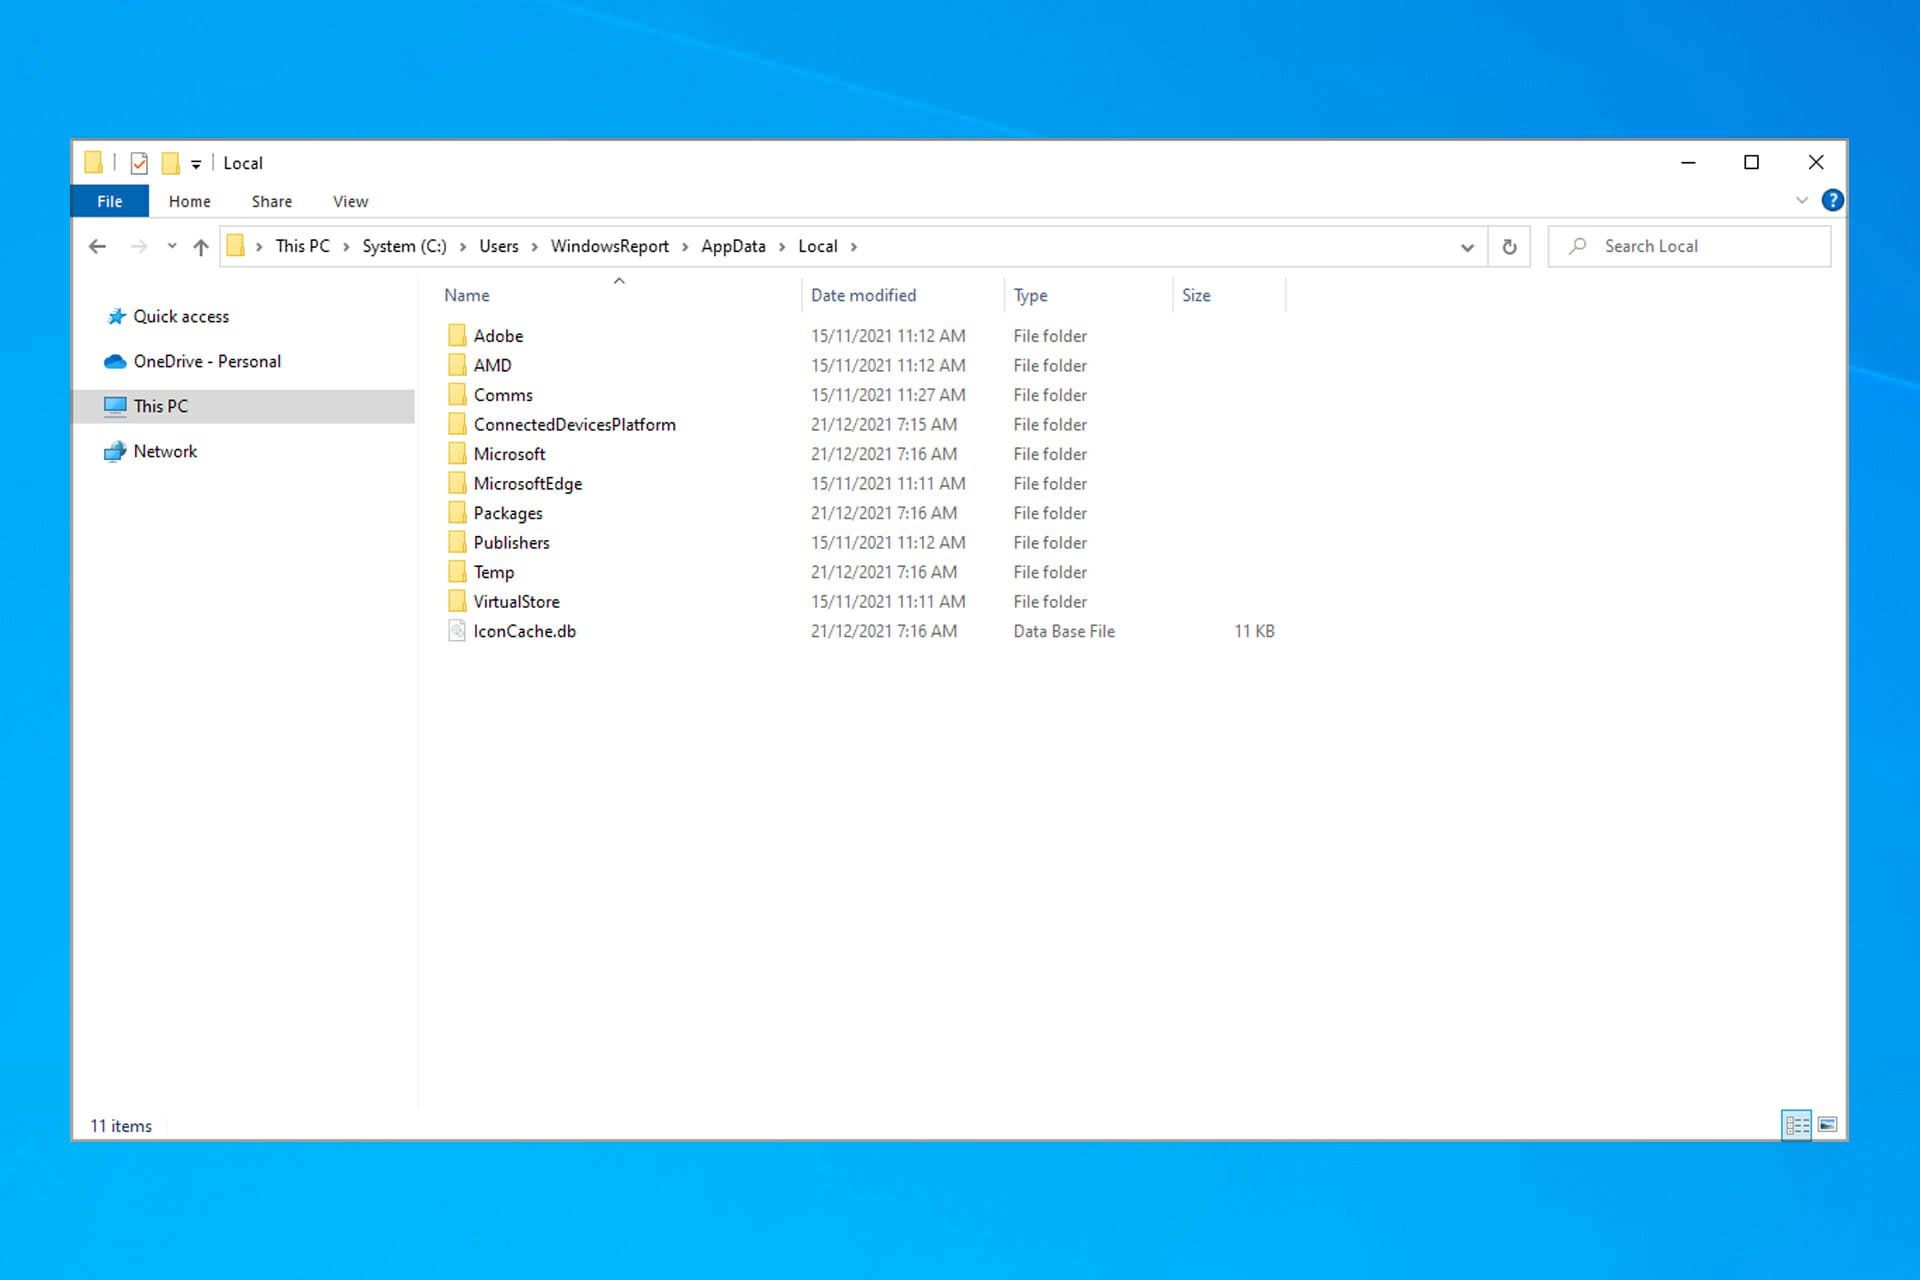
7. Use File Explorer to check if the USB device is showing up. Right-click the Start button, select “File Explorer,” then click “This PC” on the left side.
8. If all else fails, consider uninstalling and reinstalling the USB device drivers. Open Device Manager, locate the USB device, right-click it, and select “Uninstall.” Then, restart your computer and let Windows reinstall the drivers.
Install the latest Windows Updates
To fix the Windows 10 USB device recognition error, follow these steps:
1. First, make sure your computer is up to date with the latest Windows Updates. Go to Settings > Update & Security > Windows Update and click “Check for updates.” Install any available updates.
2. If the issue persists, try rebooting your computer and reconnecting the USB device.
3. Check if the USB device is properly connected to the computer. Try connecting it to a different USB port or using a different USB cable.
4. If the USB device is still not recognized, try updating the device driver. Right-click on the Start button, select Device Manager, expand the Universal Serial Bus controllers category, right-click on the USB device with the issue, and select Update driver.
5. In some cases, the issue could be with the USB controller. Try updating the chipset driver by visiting the manufacturer’s website and downloading the latest driver for your motherboard.
6. If none of the above steps work, you can try using a different USB port or connecting the USB device to a different computer to see if it works there. If it does, the issue might be with your computer’s USB ports.
Reinstall USB controllers
To reinstall USB controllers on Windows 10 and fix USB device recognition errors, follow these steps:
1. Press the Windows key + X and select “Device Manager” from the context menu.
2. Expand the “Universal Serial Bus controllers” category.
3. Right-click on the first USB controller and select “Uninstall device.” Repeat this step for all USB controllers listed.
4. Reboot your computer.
5. After the reboot, Windows will automatically reinstall the USB controllers.
6. Plug in your USB device again to check if it is recognized.
If the issue persists, try updating your device drivers or using a different USB port.
Disable USB selective suspend setting
To fix USB device recognition errors in Windows 10, you can try disabling the USB selective suspend setting. This setting allows the operating system to turn off USB devices to save power, but it can sometimes cause issues. Here’s how to disable it:
1. Press the Windows key + X and select “Device Manager.”
2. Expand the “Universal Serial Bus controllers” category.
3. Right-click on each USB Root Hub and select “Properties.”
4. Go to the “Power Management” tab.
5. Uncheck the box that says “Allow the computer to turn off this device to save power.”
6. Click “OK” to save the changes.
By disabling USB selective suspend, you may be able to resolve issues with USB devices not being recognized or malfunctioning on your Windows 10 computer.
Install motherboard’s latest chipset drivers
To fix USB device recognition errors on Windows 10, it’s important to install the latest chipset drivers for your motherboard. This ensures that your computer’s hardware and operating system can communicate properly with USB devices.
To install the latest chipset drivers, follow these steps:
1. Go to the manufacturer’s website for your motherboard.
2. Locate the support or downloads section.
3. Search for the latest chipset drivers for your specific motherboard model.
4. Download the drivers and save them to your computer.
5. Open the downloaded file and follow the on-screen instructions to install the drivers.
6. Restart your computer to apply the changes.
By installing the latest chipset drivers, you can resolve USB device recognition errors and ensure smooth operation of your USB devices.
Restart the computer
If you’re experiencing a USB device recognition error on your Windows 10 computer, a simple restart can often resolve the issue. Restarting your computer can help refresh the system and clear any temporary glitches that may be causing the problem.
To restart your computer, follow these steps:
1. Click on the Start menu in the bottom left corner of your screen.
2. Select the Power icon.
3. Choose Restart from the options.
Once your computer restarts, check if the USB device is now recognized. If the issue persists, you can try other troubleshooting steps mentioned in this article.
Try a different computer
If you’re experiencing issues with USB device recognition on your Windows 10 computer, there are a few troubleshooting steps you can try.
First, try connecting the USB device to a different computer to see if the issue is with the device itself or your computer.
If the device works on another computer, the problem may be with your computer’s hardware or drivers. To fix this, try updating the drivers for your USB host controller. You can do this by going to the Device Manager, finding the USB host controller under “Universal Serial Bus controllers,” right-clicking on it, and selecting “Update driver.”
If updating the drivers doesn’t solve the issue, try using a different USB port on your computer. Sometimes certain ports can have problems while others work fine.
If none of these steps work, you can also try using a USB disk enclosure to connect the device to your computer as an external drive. This can help determine if the issue is with the USB port or the device itself.
Troubleshooting methods for fixing Windows 10 not detecting USB devices
| Troubleshooting Method | Description |
|---|---|
| 1. Check USB Connections | Ensure that the USB device is properly connected to the computer. Try disconnecting and reconnecting the device to different ports. |
| 2. Restart Computer | Restart your Windows 10 computer and check if the USB device is detected upon startup. Sometimes a simple reboot can resolve detection issues. |
| 3. Update USB Drivers | Go to the Device Manager, locate the USB controllers, right-click and select “Update driver.” Alternatively, visit the manufacturer’s website and download the latest USB drivers. |
| 4. Disable USB Selective Suspend | Open the Power Options in the Control Panel, click on “Change plan settings” for your selected power plan, then “Change advanced power settings.” Locate “USB settings” and disable “USB selective suspend setting.” |
| 5. Run Hardware and Devices Troubleshooter | Open the Settings app, go to Update & Security, select Troubleshoot from the left pane, then click on “Hardware and Devices” troubleshooter and follow the on-screen instructions. |
| 6. Uninstall USB Controllers | Open the Device Manager, expand the “Universal Serial Bus controllers” category, right-click on each USB controller, and select “Uninstall device.” Restart your computer, and the drivers will be automatically reinstalled. |
| 7. Disable Fast Startup | Open the Power Options in the Control Panel, click on “Choose what the power buttons do,” then “Change settings that are currently unavailable.” Uncheck the “Turn on fast startup” option. |
| 8. Disable USB Selective Suspend | Open the Power Options in the Control Panel, click on “Change plan settings” for your selected power plan, then “Change advanced power settings.” Locate “USB settings” and disable “USB selective suspend setting.” |
| 9. Reset Windows 10 | If all else fails, you can perform a reset of Windows 10, which will reinstall the operating system while keeping your personal files intact. Ensure to backup important data before proceeding. |