Having trouble accessing your Control Panel in Windows 10? Here are 7 ways to fix the issue.
Scan for Malware and Viruses
1. Use Microsoft Defender Antivirus to scan your computer for any malicious software. This built-in security tool can help identify and remove any potential threats that may be affecting your system.
2. Check for any suspicious files or programs that could be causing the issue. Look for any unfamiliar or potentially harmful files that may have been downloaded onto your computer.
3. Run a full system scan using a reputable antivirus software. This will help to detect and remove any malware or viruses that may be impacting your system’s performance.
By scanning for malware and viruses, you can ensure that your system is clean and free from any harmful software that may be causing issues with accessing Control Panel in Windows 10.
Adjust Display Settings and Resolution
| Adjust Display Settings and Resolution |
|---|
|
If you are having trouble accessing the Control Panel in Windows 10, you may need to adjust your display settings and resolution. Here are some steps you can take to fix the issue:
|
Modify Registry and System Files
1. Run System File Checker: This built-in tool can scan and repair corrupted system files that may be causing issues with accessing the Control Panel.
2. Use Windows Registry Editor: You can try editing the registry to fix any errors related to the Control Panel. Be careful when making changes in the registry as it can impact system stability.
3. Reboot Your Computer: Sometimes a simple reboot can resolve issues with accessing the Control Panel in Windows 10.
4. Check for Computer Viruses: Use Microsoft Defender Antivirus to scan your system for any potential threats that may be preventing you from accessing the Control Panel.
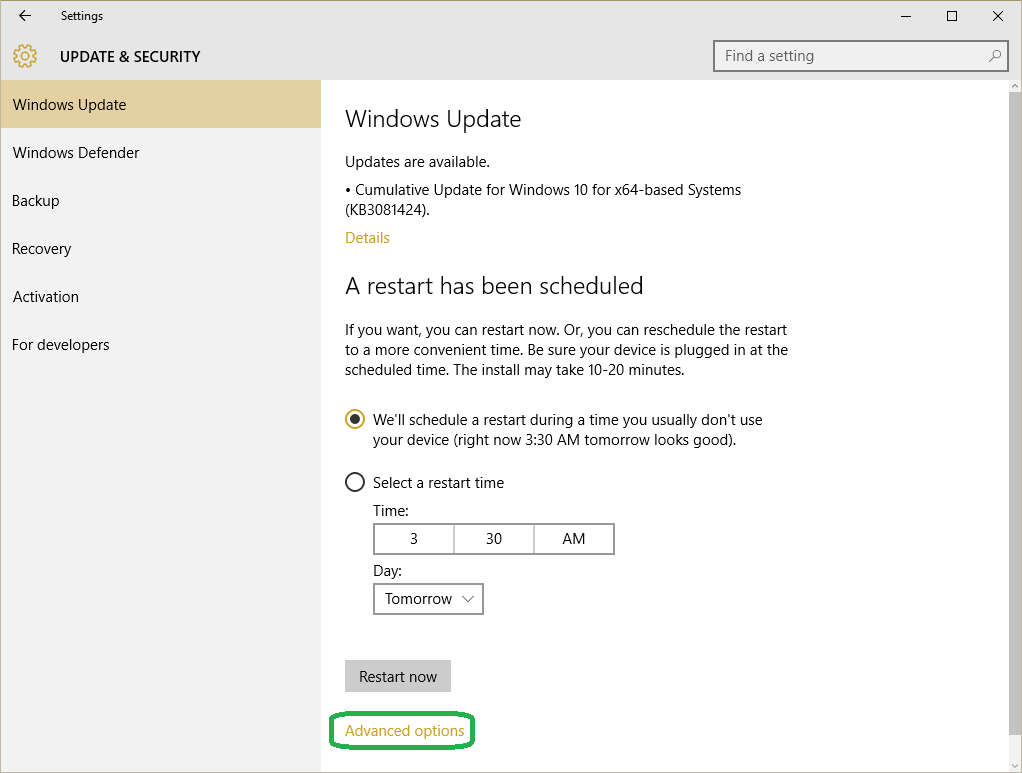
5. Update Windows: Make sure your system is up to date by checking for the latest Windows updates. This can help resolve any bugs or issues with system files.
6. Use PowerShell: You can use PowerShell to run commands that may help in fixing issues with accessing the Control Panel.
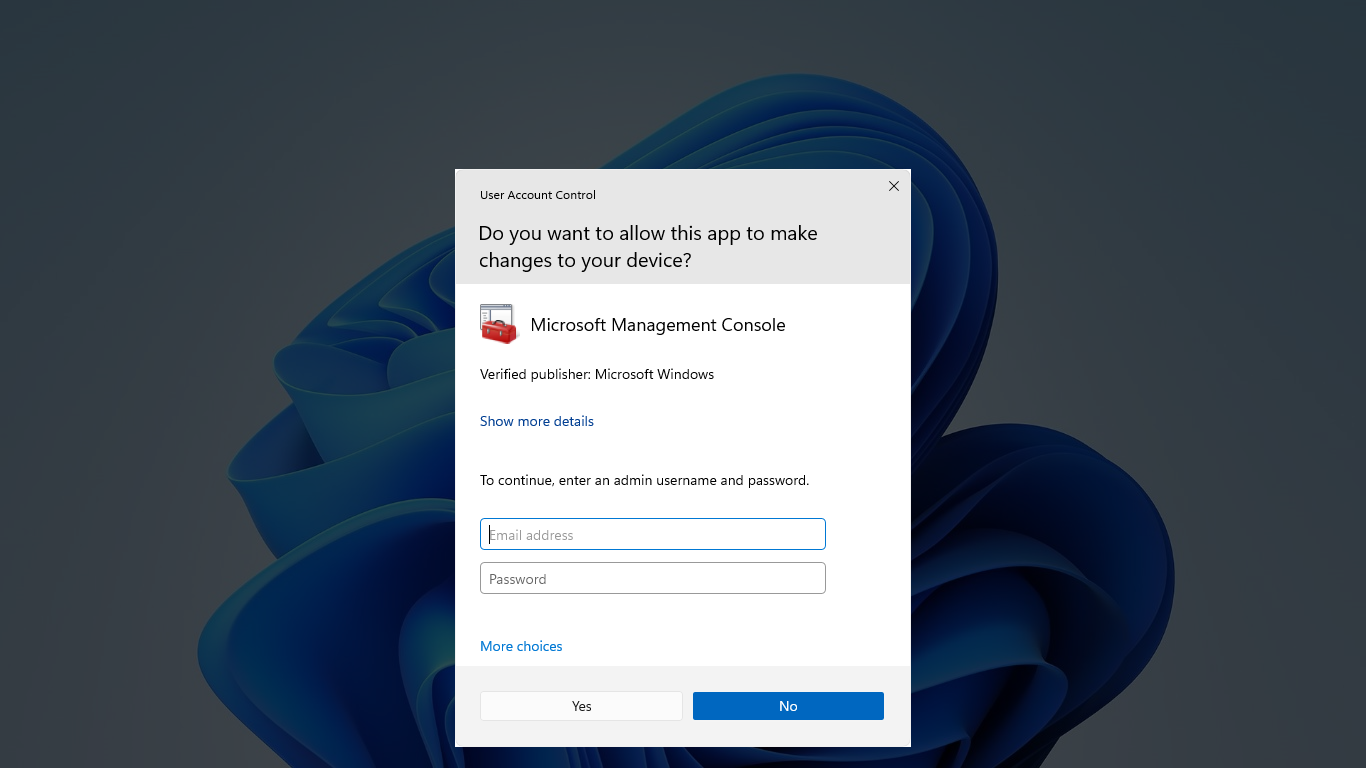
7. Seek Help from a System Administrator: If you are unable to resolve the issue on your own, consider seeking help from a system administrator or IT professional for further assistance.
Explore Alternative Access Methods and System Repair
If you are experiencing issues accessing the Control Panel in Windows 10, there are alternative access methods you can try. One way to access the Control Panel is by using the Run dialog box. Simply press the Windows key + R on your keyboard to open the Run dialog box, then type “control” and press Enter. This will open the Control Panel.
Another way to access the Control Panel is through the Settings menu. Click on the Start menu and select Settings. From there, click on System and then About. You will see an option to access the Control Panel.
If you are still unable to access the Control Panel, you may need to repair your system files using the System File Checker tool. Open a Command Prompt as an administrator and type “sfc /scannow” and press Enter. This will scan and repair any corrupted system files.
If you suspect that a computer virus may be causing the issue, run a full system scan using your antivirus software. You can also try restarting your computer in Safe Mode to troubleshoot the issue without interference from third-party software.
By exploring these alternative access methods and system repair options, you can hopefully resolve the issue of not being able to access the Control Panel in Windows 10.
FAQs
Why can’t I access Control Panel Windows 10?
I can’t access Control Panel in Windows 10 due to possible system file corruption. To fix this issue, you can run an SFC scan by right-clicking the Start button and selecting Windows PowerShell (Admin) to run it as an administrator. Then, type in the command sfc/scannow and press Enter.
How do I force open Control Panel?
To force open Control Panel, you can use the Run command dialog box. Press Win + R, type cmd, press Ctrl + Shift + Enter to open an elevated Command Prompt, then type control panel and press Enter.
How do I restore the Control Panel in Windows 10?
To restore the Control Panel in Windows 10, you can search for it in the search box next to the Start button on the taskbar and select Control Panel (Desktop app) from the results. Then search for Recovery in the Control Panel and select Recovery > Open System Restore > Next.
How do I unblock Control Panel in Windows 10?
To unblock Control Panel in Windows 10, you need to ensure that access to control panel and settings app is enabled. Select the enabled option, click on apply, and then click on OK.