In this article, I will discuss how to fix the Windows Blue Screen of Death crash.
History and Attribution
When facing a BSoD crash, it’s important to identify the root cause. Common culprits include: faulty device drivers, malware infections, software bugs, hardware issues, or even incompatible software. To troubleshoot a BSoD crash, start by rebooting your computer. If the crash persists, boot into Safe Mode to isolate the problem.
If you suspect malware or viruses: Run a full system scan using reliable antivirus software. Ensure your operating system is up to date by running Windows Update. Utilize System Restore to revert your system to a previous stable state.
Check for hardware issues: Inspect your computer’s hardware components, such as the motherboard, RAM, hard drive, and power supply unit. Ensure all connections are secure and functional.
When encountering a BSoD crash: Use the Task Manager to identify problematic applications or processes. If necessary, use Control-Alt-Delete to force quit unresponsive programs. Remember to save your work regularly to prevent data loss.
Understanding the Meaning
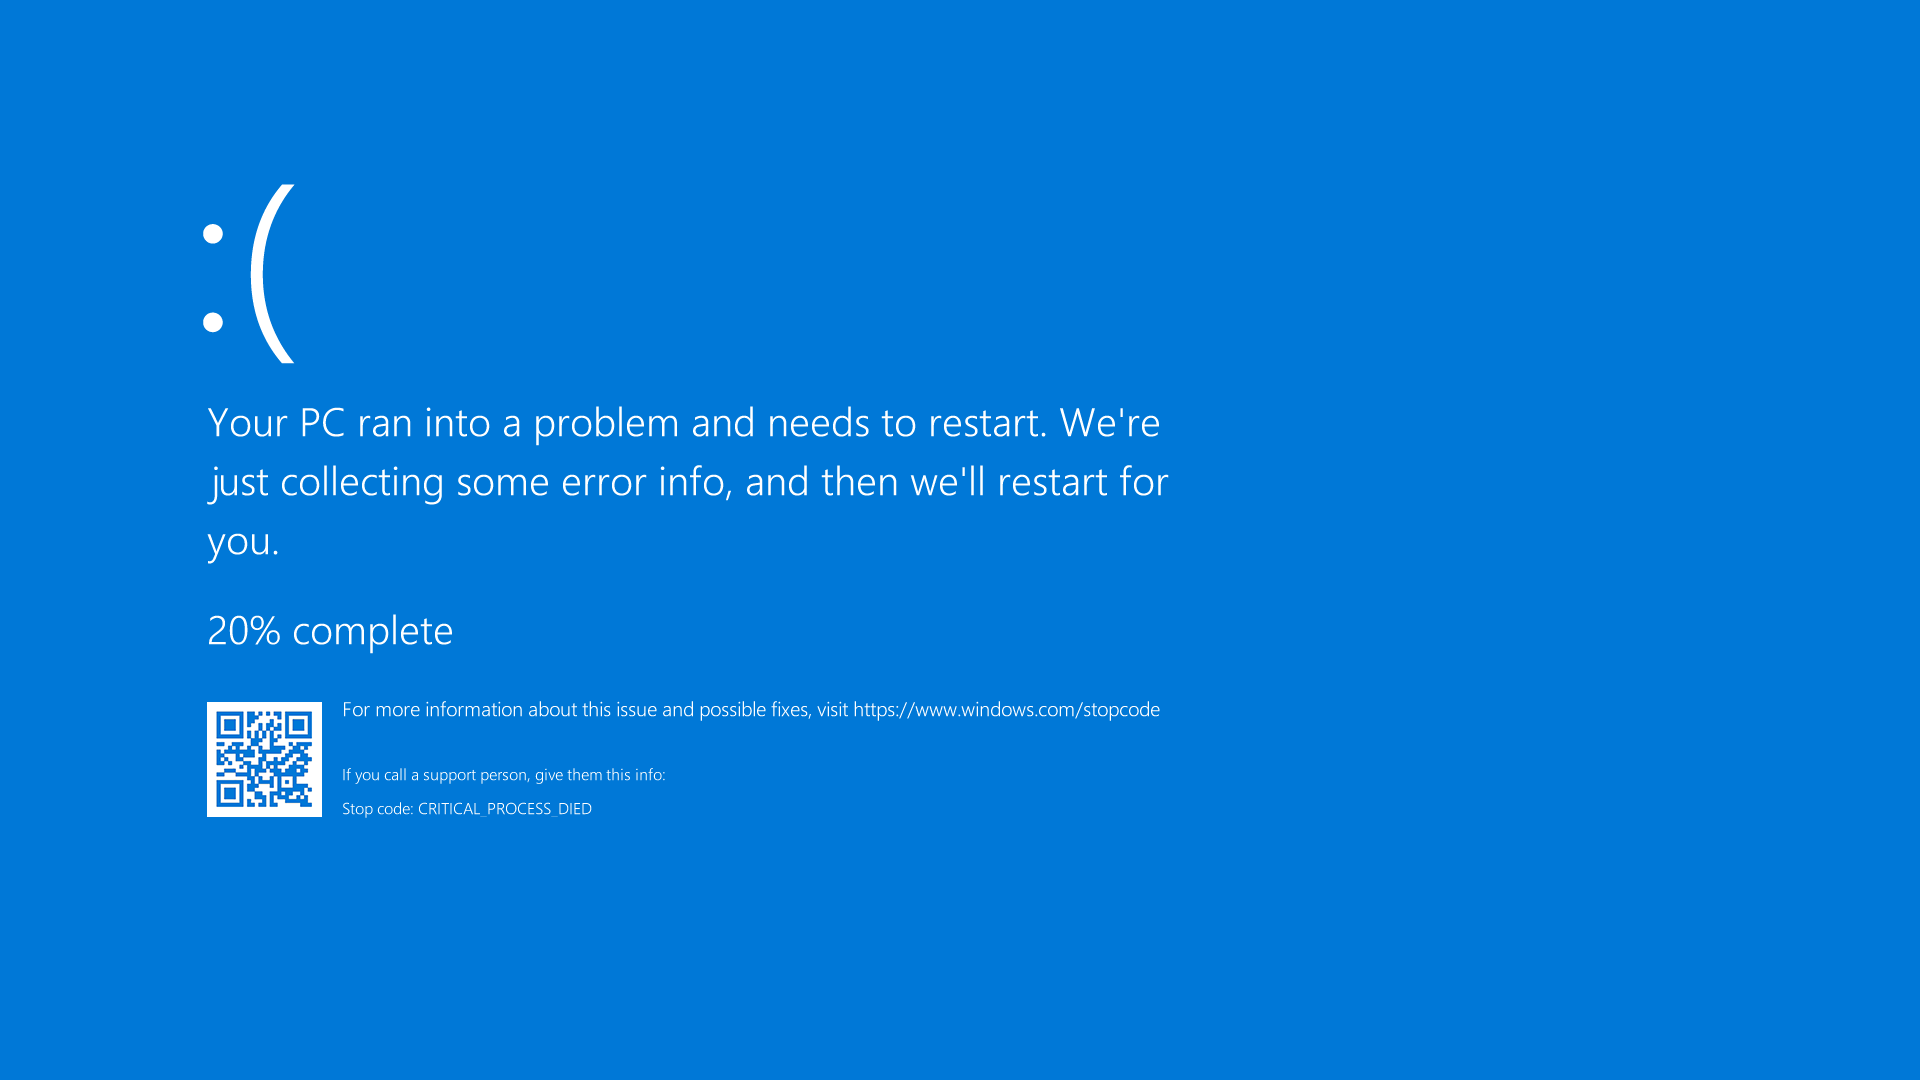
When faced with a Windows Blue Screen of Death crash, it is important to understand the meaning behind this error message. The Blue Screen of Death typically indicates a serious system error that has caused your computer to crash. To fix this issue, reboot your computer to see if the problem resolves itself.
If rebooting does not work, it is possible that the crash was caused by a computer virus or malware. Make sure to run a full system scan using antivirus software to remove any potential threats.
You can also try using the Windows Task Manager to see if any applications are causing the crash. End any unresponsive programs and check for any recent changes made to your system that may have triggered the crash.
If the crash persists, consider using System Restore to revert your computer back to a previous working state. This can help undo any recent changes that may have caused the crash.
In some cases, the crash may be due to an issue with a device driver or software bug. Update your drivers and software to the latest versions to see if this resolves the problem.
If all else fails, try booting your computer in Safe Mode to troubleshoot the issue without any third-party applications running. This can help isolate the cause of the crash and allow you to fix the problem more effectively.
Understanding the meaning behind a Windows Blue Screen of Death crash is the first step towards resolving the issue and getting your computer back up and running smoothly.
Main Causes
- Update Windows:
- Click on the Start menu and select Settings.
- Go to Update & Security and click on Check for updates.
- Install any available updates and restart your computer.
- Check for Driver Updates:
- Open Device Manager by right-clicking on the Start menu and selecting it.
- Look for any devices with a yellow exclamation mark, right-click on them, and select Update driver.
- Follow the on-screen instructions to update the driver.
- Run System File Checker:
- Open Command Prompt as an administrator by searching for it in the Start menu, right-clicking on it, and selecting Run as administrator.
- Enter the command sfc /scannow and press Enter.
- Wait for the scan to complete and follow any repair instructions.
Managing Settings
To manage settings to fix the Windows Blue Screen of Death crash, you need to first access the Control Panel. Press the Windows key + R to open the Run dialog box, then type control and hit Enter. This will open the Control Panel where you can make necessary adjustments.
Next, navigate to the System and Security section in the Control Panel. Click on System to access the system settings. Here, you can check for any updates that may be causing the crash and install them if needed.
If the crash is due to a specific program or driver, you can use the Device Manager to update or uninstall the problematic driver. Right-click on the Start button and select Device Manager. Look for the device causing the issue, right-click on it, and choose to update or uninstall the driver.
Another way to manage settings is to check the Task Manager for any programs that might be causing the crash. Press Ctrl + Shift + Esc to open Task Manager, then go to the Processes tab to see which programs are running. You can end tasks that are not responding or consuming a lot of resources.
Lastly, if the crash is persistent, you may need to reboot your computer. Sometimes a simple restart can resolve the issue by clearing out any temporary glitches in the system. Remember to save your work before restarting to avoid any data loss.
By managing these settings in the Control Panel, Device Manager, and Task Manager, you can troubleshoot and fix the Windows Blue Screen of Death crash effectively.
Fixing Strategies
1. Check for Device Driver Issues: One common cause of the Blue Screen of Death (BSoD) crash is incompatible or outdated device drivers. To fix this, go to Device Manager by pressing Windows key + X, then select “Device Manager.” Look for any devices with a yellow exclamation mark, indicating a problem. Right-click on the device and select “Update driver.”
2. Run Windows Update: Keeping your operating system up to date can help prevent BSoD crashes caused by software bugs or vulnerabilities. Go to Settings, then click on “Update & Security” and select “Check for updates.”
3. Check for Memory Issues: Faulty RAM can also lead to BSoD crashes. To check for memory issues, open Command Prompt as an administrator by searching for it in the Start menu, then type chkdsk /f /r and press Enter. Restart your computer for the scan to run.
4. Scan for Malware: Computer viruses, ransomware, and other malware can cause system crashes. Run a full system scan using a reputable antivirus software to detect and remove any malicious programs.
5. Check for Hardware Problems: If the BSoD crash persists, there may be an issue with your computer hardware. Check for loose connections, faulty components, or overheating. You can also run diagnostic tests on your hardware to pinpoint the problem.
6. Restore to a Previous State: If all else fails, you can try restoring your computer to a previous state before the BSoD crash occurred. Go to Control Panel, then select “Recovery” and choose “Open System Restore.” Follow the prompts to restore your system to a previous point.
Updating Drivers
To update drivers on your Windows system and potentially fix the Blue Screen of Death crash, follow these steps:
1. Open Device Manager by pressing Windows key + X and selecting Device Manager from the menu.
2. Expand the categories to locate the device driver you want to update.
3. Right-click on the driver and select Update driver.
4. Choose to search automatically for updated driver software and follow the on-screen instructions.
5. If Windows doesn’t find an updated driver, visit the manufacturer’s website to manually download and install the latest driver.
6. Repeat the process for all drivers that may need updating, including graphics card, network adapter, and chipset drivers.
7. After updating all drivers, restart your computer to apply the changes.
By keeping your drivers up to date, you can potentially resolve compatibility issues that may be causing the Blue Screen of Death crash on your Windows system.
Impact of Bad Software
Bad software can have a significant impact on your computer’s performance, leading to issues like the dreaded Blue Screen of Death crash. This type of crash can occur when your system encounters a critical error that it cannot recover from, resulting in a sudden shutdown to prevent further damage.
When faced with a Blue Screen of Death crash, it is essential to identify the root cause of the issue. Check for any recently installed software or drivers that may be incompatible with your system. These can often trigger crashes and should be uninstalled or updated accordingly to resolve the problem.
If you suspect that a computer virus or malware is to blame for the crash, it is crucial to run a thorough scan of your system using a reputable antivirus program. These malicious programs can wreak havoc on your system, causing crashes and other issues that can be resolved with proper removal.
Another common cause of Blue Screen of Death crashes is outdated or corrupt system files. Use the Windows Task Manager to check for any programs that may be consuming excessive resources, leading to crashes. Additionally, ensure that your operating system is up to date with the latest patches and updates from Microsoft to address any known issues that could be causing crashes.
Malware Concerns
To fix the Windows Blue Screen of Death crash caused by malware, run a full antivirus scan of your system immediately. Make sure your antivirus software is up to date and capable of detecting and removing the specific type of malware that may be causing the crash.
If your antivirus scan does not detect any malware, consider using a dedicated anti-malware tool to perform a secondary scan. Some malware can evade detection by traditional antivirus software, so using an anti-malware tool may help identify and remove the culprit.
Check your system for any suspicious files or programs that may have been installed without your knowledge. Malware often disguises itself as legitimate software, so be vigilant in identifying any suspicious activity on your system.
Update your operating system and all software applications to the latest versions. Software bugs and vulnerabilities can be exploited by malware to cause system crashes, so keeping your system up to date can help prevent future crashes.
In some cases, a Windows Blue Screen of Death crash may require more advanced troubleshooting steps, such as checking your computer hardware for issues. If you are unable to resolve the crash on your own, consider seeking help from a professional computer technician.
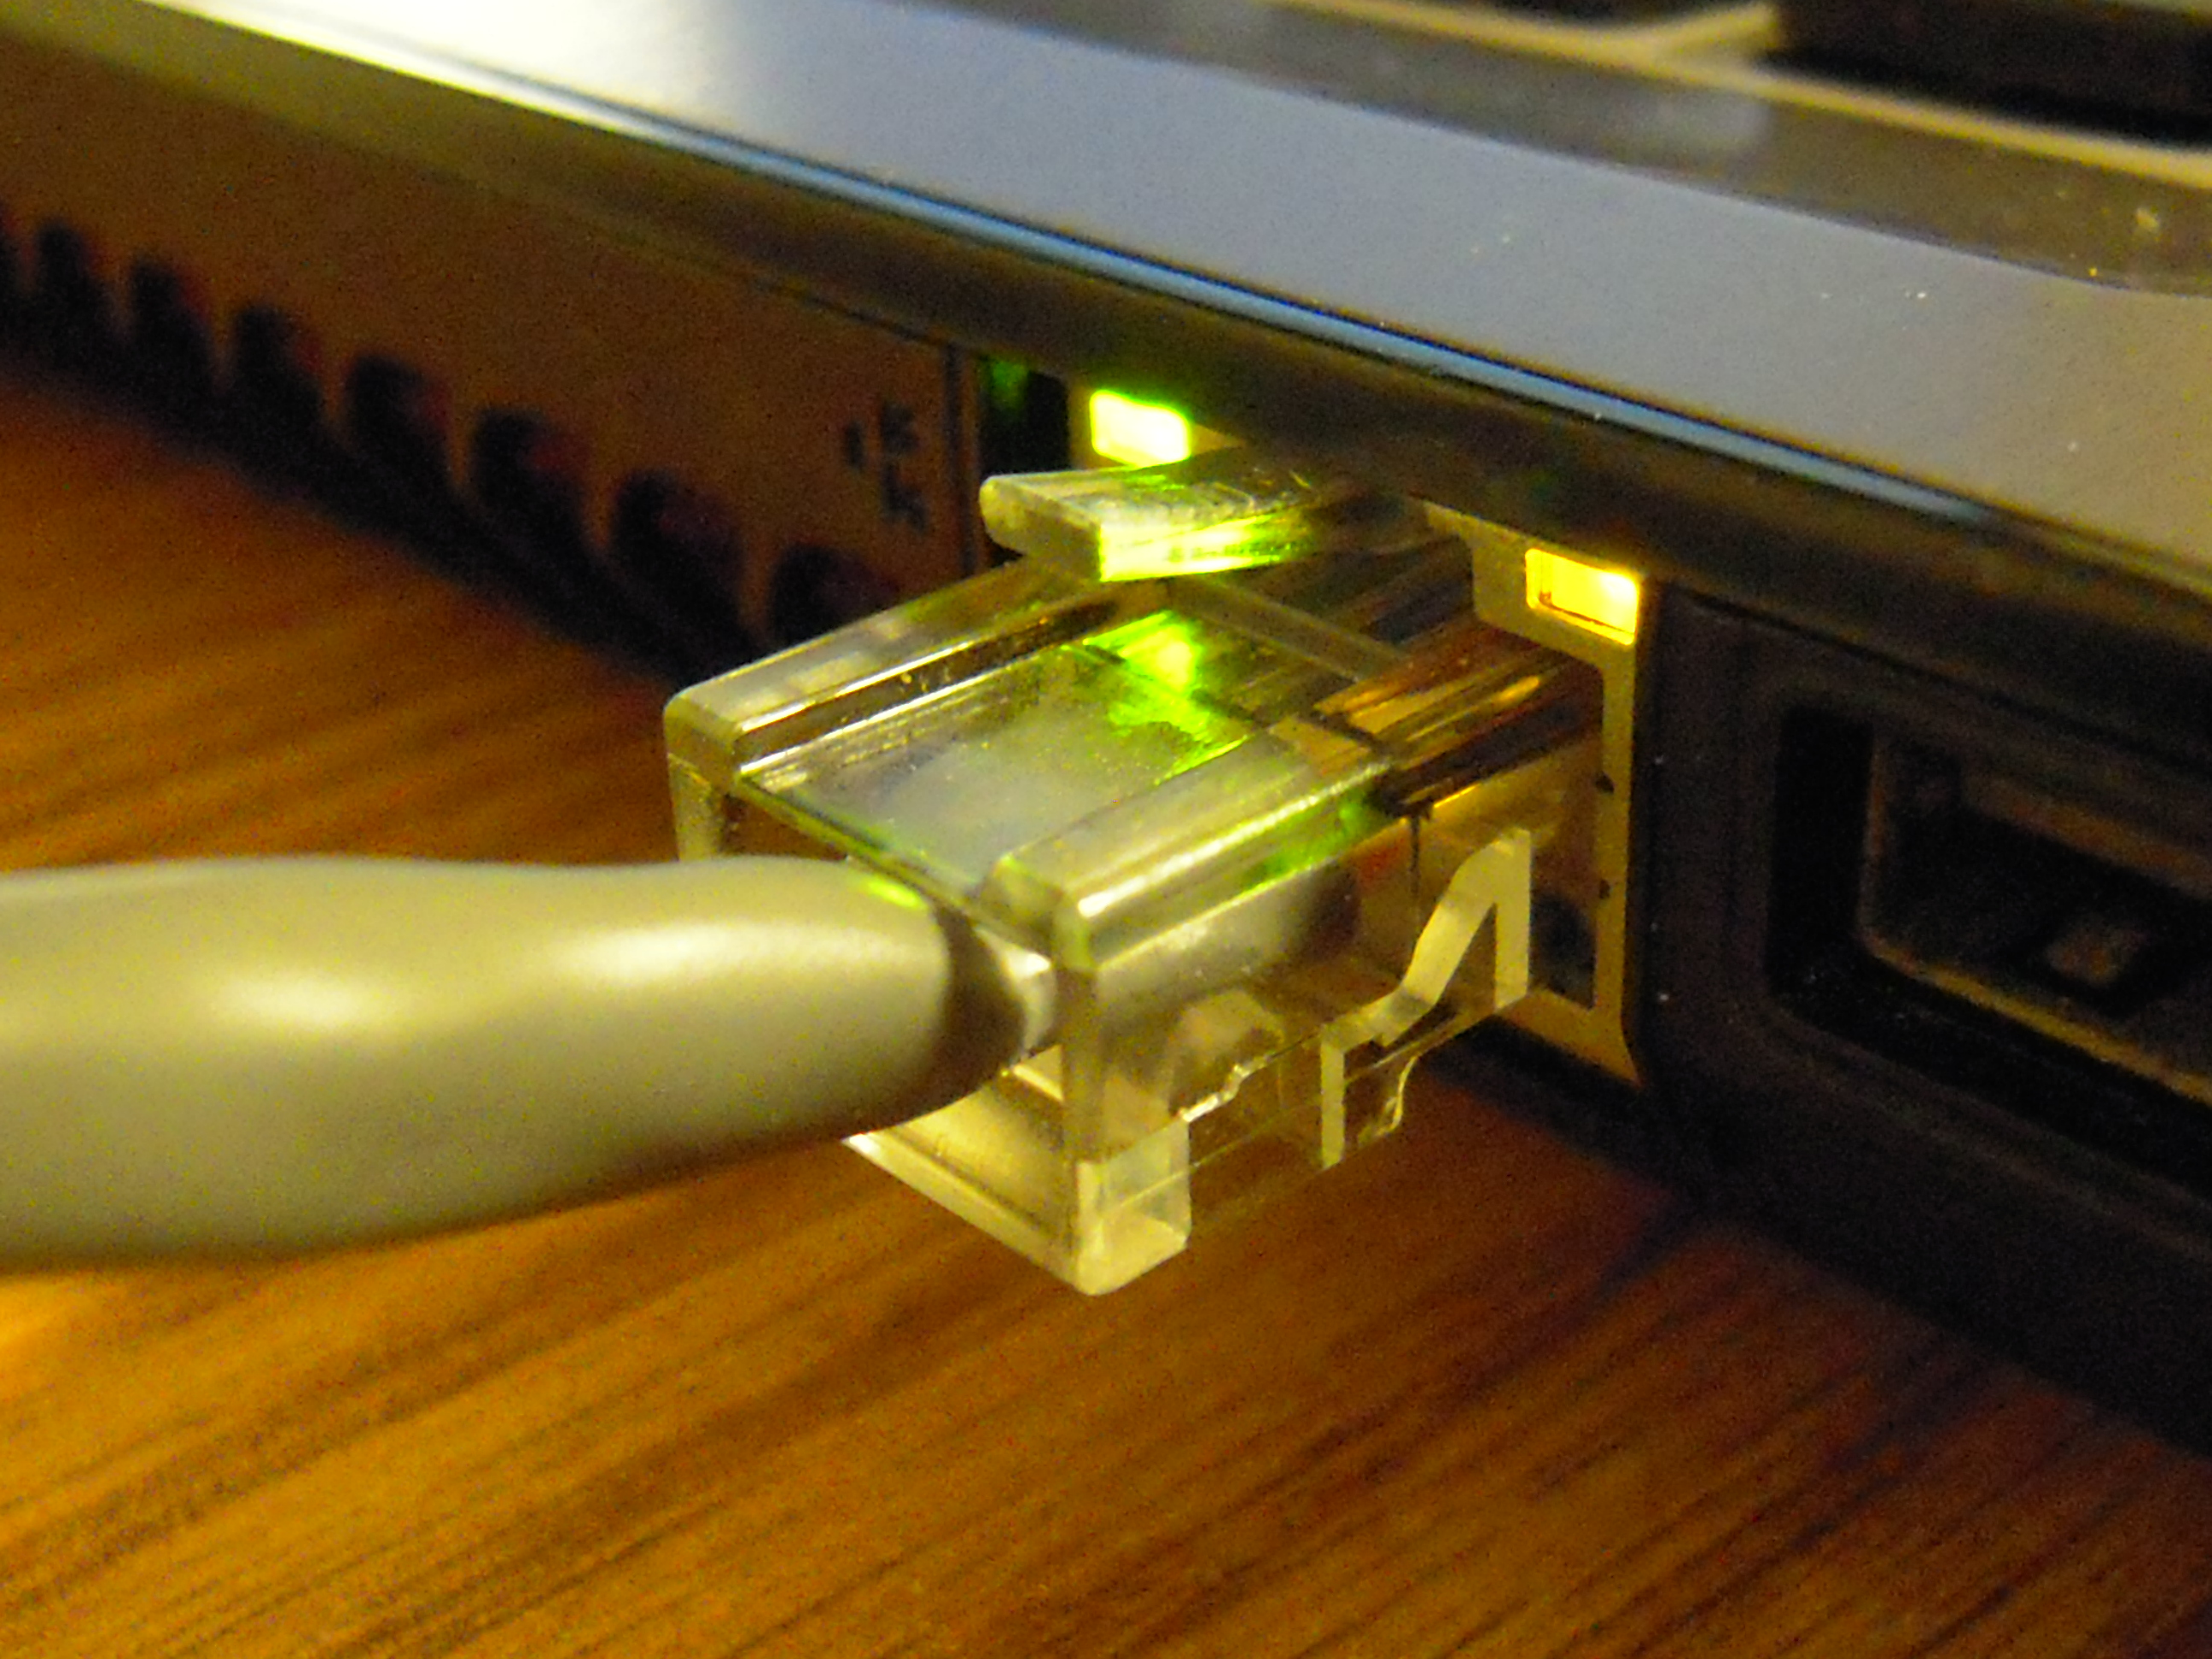
Peripheral and Hardware Integration
When dealing with a Windows Blue Screen of Death crash, one possible cause could be peripheral or hardware integration issues. To troubleshoot this, follow these steps:
First, check all external devices connected to your computer. Make sure they are securely plugged in and functioning properly. Sometimes, a loose connection can cause stability issues.
Next, open the Device Manager by pressing Windows key + X and selecting Device Manager from the menu. Look for any devices with a yellow triangle icon, indicating a problem. Right-click on these devices and select “Update driver” to ensure they have the most recent drivers installed.
If updating drivers does not resolve the issue, you may need to disable or uninstall the problematic device. In the Device Manager, right-click on the device and select “Disable” or “Uninstall.” Reboot your computer to see if this resolves the crash.
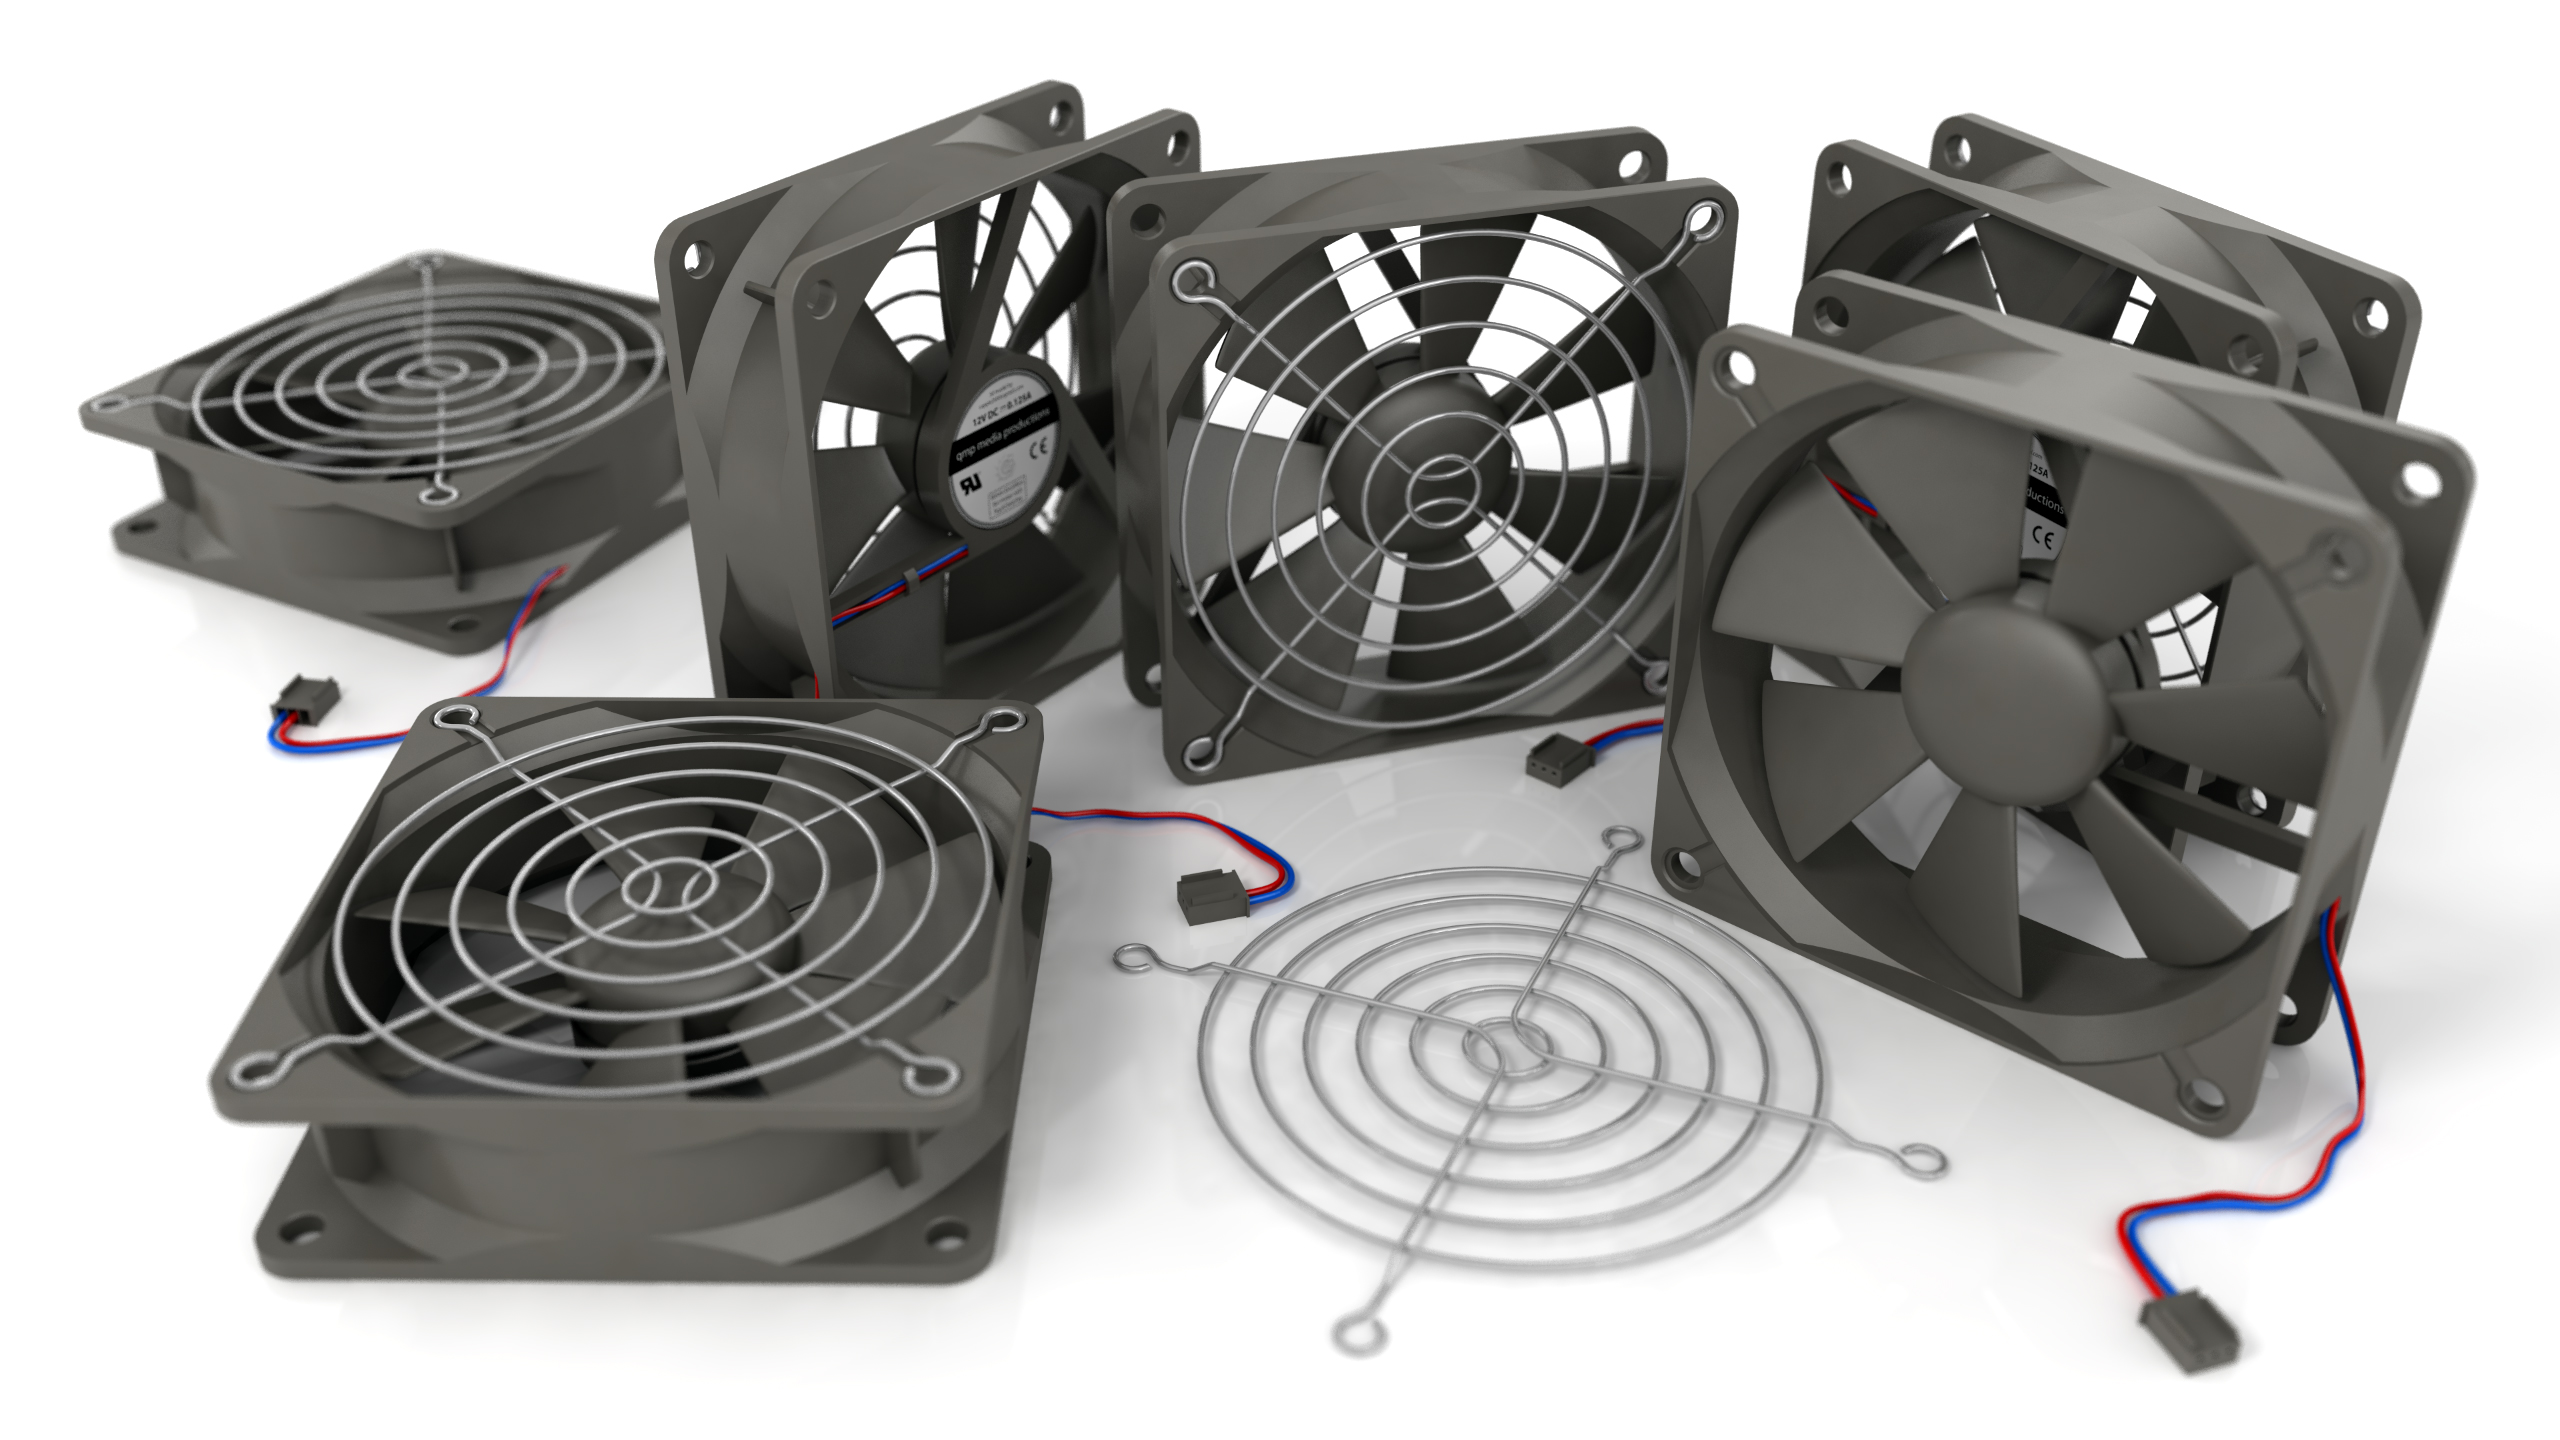
Another potential solution is to check your computer’s internal hardware components. Open your computer case and make sure that all components, such as the motherboard, RAM, and hard drive, are properly seated. Dust or debris can also cause overheating, so clean out your computer if necessary.
If the crash persists, you may want to run a hardware diagnostic test to identify any faulty components. Many manufacturers provide diagnostic tools that can help pinpoint the issue.
Conducting Hardware Tests
| Hardware Component | Test | Outcome |
|---|---|---|
| CPU | Run a stress test using software like Prime95 | If CPU is overheating or failing, system may crash |
| RAM | Run a memory diagnostic test like MemTest86 | If RAM is faulty, system may experience random crashes |
| Hard Drive | Run a disk check using CHKDSK command | If hard drive has bad sectors, system may crash |
| Graphics Card | Run a graphics stress test like FurMark | If graphics card is failing, system may crash or display artifacts |
Additional Resources
One useful resource is the Windows Task Manager, which can help you identify and close any problematic applications that may be causing the crash. To access Task Manager, simply press Ctrl + Shift + Esc on your keyboard.
Another helpful tool is the Control Panel, where you can manage various system settings and troubleshoot hardware or software issues. To access the Control Panel, type “Control Panel” in the Windows search bar or navigate to it through the Start menu.
If you suspect that the crash is due to a software bug or corrupted system file, you may want to consider running a Windows System File Checker scan. This tool can help identify and repair any corrupted files that may be causing the crash.
In some cases, updating your device drivers can also help resolve the Blue Screen of Death crash. To update your drivers, go to the Device Manager in the Control Panel, right-click on the device you want to update, and select “Update driver.”
If you continue to experience the Blue Screen of Death crash even after trying these resources, it may be worth seeking professional help or consulting online forums for further assistance.
FAQs
How serious is a BSOD?
A BSOD can be serious as it indicates a system error that caused Windows to crash, but it is usually fixable.
What will cause BSOD?
BSOD can be caused by a variety of factors, including incompatible software and faulty hardware components such as RAM, HDD, SSD, motherboard, processor, or PSU.
Can a BSOD damage your computer?
A BSOD itself typically won’t damage your computer, but repeated occurrences could potentially lead to data corruption. To protect your system, make sure to back up important files regularly and keep your system updated and free from malware.