Having experienced the frustrating Bad Pool Header blue screen error on Windows 10, I embarked on a quest to find effective solutions to fix it.
Understanding the Error
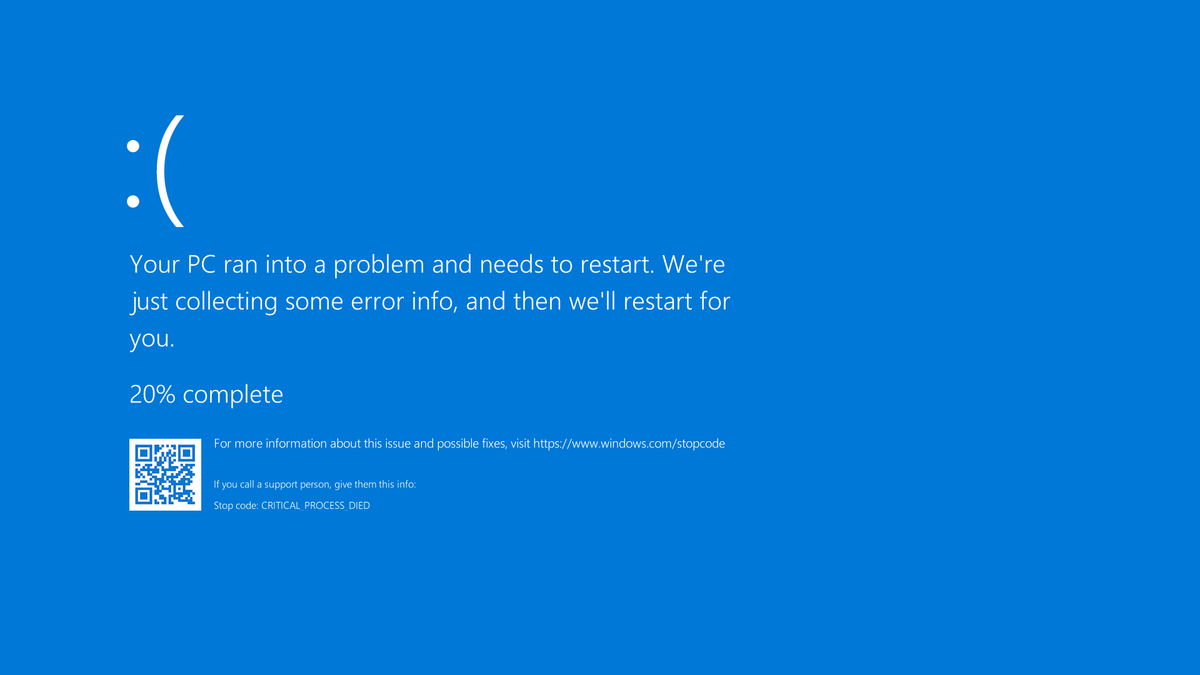
The article titled “Solutions to Fix Bad Pool Header Blue Screen Error on Windows 10” provides helpful tips for resolving this specific error on Windows 10. Some of the solutions mentioned include checking for malware infections, performing a system restore, and running antivirus software. It also suggests booting into safe mode and using Microsoft Defender Antivirus to scan for any malicious files. Additionally, the article advises checking for any issues with USB devices and updating device drivers.
Identifying the Causes
To fix the Bad Pool Header Blue Screen Error on Windows 10, it is crucial to identify the underlying causes. Here are some common causes that may trigger this error:
1. Faulty device drivers: Outdated or incompatible device drivers can lead to the Bad Pool Header error. Update or reinstall the device drivers to resolve the issue.
2. Corrupted Windows Registry: A corrupted Windows Registry can cause various system errors, including the Bad Pool Header error. Use a reliable registry cleaner to fix any registry issues.
3. Malware infection: Malware can disrupt system operations and cause blue screen errors. Run a thorough scan with a reputable antivirus software to remove any malware.
4. Memory management issues: Problems with memory allocation can result in the Bad Pool Header error. Check your RAM for any issues using Windows Memory Diagnostic tool.
5. Hardware issues: Faulty hardware components, such as hard drives or RAM, can trigger this error. Run hardware diagnostics to identify and replace any faulty hardware.
6. Software conflicts: Conflicts between different software programs can also lead to the Bad Pool Header error. Uninstall any recently installed software that may be causing conflicts.
By identifying the specific cause of the error, you can implement the appropriate solutions and fix the Bad Pool Header Blue Screen Error on Windows 10.
Temporarily Disabling Antivirus Software
To temporarily disable your antivirus software on Windows 10, follow these steps:
1. Open your antivirus software. Look for its icon in the notification area or search for it in the Start menu.
2. Once you have opened the antivirus software, navigate to its settings or options. This may be under a menu labeled “Settings,” “Preferences,” or “Options.”
3. In the settings or options menu, look for a section related to real-time protection or antivirus shields. This is where you can temporarily disable the antivirus software.
4. Toggle off or disable the real-time protection or antivirus shields. This will temporarily turn off the antivirus software.
Important: Disabling your antivirus software leaves your computer vulnerable to potential threats. Only disable it temporarily and make sure to re-enable it once you have resolved the Bad Pool Header error.
5. After disabling the antivirus software, you can proceed with troubleshooting the Bad Pool Header error using other solutions, such as performing a System Restore or running a Windows Update.
Disconnecting External Devices
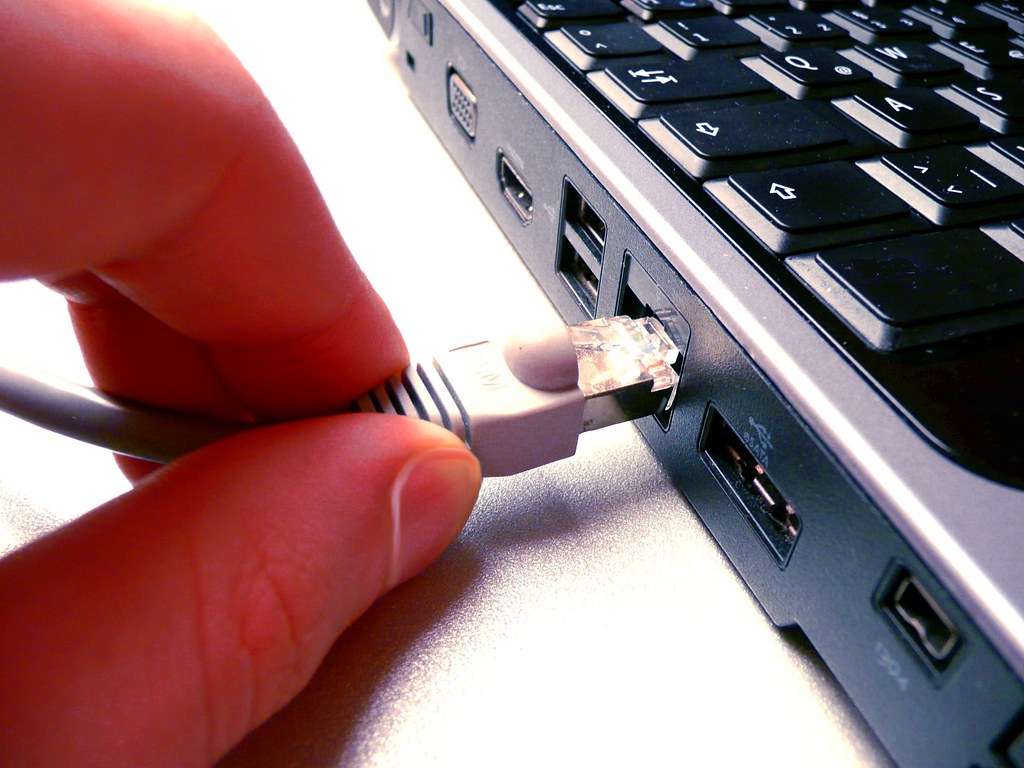
- Step 1: Check for any external devices connected to your computer.
- Inspect all the cables and connections of the external devices, such as printers, scanners, USB drives, etc.
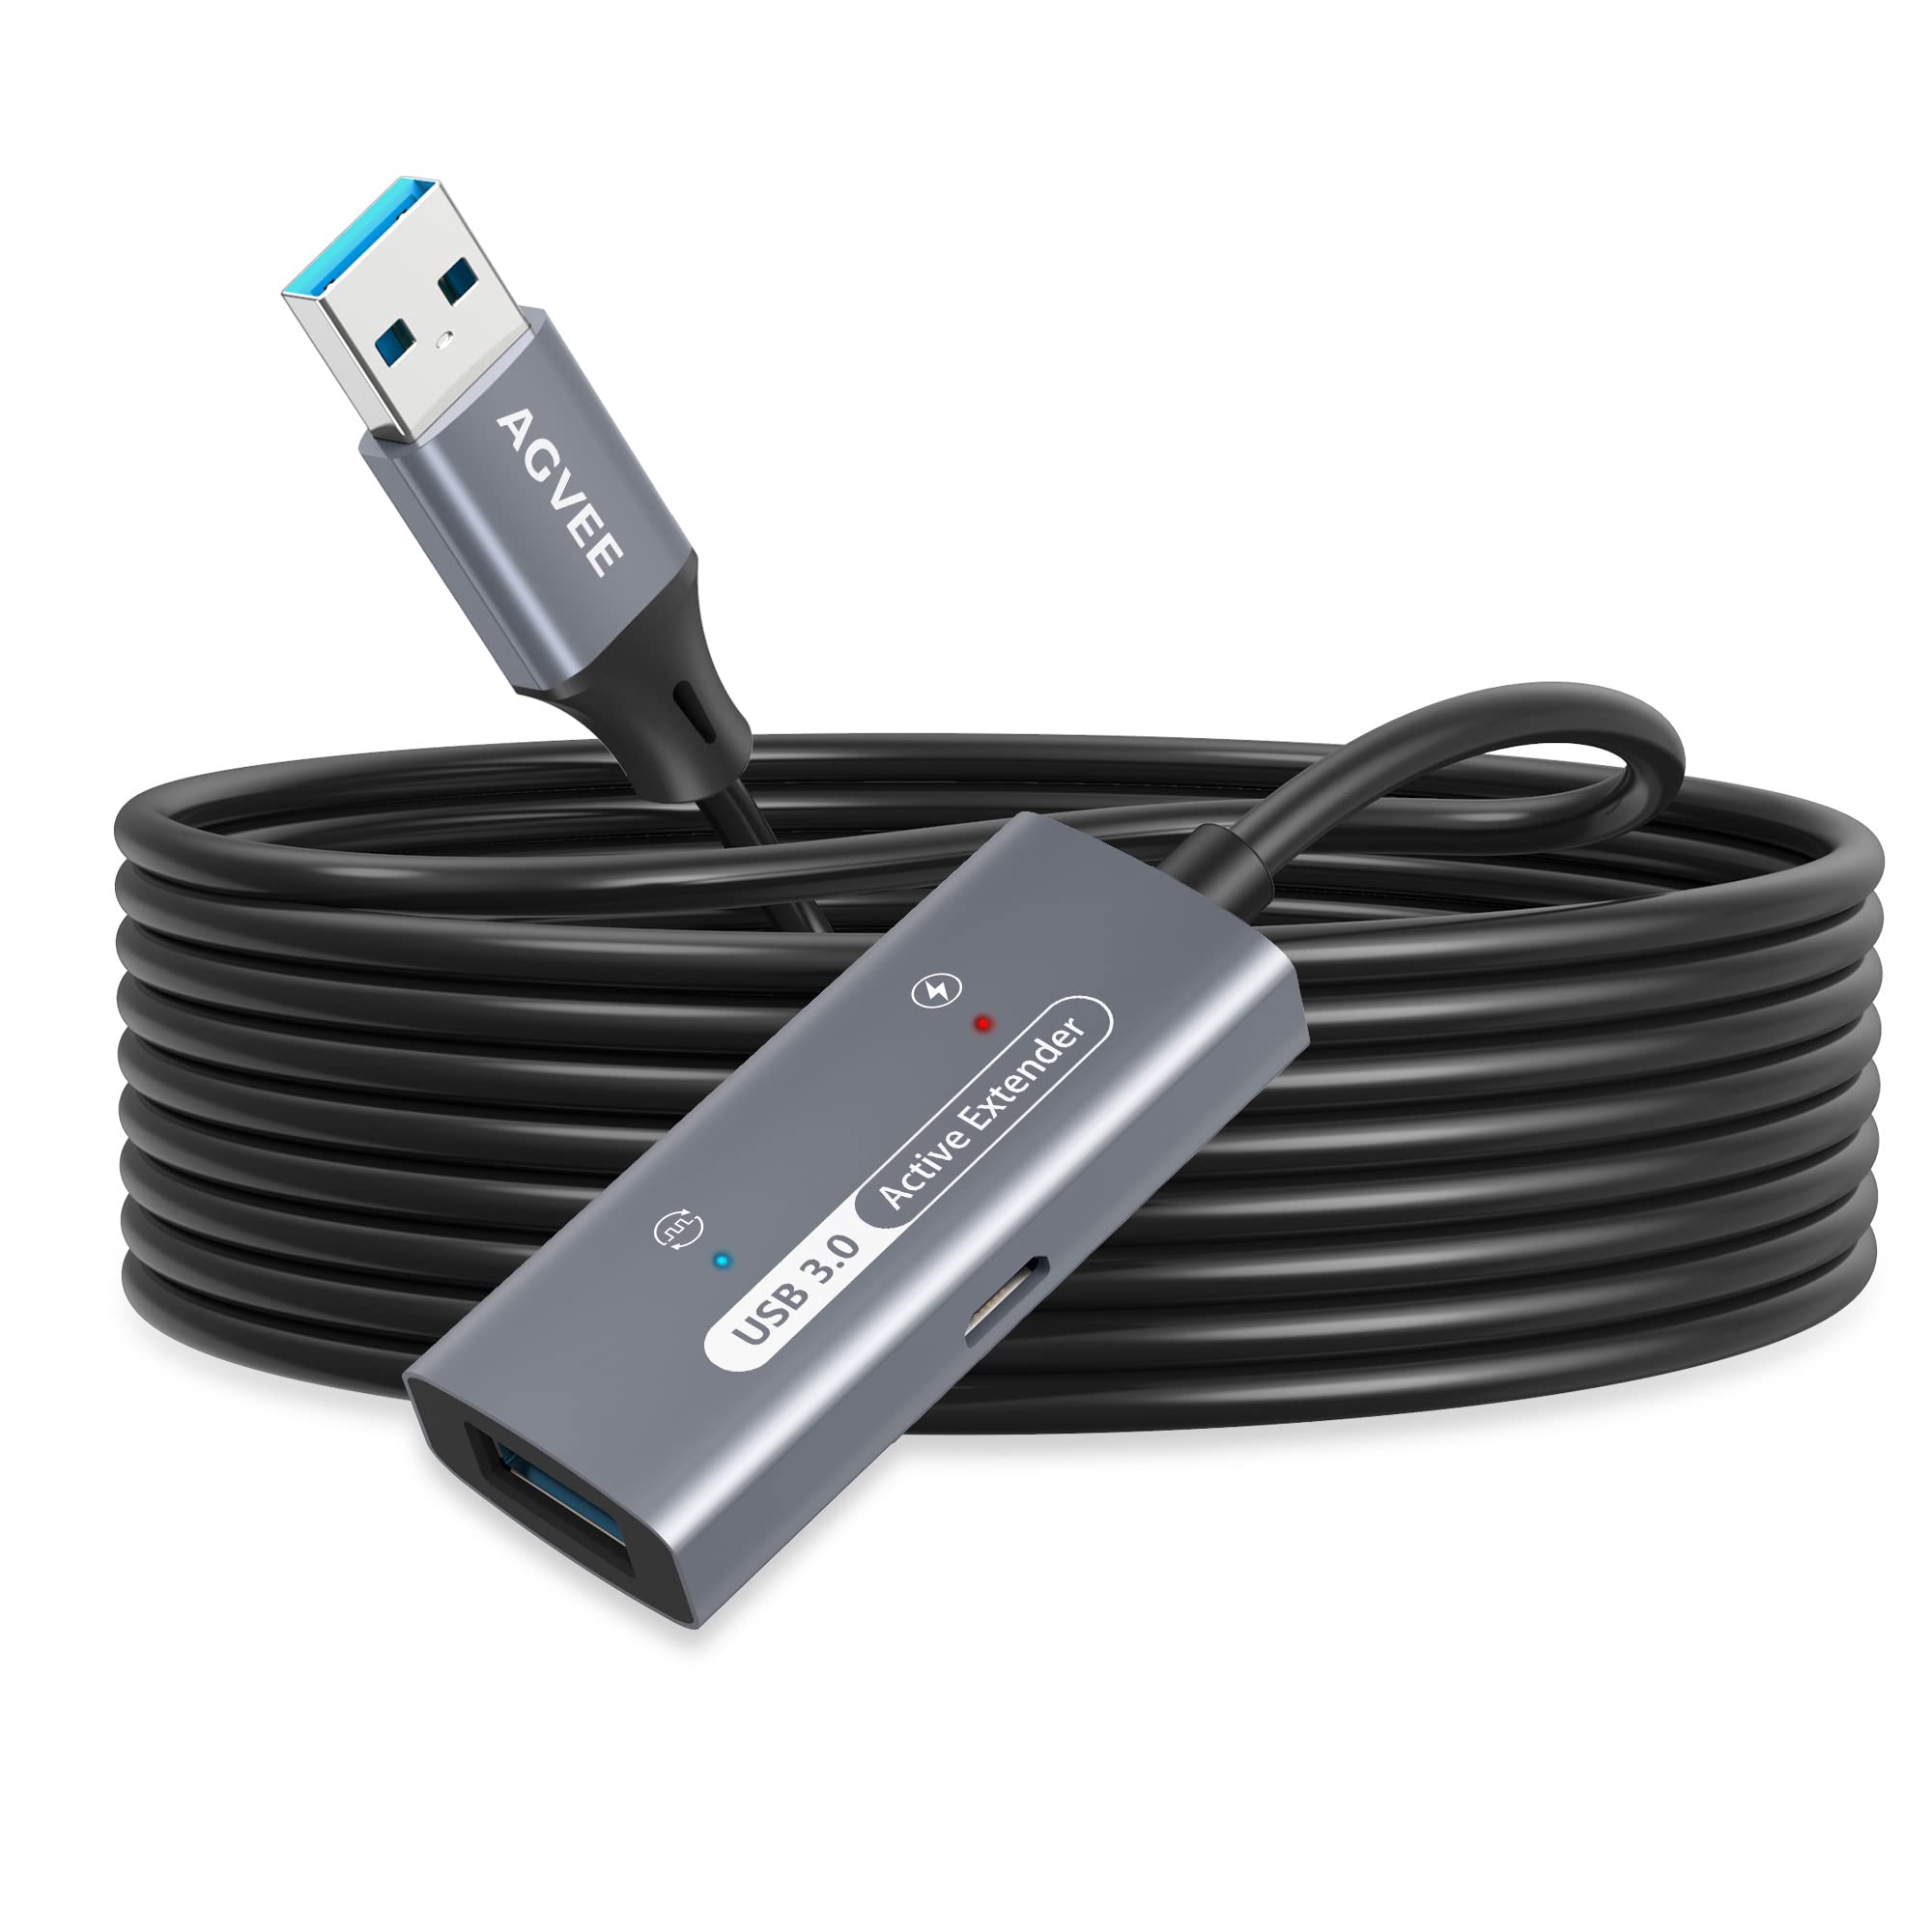
- Ensure that all the cables are securely plugged in and there are no loose connections.
- Step 2: Disconnect all the external devices from your computer.
- Start by safely removing any USB drives or other removable storage devices.
- Unplug any printers, scanners, or other peripherals connected to your computer.
- If you have any external monitors or additional displays, disconnect them.
- Step 3: Power off your computer completely.
- Shut down your computer properly using the “Shut Down” option from the Start menu.
- Once the computer is completely powered off, unplug the power cord from the wall outlet.
- Step 4: Wait for a few minutes.
- Give your computer some time to discharge any residual power.
- Waiting for a few minutes will ensure that all the capacitors are fully discharged.
- Step 5: Reconnect only the essential external devices.
- Start by plugging in the power cord and turning on your computer.
- Connect only the necessary external devices, such as keyboard and mouse.
- Do not reconnect any other devices at this point.
Undoing Recent Changes with System Restore
To undo recent changes and fix the Bad Pool Header Blue Screen Error on Windows 10, you can use System Restore. This feature allows you to revert your computer’s settings to a previous point in time.
Here’s how to use System Restore:
1. Press the Windows key and type “System Restore” in the search bar. Open the System Restore tool.
2. Click on “Next” and you’ll see a list of available restore points. Choose a restore point that was created before you encountered the Bad Pool Header error.
3. Review the selected restore point and click on “Next” to proceed.
4. Confirm your restore point selection and click on “Finish” to start the restoration process.
5. Your computer will restart and the restore process will begin. It may take some time, so be patient.
6. Once the restoration is complete, your computer will reboot again. Check if the Bad Pool Header error is resolved.
Please note that using System Restore will not affect your personal files, but it may uninstall recently installed applications or drivers. Make sure to back up any important files before proceeding.
If System Restore doesn’t fix the issue, you can try other troubleshooting methods such as updating Windows, running a virus scan with Microsoft Defender Antivirus, or checking for faulty hardware components.
Restarting in Safe Mode
To restart your Windows 10 computer in Safe Mode, follow these steps:
1. Press the Windows key on your keyboard and click on the Power button.
2. Hold down the Shift key on your keyboard and click on Restart.
3. Your computer will now reboot into the Windows Recovery Environment.
4. In the recovery menu, click on Troubleshoot.
5. Then, click on Advanced options.
6. Next, click on Startup Settings.
7. Finally, click on Restart.
Once your computer restarts, you’ll see a list of options. Press the corresponding number key on your keyboard to select the desired Safe Mode option.
Remember, Safe Mode starts Windows with a minimal set of drivers and services, which can help troubleshoot issues. It’s particularly useful when you’re experiencing a Blue Screen error like the Bad Pool Header.
If you’re unable to boot into Safe Mode, you can try using a Windows 10 installation USB flash drive or recovery drive to access the Advanced Startup Options. Alternatively, you can try booting from a Windows 10 installation disc or recovery disc if you have one.
By restarting your computer in Safe Mode, you can isolate the issue and determine if it’s caused by a specific driver or software. This will help you in finding a solution to fix the Bad Pool Header Blue Screen error and get your Windows 10 system back up and running smoothly.
Testing RAM with Windows Diagnostic Tool
| Step |
Description |
| 1 |
Open the Start menu and type “Windows Memory Diagnostic”. |
| 2 |
Click on “Windows Memory Diagnostic” from the search results. |
| 3 |
Choose whether to restart the computer and check for problems immediately or check for problems the next time the computer is restarted. |
| 4 |
The Windows Diagnostic Tool will run and check for memory problems. If any issues are found, it will provide information on how to resolve them. |
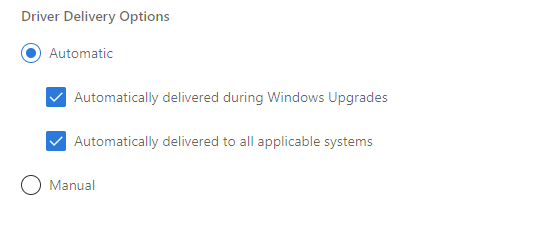
Updating Device Drivers
To update device drivers on Windows 10 and potentially fix the Bad Pool Header blue screen error, follow these steps:
1. Open the Device Manager by pressing the Windows key + X and selecting “Device Manager” from the menu.
2. In the Device Manager, locate the device category that you suspect may be causing the error (e.g., “Display adapters” for graphics card issues).
3. Right-click on the device and select “Update driver” from the context menu.
4. Choose the option to automatically search for updated driver software. Windows will search online for the latest driver and install it if available.
5. If Windows doesn’t find an updated driver, you can manually search for one on the manufacturer’s website. Download the driver file and follow the installation instructions provided.
6. Repeat these steps for any other devices you suspect may be causing the issue.
7. After updating all relevant drivers, restart your computer to apply the changes.
Note: It’s important to keep all device drivers up to date to ensure compatibility and stability. You can also use third-party software to automatically update drivers, but be cautious and choose a reputable program.
Remember to regularly check for Windows updates as well, as Microsoft often releases important driver updates through its Windows Update service. Updating your operating system can also help resolve various issues and improve overall system performance.
If the Bad Pool Header error persists after updating drivers, it may indicate a more serious problem with your computer hardware or software. In such cases, it’s recommended to seek professional assistance or consult Microsoft’s support resources for further troubleshooting.
Cleaning the Windows Registry
To clean the Windows Registry and fix the Bad Pool Header Blue Screen Error on Windows 10, follow these steps:
1. Press the Windows key + R to open the Run dialog box.
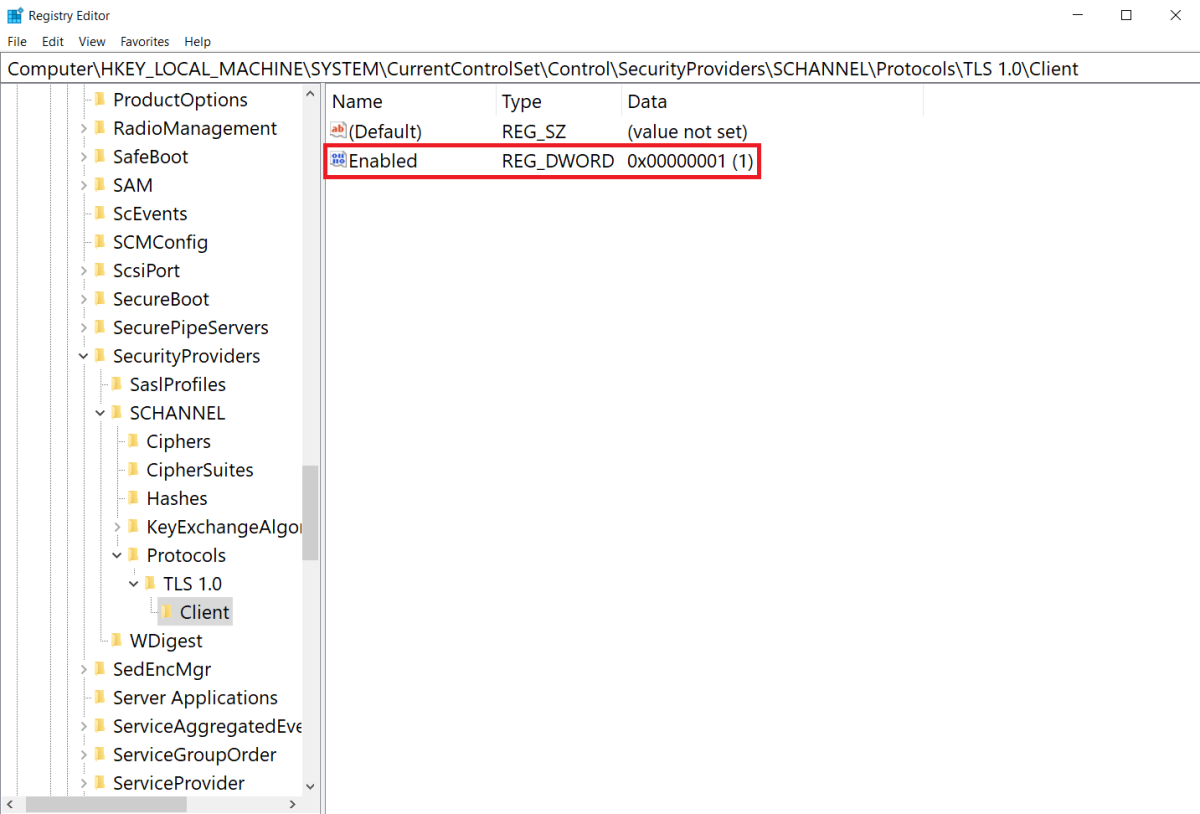
2. Type “regedit” and press Enter to open the Registry Editor.
3. In the left pane of the Registry Editor, navigate to the following key: HKEY_LOCAL_MACHINE\SYSTEM\CurrentControlSet\Control\Session Manager\Memory Management.
4. In the right pane, locate the “ClearPageFileAtShutdown” value.
5. Double-click on “ClearPageFileAtShutdown” and change its value data to 1.
6. Click OK to save the changes.
7. Close the Registry Editor and restart your computer.
Cleaning the Windows Registry can help resolve issues related to the Bad Pool Header Blue Screen Error.
Performing a Clean Boot
To perform a clean boot and fix the Bad Pool Header Blue Screen Error on Windows 10, follow these steps:
1. Press the Windows key + R to open the Run dialog box.
2. Type “msconfig” and press Enter to open the System Configuration window.
3. In the System Configuration window, go to the “Services” tab.
4. Check the box that says “Hide all Microsoft services” at the bottom.
5. Click on the “Disable all” button to disable all non-Microsoft services.
6. Go to the “Startup” tab in the System Configuration window.
7. Click on the “Open Task Manager” link.
8. In the Task Manager window, go to the “Startup” tab.
9. Disable all the startup items by right-clicking on each one and selecting “Disable”.
10. Close the Task Manager and go back to the System Configuration window.
11. Click on the “OK” button and then click on “Restart” to perform a clean boot.
Performing a clean boot will help identify if any third-party software or services are causing the Bad Pool Header Blue Screen Error. By disabling all non-Microsoft services and startup items, you can troubleshoot the issue and narrow down the cause. If the error does not occur in the clean boot state, you can then enable services and startup items one by one to identify the problematic software or service.
Hardware Replacement and Clean Installation Options

| Option |
Description |
| Hardware Replacement |
Replacing faulty hardware components such as RAM, hard drive, or motherboard that may be causing the error. |
| Clean Installation |
Performing a clean installation of Windows 10 to remove any corrupted system files or drivers that may be causing the error. |
Frequently Asked Questions
How do I fix a blue screen with bad pool header?
To fix a blue screen with bad pool header, you can try the following solutions:
1. Temporarily disable your third-party antivirus.
2. Disconnect any external devices.
3. Restart your computer in safe mode.
4. Run the Windows Memory Diagnostic Tool to test your RAM.
5. Check and update your device drivers.
How do I restart bad pool header?
To restart a bad pool header, you can try the following steps:
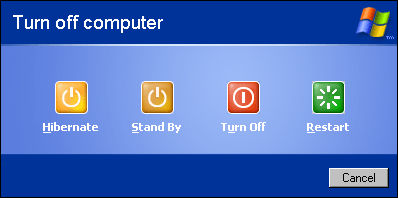
Restart your PC: Select the Start button, then go to Power > Restart.
Access advanced startup options: During the startup process, press the F8 key on your keyboard repeatedly and quickly.
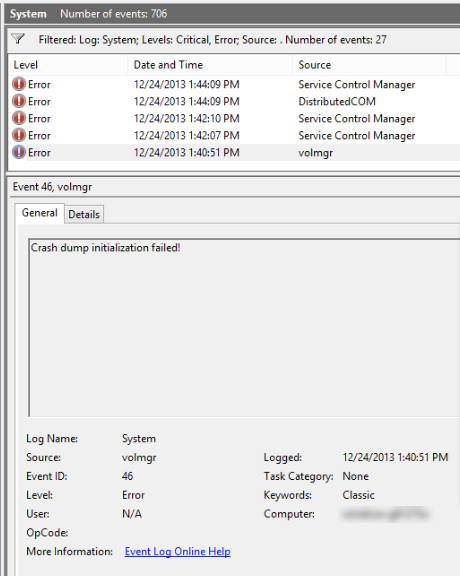
What is the Bad_pool_header?
The Bad_pool_header is a Windows memory allocation problem that can be caused by various factors such as device driver issues, bad sectors or disk write problems, and certain router issues. RAM problems can also potentially contribute to memory pool issues.
What is the bad pool header bug check?
The bad pool header bug check occurs when the memory pool becomes corrupt, often due to driver issues, disk-related problems, RAM malfunction, software conflicts, or hardware failure.