Dealing with the Windows Preparing Automatic Repair loop can be frustrating and time-consuming.
Causes of Automatic Repair Loops

One common cause of Automatic Repair Loops is a corrupt Windows Registry. This can happen due to sudden power loss or improper shutdowns. To fix this issue, you can try using the Windows Preinstallation Environment to repair the Registry.
Another possible cause is a malware infection. Run a full system scan using your antivirus software to remove any malicious programs that may be causing the loop. Booting into Safe Mode before running the scan can help in removing stubborn malware.
A corrupted system file can also trigger the Automatic Repair Loop. Use a Windows Setup or boot disk to access the Command Prompt and run the “sfc /scannow” command to repair any damaged files. This should help resolve the issue and prevent the loop from reoccurring.
Symptoms of Automatic Repair Errors
-
Check for Disk Errors:
- Open Command Prompt as an administrator
- Type chkdsk /f /r C: and press Enter
- Restart your computer and let it scan for disk errors
-
Disable Automatic Repair:
- Open Command Prompt as an administrator
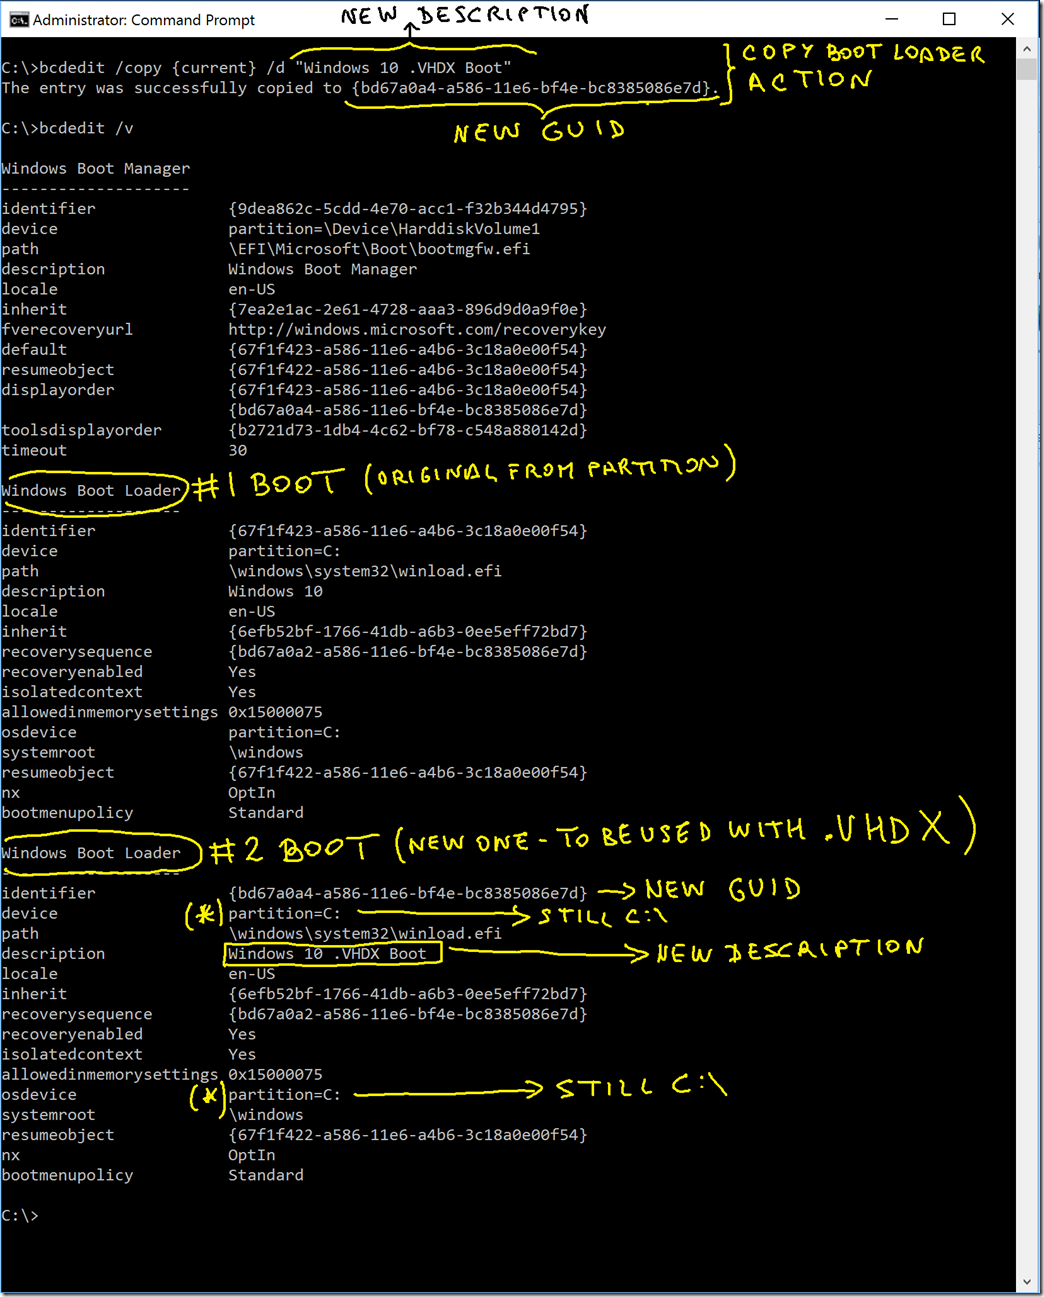
- Type bcdedit /set recoveryenabled NO and press Enter

- Restart your computer to disable automatic repair
-
Check System Files:
- Open Command Prompt as an administrator
- Type sfc /scannow and press Enter
- Wait for the system file checker to complete and fix any errors
Perform a Hard Reboot
1. First, shut down your computer completely by holding down the power button until it powers off.
2. Once the computer is off, turn it back on by pressing the power button.
3. As soon as the computer starts to boot up, press and hold the power button again to force a shutdown.
4. Repeat this process a few times until you see a message indicating that Windows did not shut down properly.
5. At this point, let Windows attempt to repair itself automatically. This may resolve the issue and allow you to boot into Windows successfully.
If the automatic repair does not work, you may need to try other solutions such as booting into safe mode, using a Windows Setup or boot disk, or running antivirus software to check for any potential viruses causing the loop.
Boot into Safe Mode to Troubleshoot
To troubleshoot the Windows Preparing Automatic Repair Loop, you can boot into Safe Mode. This will allow you to access your computer in a limited state, which can help identify and fix the issue.
To boot into Safe Mode on Windows 10:
1. Restart your computer.
2. Press the F8 key repeatedly as your computer boots up.
3. Select “Safe Mode” from the boot options menu.
Once in Safe Mode, you can try running a virus scan, checking for corrupted files, or tweaking settings in the Windows Registry. If you’re unable to access Safe Mode, you may need to create a Windows 10 USB flash drive to boot from.
Extend System Reserved Partition
To extend the System Reserved Partition and fix the Windows Preparing Automatic Repair Loop, you can follow these steps. First, **download** a reliable disk partitioning tool such as EaseUS Partition Master. Next, **install** and **launch** the software on your personal computer. After that, **locate** the System Reserved Partition on your hard disk drive.
**Right-click** on the System Reserved Partition and choose the option to **extend** it. **Follow** the on-screen instructions to increase the size of the partition. Once the extension process is complete, **reboot** your computer.
By extending the System Reserved Partition, you can potentially resolve issues causing the Windows Preparing Automatic Repair Loop. It’s important to **backup** your data before making any changes to avoid data loss. This method has been successful for users with Dell, Lenovo, Asus, Hewlett-Packard, and Acer Inc. laptops experiencing this problem.
Disable Automatic Repair at Boot
Step 1: Insert a Windows installation media (such as a USB flash drive or DVD) into your computer.
Step 2: Boot your computer from the installation media.
Step 3: Select your language, time, currency, and keyboard input, then click “Next.”
Step 4: Click on “Repair your computer” at the bottom left corner.
Step 5: Select “Troubleshoot” > “Advanced options” > “Command Prompt.”
Step 6: In the Command Prompt window, type “bcdedit /set {default} recoveryenabled No” and press Enter.
Step 7: Restart your computer and see if the Automatic Repair loop issue is resolved.
Restore the Windows Registry
1. Boot your computer into the Windows Preinstallation Environment.
2. Once in the command prompt, type: cd C:\Windows\System32\config
3. Then, type: ren SYSTEM SYSTEM.OLD and ren SOFTWARE SOFTWARE.OLD
4. Next, type: copy C:\Windows\System32\config\RegBack\SYSTEM and copy C:\Windows\System32\config\RegBack\SOFTWARE
5. Restart your computer and see if the issue is resolved.
If this method does not work, you may need to consider other troubleshooting options such as running a virus scan, checking for corrupt system files, or repairing the Windows installation.
Reinstall Windows for a Fresh Start
To fix the Windows Preparing Automatic Repair loop, a fresh start by reinstalling Windows can often resolve the issue. First, you will need to create a Windows installation media. This can be done by downloading the Windows Media Creation Tool from the Microsoft website and following the prompts to create a bootable USB drive or DVD.
Next, insert the installation media into your computer and restart it. Press the necessary key (often F2, F12, ESC, or DEL) to access the boot menu and select the installation media as the boot device. Follow the on-screen instructions to begin the Windows installation process.
Choose to “Custom install” Windows and select the disk partition where Windows is currently installed. Delete this partition and create a new one to reinstall Windows from scratch. Complete the installation process by following the prompts and entering your product key if required.
After reinstalling Windows, make sure to reinstall any necessary drivers and software.
Use Bootable Data Recovery Software
First, download a bootable data recovery software such as Disk Drill or Recuva onto a separate device.
Next, create a bootable USB drive or CD using the software and insert it into the affected computer.
Restart the computer and boot from the USB drive or CD. Follow the on-screen instructions to run the data recovery software.
By using bootable data recovery software, you can bypass the Windows Preparing Automatic Repair loop and retrieve your important files.
Run System File Checker & CHKDSK Utility
Run System File Checker: To fix the Windows Preparing Automatic Repair Loop, you can use the System File Checker utility to scan and repair corrupted system files. Open Command Prompt as an administrator by searching for it in the Start menu, then type “sfc /scannow” and press Enter. Allow the scan to complete, and restart your computer if any issues are found.
CHKDSK Utility: Another helpful tool is the CHKDSK utility, which checks the integrity of your hard drive. Open Command Prompt as an administrator, then type “chkdsk C: /f /r” and press Enter. Replace “C:” with the letter of your main drive. Follow the prompts to schedule a disk check on the next restart.
By running these utilities, you can potentially resolve issues causing the Windows Preparing Automatic Repair Loop. If the problem persists, consider seeking further assistance from a professional or contacting the manufacturer of your computer.
FAQs
How to fix your laptop when it says preparing automatic repair?
To fix your laptop when it says preparing automatic repair, you can try forcing a shutdown by pressing and holding the Power button three times. This may help the system enter the boot repair page after a couple of reboots. From there, you can choose “Troubleshoot” and proceed with either refreshing or resetting the PC.
How do I get out of automatic repair loop?
To get out of an automatic repair loop, you can try running Fixboot and Chkdsk commands, performing a system scan in safe mode, restoring the Windows registry, disabling the automatic repair tool, disabling early launch anti-malware, and performing a hard reboot.
Why does my computer keep going into automatic repair?
Your computer may be going into automatic repair due to a variety of issues such as missing or corrupted system files, problems with Windows Registry, incompatible hard drives, file corruption in Windows Boot Manager, or a faulty Windows update.
How do I fix HP stuck on preparing automatic repair?
To fix HP stuck on preparing automatic repair, you can try performing a hard reset. Disconnect the power adapter and remove the battery (if possible), then hold down the power button for 15 seconds. Reconnect the power adapter and battery, then try turning on the laptop again.


