
Are you experiencing Bungie’s Bee Error Code and in need of assistance?
Network Troubleshooting Steps
1. Check your internet connection: Make sure you have stable internet access and try accessing other websites or services to ensure it’s not a general internet issue.
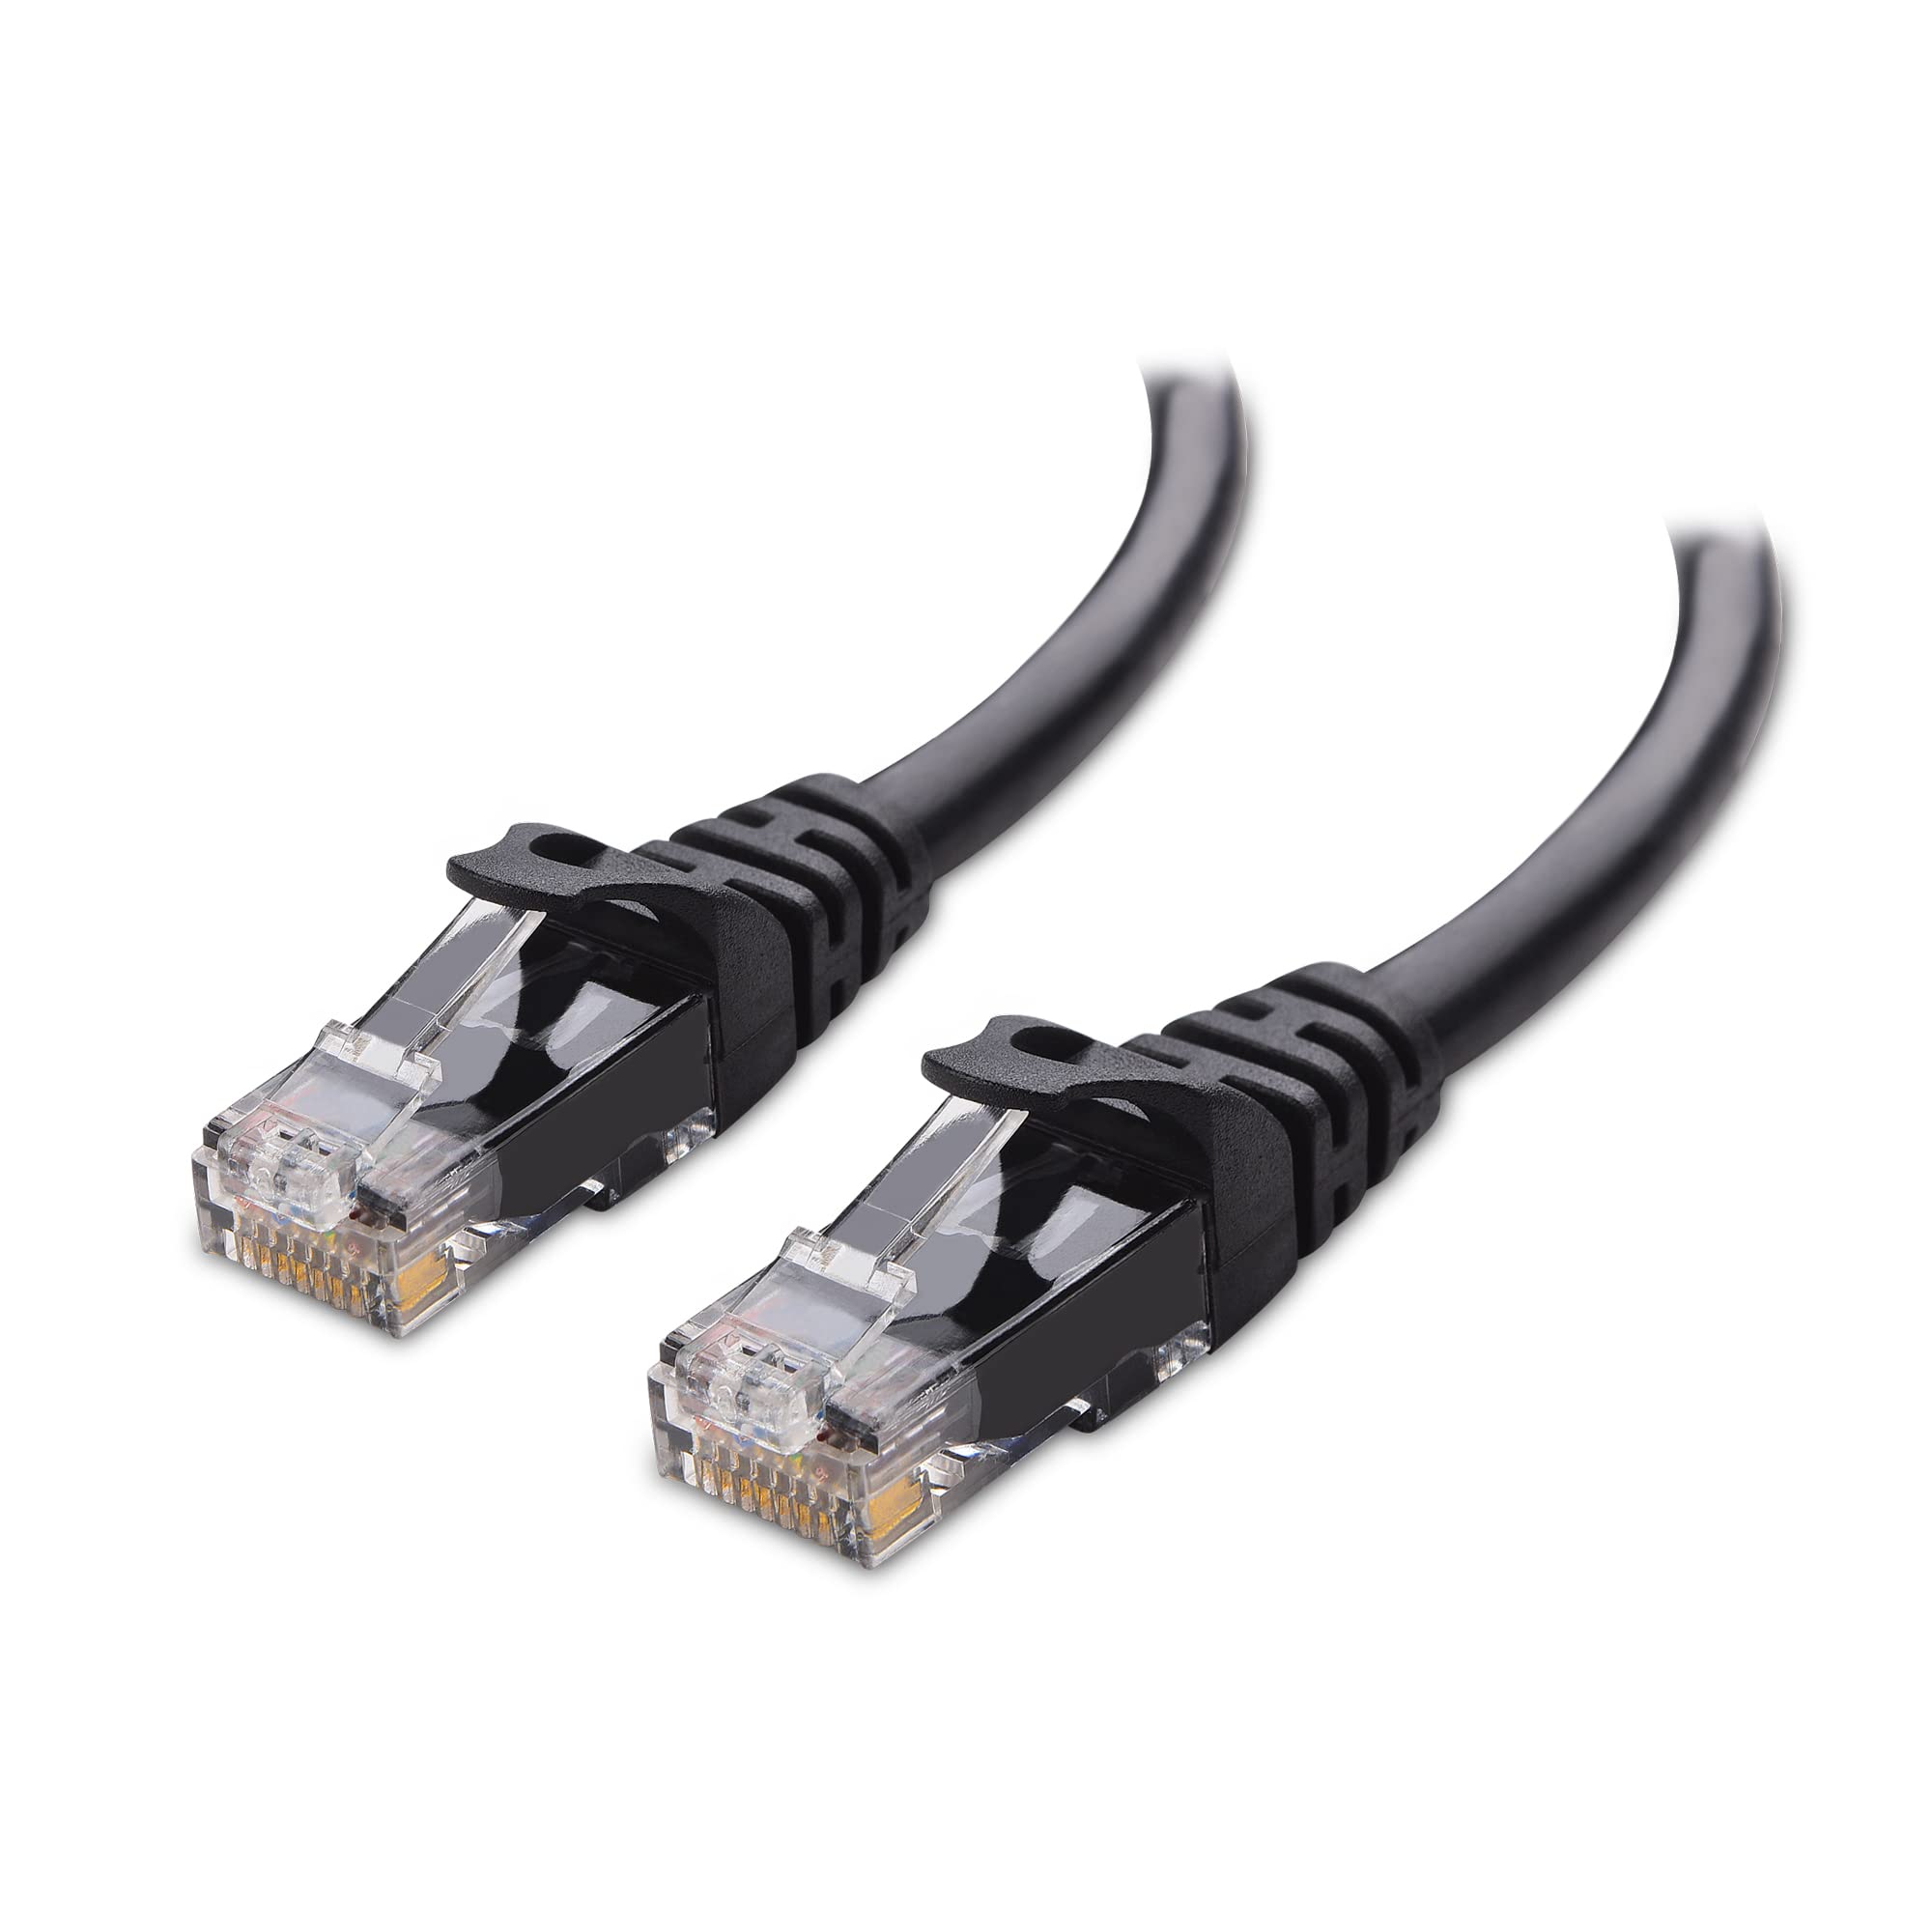
2. Switch to a wired connection: If you’re using Wi-Fi, try connecting your device directly to the router using an Ethernet cable. This can help eliminate any potential Wi-Fi interference or signal problems.
3. Restart your router and modem: Power off both your router and modem for about 30 seconds, then turn them back on. This can help refresh the network connection and resolve any temporary issues.
4. Reduce network congestion: Disconnect any other devices or applications that may be using a significant amount of bandwidth. This can help improve your connection quality and reduce the likelihood of encountering network congestion.
5. Contact your internet service provider: If you continue to experience the Bee error code, reach out to your internet service provider to ensure there are no ongoing issues with your connection or any restrictions on specific ports or protocols.
6. Check for Denial-of-Service attacks: Although rare, it’s worth considering if you’re experiencing repeated Bee errors. Contact your internet service provider to inquire if there have been any reported attacks or if they can assist in investigating this possibility.
Reboot your network
If you’re experiencing the Bungie Bee Error Code while playing Destiny 2, a simple network reboot might fix the issue. Here’s how you can do it:
1. First, make sure you have a stable internet connection. Check if other devices in your home have internet access to rule out any connectivity problems.
2. Locate your router, which is the device responsible for managing your internet connection. If you’re unsure where it is, look for a box with blinking lights and multiple Ethernet ports.
3. Unplug the power cable from your router and wait for at least 10 seconds. This will allow the router to fully shut down.
4. While the router is still unplugged, check the electrical wiring and cable connections. Make sure everything is securely connected and there are no loose cables.
5. After the 10-second wait, plug the power cable back into the router and let it boot up. Wait for all the lights on the router to stabilize, indicating that it’s fully powered on and connected to the internet.
6. Launch Destiny 2 again and check if the Bee Error Code still persists. In most cases, a network reboot helps resolve this issue.
7. If the problem persists, you may want to contact your internet service provider to check for any possible network issues or to ensure that your internet traffic is not being affected by a denial-of-service attack.
Remember, network issues can sometimes be caused by factors outside your control, such as server problems on Bungie’s end. In such cases, all you can do is wait for the issue to be resolved.
Close bandwidth-hogging programs
If you are experiencing the Bee error code in Bungie’s game, it could be due to bandwidth-hogging programs running in the background. To resolve this issue, follow these steps:
1. Identify the programs consuming the most bandwidth on your computer.
2. Close any unnecessary programs or processes that are using a significant amount of bandwidth.
3. To close a program, press Ctrl+Shift+Esc to open the Task Manager.
4. In the Task Manager, go to the “Processes” or “Details” tab and look for the program consuming the most bandwidth.
5. Right-click on the program and select “End Task” or “End Process”.
6. Repeat this process for any other bandwidth-intensive programs.
7. Once you have closed these programs, try launching the game again to see if the Bee error code persists.
If closing bandwidth-hogging programs does not resolve the issue, it may be worth checking your internet connection and router settings. Ensure that your router is not experiencing any issues, and try resetting it if necessary. Additionally, check for any network congestion or Denial-of-Service attacks that may be affecting your internet traffic.
If you are using a wired connection, ensure that your Ethernet cables are properly connected and not damaged. Faulty electrical wiring or interference from cable television signals can also impact your internet connection.
If the issue persists, it could be related to Bungie’s server or a root cause beyond your control. In such cases, it is best to reach out to Bungie’s support for further assistance.
python

import requests
API_KEY = 'YOUR_BUNGIE_API_KEY'
def get_player_info(username):
# Construct the API endpoint URL
url = f'https://www.bungie.net/Platform/Destiny2/SearchDestinyPlayer/-1/{username}/'
# Set the required headers including the API key
headers = {
'X-API-Key': API_KEY,
'User-Agent': 'My Bungie.net Tool'
}
try:
# Send the API request
response = requests.get(url, headers=headers)
response.raise_for_status() # Raise an exception if the request fails
data = response.json()
# Extract player information from the response
if data['Response']:
player_info = data['Response'][0]
print(f"Player Name: {player_info['displayName']}")
print(f"Membership ID: {player_info['membershipId']}")
print(f"Membership Type: {player_info['membershipType']}")
else:
print("Player not found.")
except requests.exceptions.RequestException as e:
print(f"Error: {e}")
# Example usage
get_player_info('YourUsername')
Remember to replace ‘YOUR_BUNGIE_API_KEY’ with your actual Bungie.net API key. This code snippet demonstrates how to search for a player on Bungie.net based on their username and retrieve basic information such as their display name, membership ID, and membership type.
Please provide more specific details or requirements if you have a different purpose in mind, and I’ll be glad to assist you further.
Update your network driver
If you’re experiencing the Bee error code in Bungie’s game, it may be due to an issue with your network driver. Updating your network driver can help resolve this problem. Here’s how you can do it:
1. Open the Device Manager on your computer. This can usually be done by right-clicking on the Start button and selecting “Device Manager.”
2. Expand the “Network adapters” category to see the list of network drivers installed on your system.
3. Right-click on your network driver and select “Update driver.”
4. Choose the option to automatically search for updated driver software. This will allow your computer to find and install the latest driver for your network adapter.
5. Wait for the update process to complete. It may take a few minutes.
6. Once the update is finished, restart your computer to apply the changes.
Updating your network driver can help ensure that your computer is using the latest software to connect to the internet. This can improve network stability and resolve any compatibility issues that may be causing the Bee error code.
If updating your network driver doesn’t solve the problem, you may need to troubleshoot other potential causes, such as your internet connection or Bungie’s servers. It’s also a good idea to check for any recent software updates for the game or your operating system, as these can sometimes address known issues.
Remember to always keep your computer and network devices up to date with the latest firmware and software updates. This can help prevent and resolve various network-related issues.
If you continue to experience the Bee error code or have any other questions, it may be helpful to reach out to Bungie’s support team for further assistance. They can provide specific troubleshooting steps tailored to your situation.
Try servers in another region
If you are experiencing Bungie’s Bee Error Code, one potential solution is to try connecting to servers in another region. This can help bypass any issues that may be specific to your current server location. To do this:
1. Access the game settings and navigate to the server selection option.
2. Select a different region from the available options. This will switch your connection to servers located in that region.
3. Restart the game to apply the changes and establish a new connection with the selected region’s servers.
By trying servers in another region, you can potentially resolve the Bee Error Code and regain access to the game. Keep in mind that this solution may not work for everyone, as the error code can have various causes. If the issue persists, it is recommended to check for any ongoing server maintenance or network issues, and contact Bungie support for further assistance.
Use a VPN
If you’re experiencing Bungie’s Bee error code while playing, using a VPN can help resolve the issue. Here’s how to do it:
1. Start by selecting a reliable VPN service that suits your needs. Look for one that offers a wide range of server locations and good connection speeds.
2. Download and install the VPN software on your device. Most VPN providers have dedicated apps for various platforms, including Windows, Mac, iOS, and Android.
3. Launch the VPN app and sign in with your credentials. Then, choose a server location that is close to your actual location or one that works well with the game’s servers.
4. Once connected to the VPN server, launch the game and see if the Bee error code persists. In many cases, using a VPN can bypass any network restrictions or congestion that may be causing the issue.
5. If the Bee error code is still present, try connecting to a different VPN server in another location. Sometimes, certain servers may be experiencing high traffic or issues, so switching can help.
6. Ensure that your router and network settings are optimized for gaming. Check for any firmware updates for your router and consider using a wired connection instead of Wi-Fi for a more stable connection.
7. If none of the above solutions work, it’s possible that the issue lies with Bungie’s servers or a larger network problem outside of your control. In such cases, reach out to Bungie’s support for assistance or keep an eye on their official channels for any updates on the Bee error code.
Console and Internet Connection Fixes
If you are experiencing the Bee error code in Bungie’s game, here are some steps you can take to resolve the issue.
First, check your internet connection. Make sure you are connected to a stable and reliable network. If you are using Wi-Fi, try connecting your console directly to the router with an Ethernet cable to rule out any wireless interference.
Next, power cycle your console and router. Turn off your console, unplug the power cord, and wait for about 30 seconds. Then, unplug your router as well. Plug everything back in and turn on your devices.
If the issue persists, try resetting your router to its factory settings. This can help resolve any configuration issues that might be causing the Bee error code. To do this, locate the reset button on your router (usually a small hole) and press it with a paperclip or a similar tool for about 10 seconds. Your router will restart and return to its default settings.
If you are still encountering the Bee error code, you can try changing your DNS settings. This can help improve your connection to Bungie’s servers. Access your console’s network settings and manually enter a different DNS server address. You can use public DNS servers like Google DNS (8.8.8.8 and 8.8.4.4) or Cloudflare DNS (1.1.1.1 and 1.0.0.1).
Lastly, if none of the above steps work, it’s possible that the issue is on Bungie’s end. Check Bungie’s official website or social media channels for any announcements or server status updates. They might be experiencing server maintenance or a denial-of-service attack, in which case, you will need to wait until the issue is resolved.
Restart your console and clear the cache
To resolve Bungie’s Bee Error Code, first, restart your console. This simple step can often fix connectivity issues.
Next, clear the cache on your console. This will remove any temporary files that may be causing the error. To do this, follow these steps:
1. **On PlayStation 4**: Turn off your console completely. Once it’s off, unplug the power cable from the back of the console. Wait for at least 30 seconds before plugging the power cable back in. Turn on your console and check if the error persists.
2. **On Xbox One**: Press and hold the power button on the front of the console for about 10 seconds until it fully shuts down. Unplug the power cable from the back of the console and wait for at least 30 seconds. Plug the power cable back in and turn on your console. Check if the error is resolved.
If the Bee Error Code still persists after restarting your console and clearing the cache, it may be related to your network setup. Check if your router is properly connected and functioning. Additionally, ensure that your internet connection is stable and not experiencing any disruptions.
If you’re using a wired connection, make sure the Ethernet cable is securely plugged into both your console and the router. If you’re using a wireless connection, try moving closer to the router to improve signal strength.
Sometimes, the issue may be on Bungie’s end. Check their official website or social media channels for any server maintenance or known issues. If they are experiencing technical difficulties, you may need to wait until the problem is resolved.
Troubleshoot the internet connection
If you’re experiencing Bungie’s Bee Error Code, the issue may be with your internet connection. Here are some troubleshooting steps to help you resolve the problem:
1. First, check your router to ensure it is properly connected and functioning. Make sure all cables are securely plugged in and there are no loose connections.
2. If you have cable television service, make sure it is working properly. Sometimes, issues with cable TV can affect your internet connection as well.
3. Restart your modem and router by unplugging them from the power source for about 30 seconds, then plugging them back in. This can help refresh the connection and resolve any temporary issues.
4. Check if other devices connected to the same network are experiencing any internet problems. If they are, the issue may be with your internet service provider or the server you’re trying to connect to.
5. If possible, try connecting your device directly to the modem using an Ethernet cable. This can help determine if the issue is with your Wi-Fi connection.
6. If none of the above steps resolve the issue, you may need to contact your internet service provider for further assistance. They can help identify any network or server-related problems that may be causing the Bee Error Code.
Port forwarding
To start port forwarding, you’ll need to access your router’s settings. Open a web browser and enter your router’s IP address in the address bar. This IP address is usually printed on the back or bottom of your router. Once you’ve entered the IP address, you’ll be prompted to enter your router’s username and password.
After logging in, navigate to the port forwarding settings. The exact location of this setting may vary depending on your router’s make and model. Look for options like “Port Forwarding,” “Virtual Server,” or “Applications & Gaming” in your router’s settings menu.
Next, you’ll need to specify the port or range of ports to forward. Check Bungie’s support documentation or forums for the specific ports required for the game you’re playing. Enter these ports in the appropriate fields in your router’s port forwarding settings.
Once you’ve entered the ports, you’ll need to specify the IP address of the device you want to forward the ports to. This should be the IP address of the device you’re using to play the game. To find the IP address, open the command prompt on your device and type “ipconfig” (without quotes). Look for the “IPv4 Address” listed under your network adapter.
After entering the ports and IP address, save your settings and restart your router. This will apply the changes and ensure that port forwarding is active.
Keep in mind that port forwarding can vary depending on your router and network setup. If you’re unsure about any steps or settings, consult your router’s user manual or contact your internet service provider for assistance.
Port forwarding can help alleviate connectivity issues like the Bee Error Code, but it’s not a guaranteed solution. If you continue to experience problems, it may be worth reaching out to Bungie’s support team for further assistance.
Evaluate the Destiny 2 server status
The Destiny 2 server status can be evaluated to troubleshoot the Bee Error Code. To resolve this issue, try the following steps:
1. Check the Destiny 2 server status: Visit the official Bungie website or their Twitter account for any server outage or maintenance announcements.
2. Restart your router: Sometimes, connectivity issues can be resolved by simply restarting your router. Power it off, wait for a few seconds, and then turn it back on.
3. Verify your network connection: Ensure that your internet connection is stable and working properly. You can try restarting your modem as well.
4. Clear the Destiny 2 cache: Clearing the game cache can help resolve certain error codes. On your gaming platform, find the option to clear cache for Destiny 2.
5. Check for updates: Make sure you have the latest version of Destiny 2 installed. Check for any available updates and install them if necessary.
6. Contact Bungie support: If the Bee Error Code persists despite trying the above steps, reach out to Bungie support for further assistance. Provide them with details about your issue and any troubleshooting steps you have already taken.
Error Code Bee in Destiny 2
If you are experiencing the Bee error code in Destiny 2, it indicates a problem with your internet connection. Here are a few steps you can take to troubleshoot and resolve this issue:
1. Check your router: Ensure that your router is functioning properly and that there are no issues with your internet connection. Restart your router to refresh the connection.
2. Verify server status: Visit Bungie’s official website or social media channels to check if there are any known server issues or maintenance ongoing. If so, you may need to wait until the issue is resolved.
3. Restart your game: Close Destiny 2 completely and relaunch the game. This can sometimes resolve temporary connection issues.
4. Clear cache: Clearing the cache on your gaming console or PC can help resolve various connectivity issues. Refer to your device’s user manual or online resources for instructions on how to clear the cache.
5. Check for software updates: Ensure that both Destiny 2 and your gaming platform have the latest updates installed. These updates often include bug fixes and improvements that can address connectivity problems.
6. Contact your ISP: If the issue persists, it may be worthwhile to reach out to your internet service provider (ISP) and inquire if there are any known issues in your area. They may be able to assist you further in troubleshooting your connection.
Restart the game or the system

1. Restart the game: Close the game completely and relaunch it. This can help refresh the connection and clear any temporary glitches.
2. Restart the system: If restarting the game doesn’t work, try restarting your gaming console or computer. This will reset the system and potentially resolve any underlying issues causing the Bee error code.
3. Check your network: Ensure that your internet connection is stable and not experiencing any disruptions. If possible, try connecting your device directly to the router via Ethernet for a more reliable connection.
4. Look for server updates: Sometimes, the Bee error code may be caused by server maintenance or updates. Check for any announcements or notifications from Bungie regarding server downtime or updates.
5. Consider router settings: If the issue persists, you could try adjusting your router settings. This can involve opening specific ports or enabling UPnP (Universal Plug and Play) to ensure smooth communication between your device and the game servers.
Verify integrity of game files on Steam
To verify the integrity of game files on Steam and troubleshoot Bungie’s Bee error code, follow these steps:
1. Open Steam and go to your game library.
2. Right-click on the game experiencing the Bee error code and select “Properties.”
3. In the Properties window, click on the “Local Files” tab.
4. Click on the “Verify Integrity of Game Files” button.
5. Wait for the process to complete, as Steam checks for any corrupted or missing files.
6. If any issues are found, Steam will automatically replace or repair the affected files.
If the Bee error code persists after verifying the game files, consider checking the following:
1. Router settings: Ensure that your router is properly configured for gaming and not causing any connection issues.
2. Server status: Check if the game’s servers are online and not experiencing any maintenance or downtime.
3. Update your game: Make sure you have the latest game updates installed, as this can sometimes resolve error codes.
4. Contact Bungie support: If none of the above steps resolve the Bee error code, reach out to Bungie’s support team for further assistance.
Enabling static IP address
To enable a static IP address and resolve the Bee error code in Bungie’s game, follow these steps:
1. Access your router’s settings by typing its IP address into your web browser’s address bar.
2. Look for the “LAN” or “Network” settings section.
3. Find the option to assign a static IP address and click on it.
4. Enter the IP address, subnet mask, default gateway, and DNS server information provided by your internet service provider.
5. Save the settings and restart your router.
6. On your gaming device, go to the network settings and enter the static IP address you just configured.
7. Test your connection to ensure it is now stable.
By assigning a static IP address, you can avoid conflicts with other devices on your network and improve your gaming experience.
Port forwarding Destiny 2
If you are experiencing the Bee error code in Destiny 2, it may be due to a port forwarding issue. Port forwarding allows your router to properly direct network traffic to and from your gaming device.
To resolve this issue, you will need to configure your router to forward specific ports for Destiny 2. Here’s how you can do it:
1. Access your router’s settings by typing its IP address into a web browser. The IP address is usually mentioned on the router itself or in the user manual.
2. Look for the Port Forwarding or Virtual Server section. This may be located under different names depending on your router’s manufacturer.
3. Add a new port forwarding rule for Destiny 2. Enter the following details:
– Protocol: TCP and UDP (or both, if available)
– Port Range: 3074-3093
– Local IP Address: [Your gaming device’s IP address]
– Local Port: 3074-3093
4. Save the changes and restart your router for the new settings to take effect.
By forwarding these ports, you are ensuring a direct and uninterrupted connection between your gaming device and Destiny 2 servers. This should help resolve the Bee error code and improve your online gaming experience.
If you continue to experience issues, you may need to contact your internet service provider or Bungie’s support for further assistance.
Enhancing Network Connection
To enhance your network connection and resolve Bungie’s Bee Error Code, follow these steps:
1. Check your router settings and ensure they are optimized for gaming. Make sure to prioritize your gaming device’s traffic and disable any unnecessary features that may cause network congestion.
2. Ensure that your internet connection is stable and not experiencing any disruptions. Check for any loose cables or faulty equipment that may be affecting your network.
3. Restart your router and gaming device to refresh the network connection. Sometimes, a simple reset can resolve temporary network issues.
4. If the problem persists, try connecting your gaming device directly to the router using an Ethernet cable instead of relying on a wireless connection. This can help eliminate any interference or signal strength issues.
5. Verify that the Bungie servers are online and functioning properly. Visit Bungie’s official website or social media channels to check for any server maintenance or known issues.
6. If none of the above steps work, you may need to contact your internet service provider (ISP) to investigate any potential network issues on their end. They can perform diagnostics and provide further assistance to resolve the problem.
Swapping to a VPN connection
If you are experiencing Bungie’s Bee Error Code while playing a game, one possible solution is to swap to a VPN connection. This can help resolve connectivity issues and improve your gaming experience.
To switch to a VPN connection, follow these steps:
1. Choose a reliable VPN service provider.
2. Download and install their VPN software on your device.
3. Launch the VPN software and sign in with your credentials.
4. Select a server location that is closest to your physical location for better performance.
5. Connect to the VPN server.
By using a VPN connection, you can bypass any potential network restrictions or throttling that may be causing the Bee Error Code. This can also help in cases where the game’s servers are experiencing high traffic or congestion.
Remember to keep your VPN software updated and always choose a server with a stable connection to ensure a smooth gaming experience.
Allowing Windows Firewall Defender access
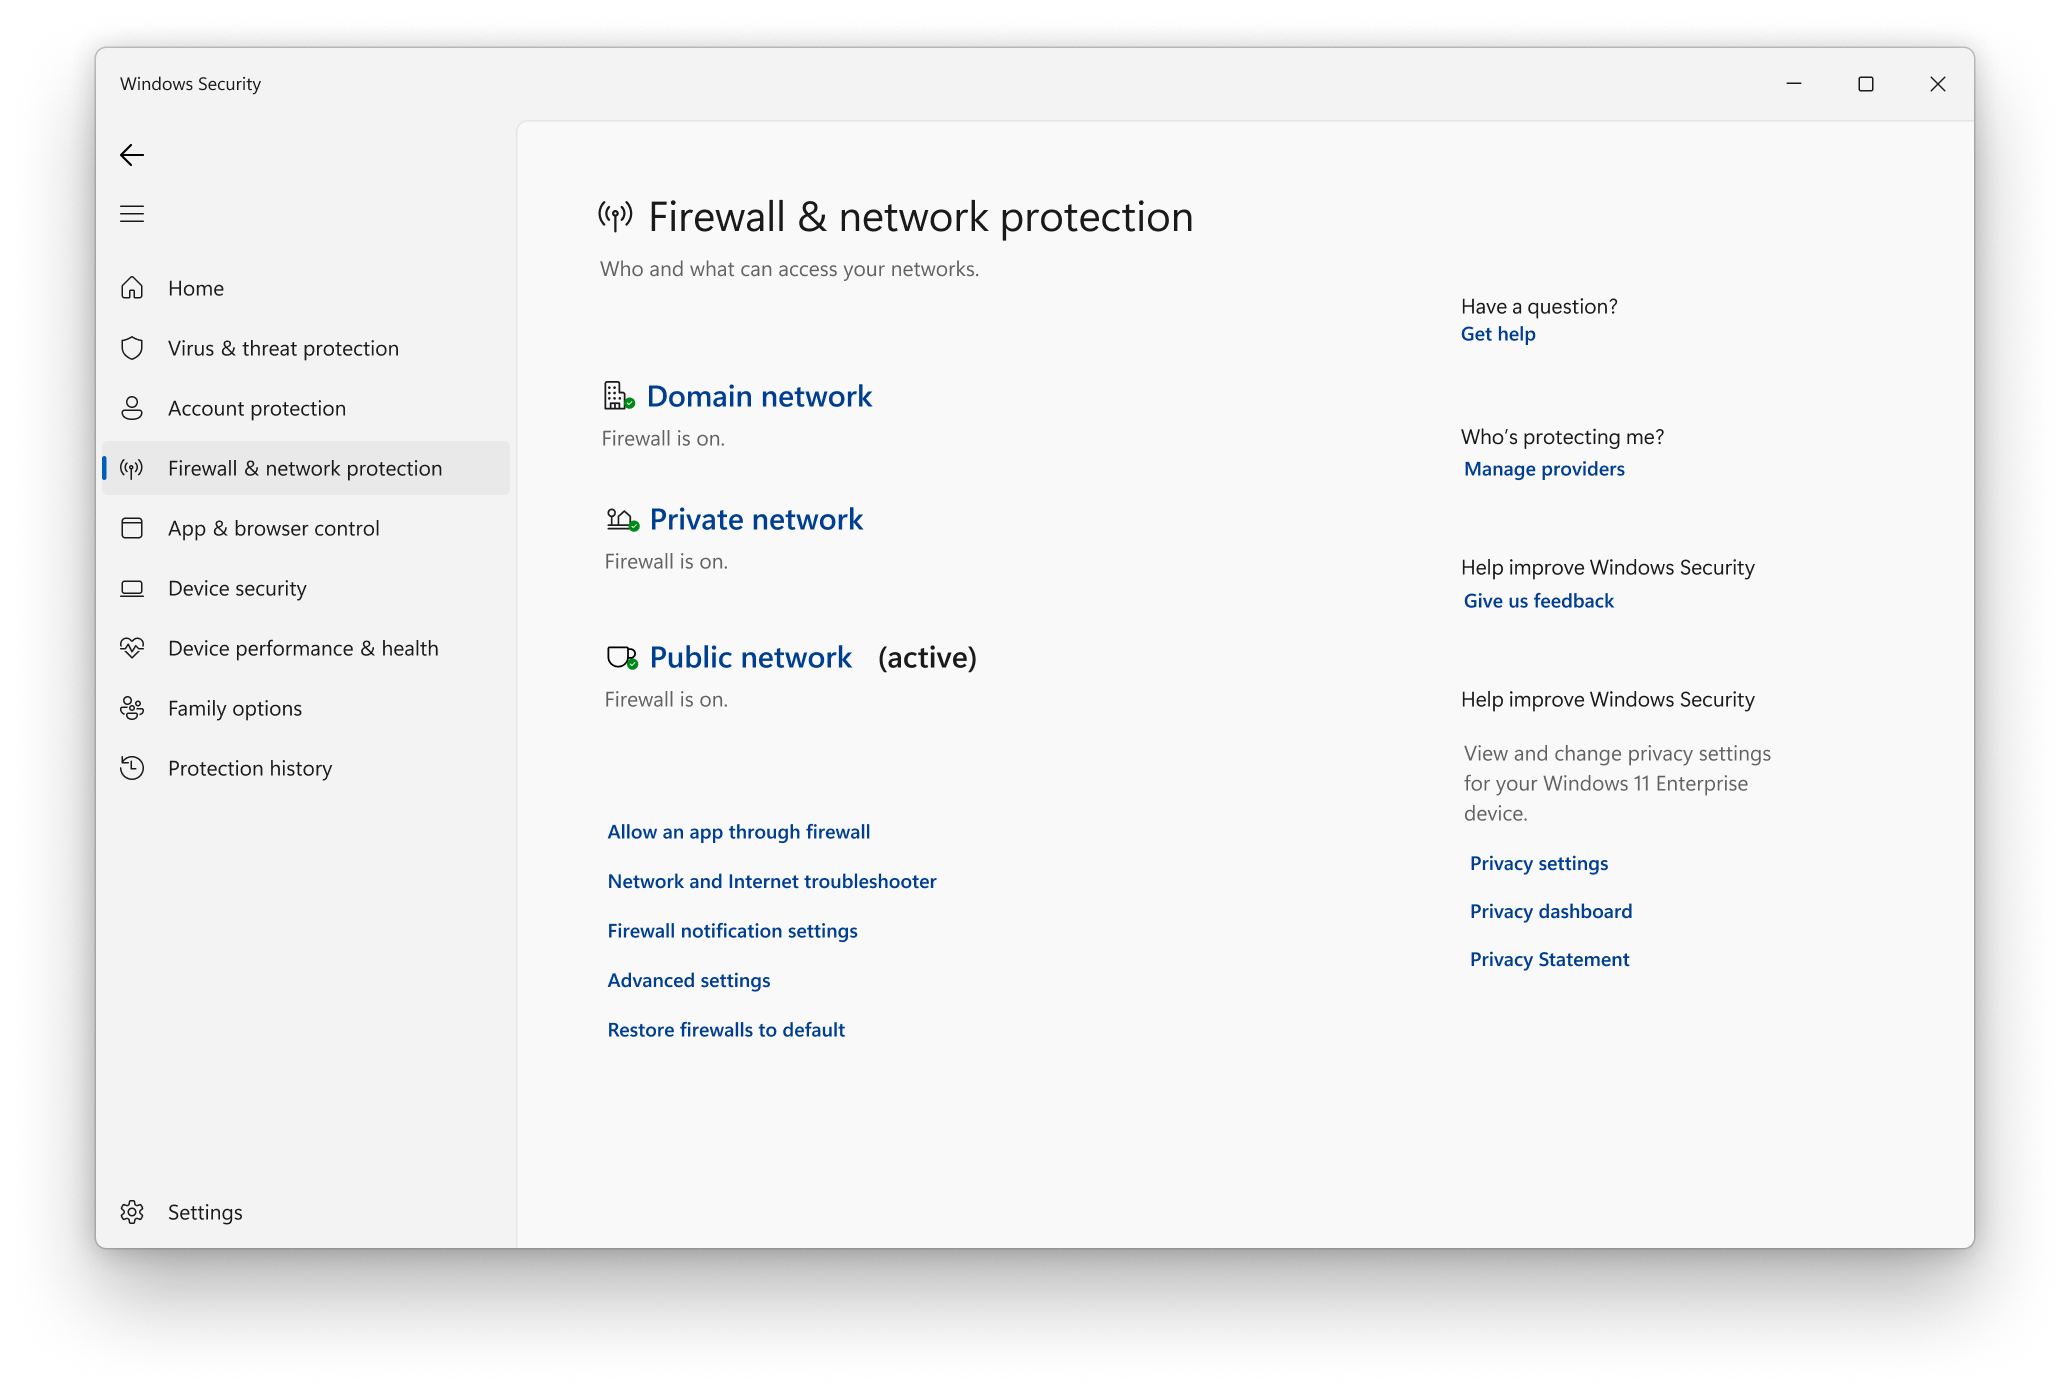
If you are experiencing the Bee error code in Bungie’s game, it may be due to a firewall issue. To resolve this, you can allow Windows Firewall Defender access. Here’s how:
1. Press the Windows key + R to open the Run dialog box.
2. Type “control panel” and press Enter to open the Control Panel.
3. In the Control Panel, search for “Windows Defender Firewall” and click on it.
4. On the left side of the window, click on “Allow an app or feature through Windows Defender Firewall.”
5. Click on the “Change settings” button at the top-right corner of the window.
6. Scroll down and look for “Destiny 2” or the relevant game title in the list of apps and features.
7. Check the box next to the game’s name to allow it through the firewall.
8. If the game is not listed, click on the “Allow another app” button, browse to the game’s installation folder, and select the game executable file.
9. Click “Add” and then “OK” to save the changes.
By allowing Windows Firewall Defender access for the game, you should be able to resolve the Bee error code and enjoy uninterrupted gameplay.
Improving your network connection
If you’re experiencing Bungie’s Bee Error Code, it may be due to a poor network connection. To improve your network connection and resolve the issue, follow these steps:
1. Check your router: Ensure that your router is functioning properly and has a stable internet connection. Restarting the router can often help in resolving connectivity issues.
2. Reset your network settings: Sometimes, network settings can become corrupted, leading to connection problems. To fix this, you can reset your network settings. On most devices, you can do this by going to the settings menu and selecting “Reset Network Settings.”
3. Move closer to the router: If you’re experiencing weak Wi-Fi signal, try moving closer to your router. This can help improve the strength and stability of your connection.
4. Check for software updates: Keeping your device’s software up to date can help improve network performance. Check for any available updates and install them if necessary.
5. Disable background apps: Some apps running in the background can consume network bandwidth, causing slower connections. Close or disable any unnecessary apps to free up bandwidth for a better gaming experience.
6. Connect via Ethernet: If possible, connect your device directly to your router using an Ethernet cable. This can provide a more stable and reliable connection compared to Wi-Fi.
7. Contact your internet service provider: If you’ve tried the above steps and are still experiencing connection issues, it may be worth reaching out to your internet service provider. They can help diagnose any network problems on their end and provide assistance.


