Unveiling the Intricacies: Troubleshooting a Faulty Network Adapter
Updating network adapter drivers
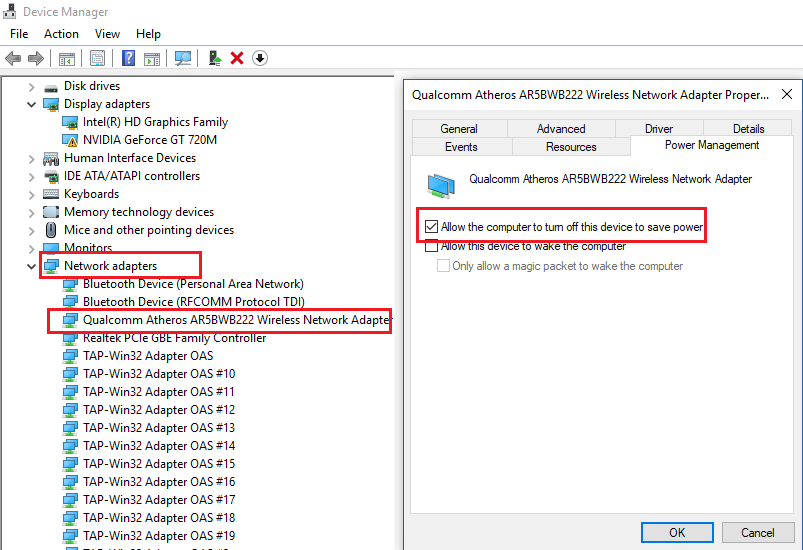
1. Open Device Manager by pressing the Win + X keys and selecting “Device Manager” from the menu.
2. Expand the “Network adapters” section to view the network adapter(s) installed on your computer.
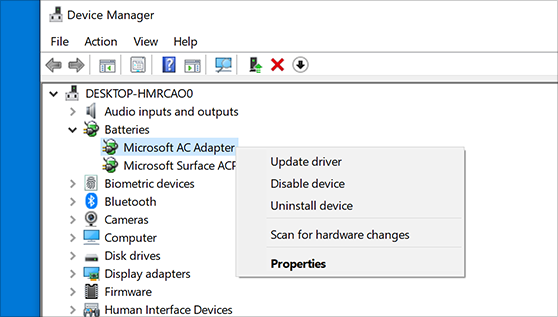
3. Right-click on the network adapter that is causing problems and select “Properties” from the drop-down menu.
4. In the Properties window, navigate to the “Driver” tab.
5. Click on the “Update Driver” button to start the driver update process.
6. Choose the option to automatically search for updated driver software.
7. Wait patiently while Windows searches and installs the appropriate driver for your network adapter.
8. Once the driver update is complete, restart your computer for the changes to take effect.
By updating your network adapter drivers, you can resolve network adapter issues and improve network connectivity.
Performing a power reset on your computer
1. Shut down your computer completely by clicking on the Start button and selecting “Shut down.”
2. Unplug the power cable from your computer and wait for at least 30 seconds.
3. While the computer is unplugged, press and hold the power button for 15-20 seconds to discharge any remaining power.
4. Plug the power cable back into your computer and turn it on.
5. Once your computer has restarted, check if the network adapter is working properly.
If the network adapter still doesn’t work, you may need to update the driver for your network adapter. You can use tools like Driver Easy to easily update your drivers. Additionally, make sure the network cable is properly plugged in and check for any physical damage to the cable.
Running the Network troubleshooter
1. Press the Win key on your keyboard to open the Start menu.
2. Type “troubleshoot” and select the Troubleshoot settings option.
3. In the Troubleshoot settings window, scroll down and click on Network Adapter.
4. Click on Run the troubleshooter.
The troubleshooter will then automatically scan your system for any network adapter problems and attempt to fix them. It may take a few moments, so please be patient.
During the process, the troubleshooter will check for issues such as network cables not properly plugged in, driver issues, or compatibility problems.
Once it completes, it will provide a summary of the issues found and any fixes applied. Follow the recommended steps to resolve the problem.
In some cases, the troubleshooter may not be able to fix the issue. If this happens, you can try updating the network adapter driver manually or seek further assistance from the Microsoft community or a professional.
python

import random

import requests
def simulate_faulty_network_request(url):
# Introduce random delay to simulate a faulty network adapter
delay = random.randint(0, 5)
response = None
try:
# Simulate network request with random delay
response = requests.get(url, timeout=delay)
except requests.exceptions.RequestException as e:
# Handle network request exceptions
print(f"Network request failed: {e}")
return response
# Usage example
response = simulate_faulty_network_request("https://example.com")
if response:
print(f"Response: {response.status_code}")
In this code, we use the `requests` library to make a network request to a given URL. However, before making the request, we introduce a random delay (between 0 to 5 seconds in this example) using the `random` module. This delay simulates a faulty network adapter by causing intermittent delays or timeouts in network requests.
Installing the latest Windows updates
To troubleshoot a faulty network adapter, it’s important to ensure that you have the latest Windows updates installed. Updating your Windows system can often resolve network adapter issues and improve network connectivity.
To install the latest Windows updates, follow these steps:
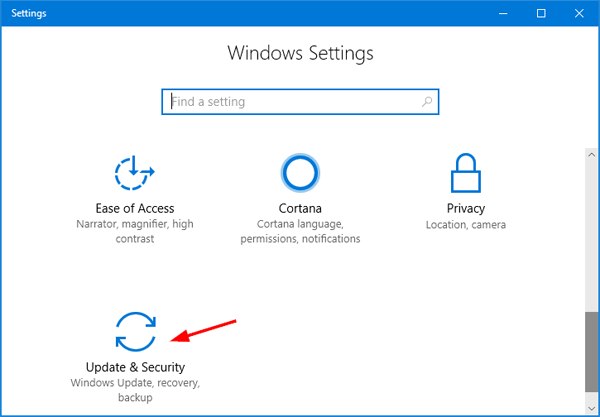
1. Click on the Start button and type “Windows Update” in the search bar.
2. Select “Windows Update settings” from the search results.
3. In the Windows Update settings window, click on “Check for updates” to search for available updates.
4. If updates are found, click on “Install now” to start the update process.
5. Wait for the updates to download and install. This may take some time, so be patient.
6. Once the updates are installed, restart your PC to apply the changes.
By keeping your Windows system up to date, you can ensure that your network adapter is compatible with the latest software and drivers. This can help resolve network adapter problems and improve network connectivity.
Remember to also check if the network adapter is properly plugged in and if the network cable is securely connected. If the issue persists, you may need to consider other troubleshooting steps or seek assistance from the community.
[End of content]
Physically inspecting the network adapter
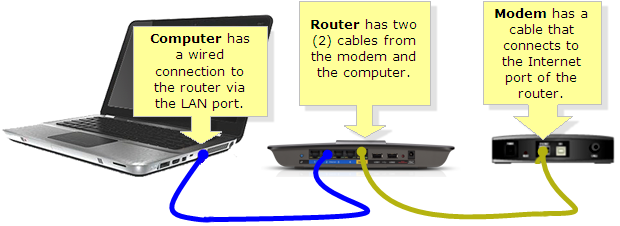
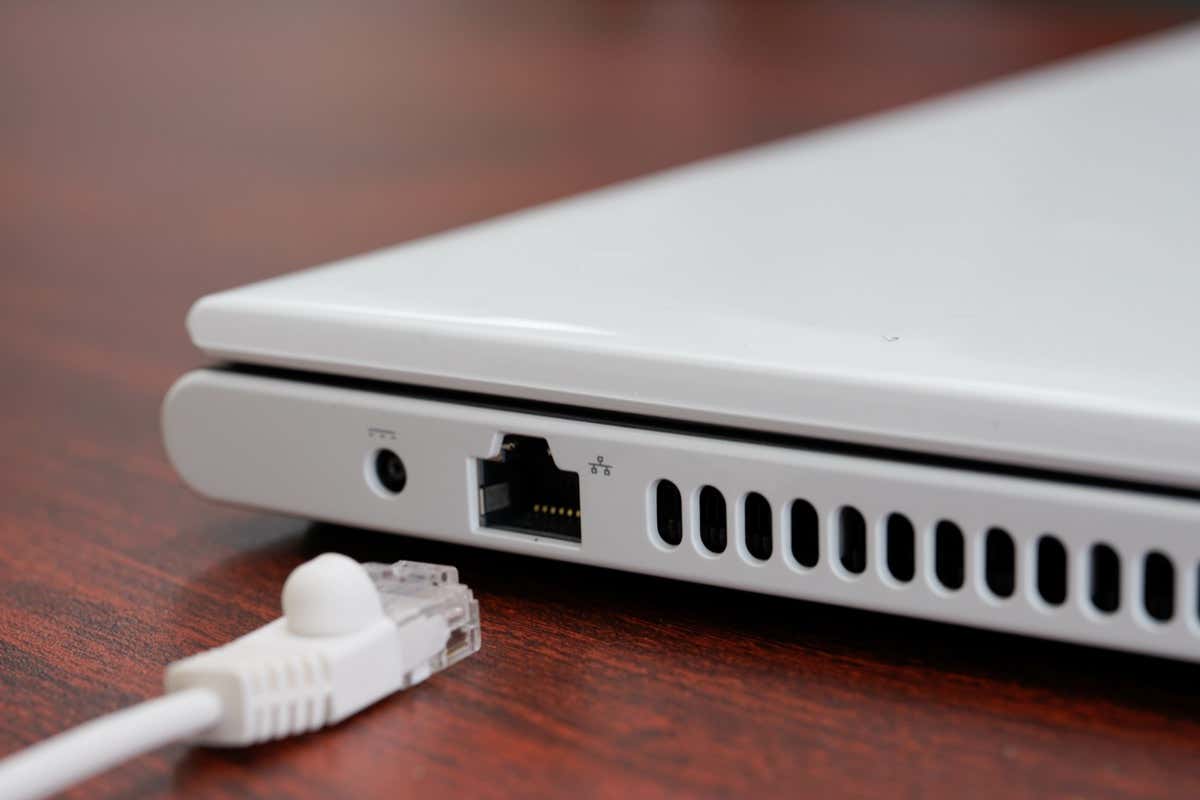
1. Check the physical connection: Ensure that the network adapter is properly plugged into the appropriate slot on your PC. Make sure all cables are securely connected to both the network adapter and the router or modem.
2. Look for any visible damage: Examine the network adapter for any physical damage, such as bent pins or broken parts. If you notice any issues, consider replacing the adapter.
3. Check the link LEDs: Look for the link LEDs on the network adapter. If they are not lit up or are blinking inconsistently, there may be a problem with the connection.
4. Use a different slot or port: Try installing the network adapter in a different slot or using a different port on your PC. This can help determine if the problem lies with the specific slot or port.
5. Use a different network cable: If possible, try using a different network cable to rule out any cable-related issues.
Checking if the network adapter is properly inserted
If your network adapter is not working, one of the first things you should check is if it is properly inserted. To do this, follow these steps:
1. Turn off your computer and unplug it from the power source.
2. Open your computer case and locate the network adapter. It is typically a card that is plugged into one of the expansion slots on the motherboard.
3. Gently press down on the network adapter to ensure that it is securely seated in the slot.
4. Close the computer case and plug your computer back in.
5. Turn on your computer and check if the network adapter is now working.
If the network adapter is still not working, there may be a driver issue. You can try using a tool like Driver Easy to update the driver for your network adapter.
Checking if the network adapter isn’t working anymore
If you’re experiencing issues with your network adapter, there are a few things you can check to troubleshoot the problem.
First, ensure that the network adapter is properly plugged into the computer’s card slot or USB port. If it’s not securely connected, it may not work correctly.
Next, check the device manager to see if there’s a driver issue. You can access the device manager by right-clicking on the Start button and selecting “Device Manager.” Look for the network adapter under the “Network adapters” section. If there’s a yellow exclamation mark or a red X next to it, there may be a driver problem.
To fix this, you can use a tool like Driver Easy to automatically update the network adapter driver. Simply download and install the software, then run a scan to identify any outdated or missing drivers.
In some cases, the network adapter may not be compatible with your hardware or operating system. If that’s the case, you may need to consider replacing the network card or using a different network adapter.
Identifying symptoms of a bad network adapter
If your network adapter isn’t working properly, there are a few key symptoms to look out for.
First, check your network connection. If you’re experiencing frequent drops or slow speeds, it could be a sign of a faulty adapter. Additionally, if you’re unable to connect to any networks or if your device isn’t detecting any available networks, this could also indicate a problem with the adapter.
Another common symptom is intermittent connectivity. If your network connection keeps going in and out, it could be due to a bad network adapter.
To troubleshoot this issue, start by ensuring that the adapter is properly plugged in. Check all connections and cables to make sure they’re secure.
Next, update your driver. Use a reliable driver updater like Driver Easy to easily update your network adapter driver. This can often resolve compatibility issues and improve performance.
If these steps don’t solve the problem, it’s possible that the network adapter itself is faulty and may need to be replaced.
Diagnosing a bad network adapter using Windows Diagnostic Tools
Troubleshooting Faulty Network Adapter
When experiencing network connectivity issues, one possible cause could be a faulty network adapter. Windows Diagnostic Tools can help diagnose and identify problems with the network adapter. Follow the steps below to troubleshoot and diagnose a bad network adapter using Windows Diagnostic Tools.
| Step | Description |
|---|---|
| 1 | Open the Windows Start menu and search for “Control Panel”. Click on the Control Panel app to open it. |
| 2 | In the Control Panel, select “Network and Internet” or “Network and Sharing Center”, depending on your Windows version. |
| 3 | Click on “Network and Sharing Center” to open the network settings. |
| 4 | In the Network and Sharing Center, click on “Change adapter settings” in the left-hand menu. |
| 5 | Right-click on the network adapter you suspect to be faulty and select “Diagnose”. |
| 6 | Windows will now run a diagnostic test on the network adapter and attempt to fix any detected issues. |
| 7 | Follow the on-screen instructions provided by Windows Diagnostic Tools to complete the troubleshooting process. |
| 8 | If the diagnostic test indicates a problem with the network adapter that cannot be fixed, consider replacing the network adapter or seeking further assistance from a professional. |
Testing the network adapter in Safe Mode
In some cases, you may encounter issues with your network adapter, causing it to not work properly. If you suspect a faulty network adapter, you can test it in Safe Mode to troubleshoot the problem.
To do this, follow these steps:
1. Boot your computer into Safe Mode. This can be done by restarting your computer and pressing the F8 key repeatedly until the Advanced Boot Options menu appears.
2. Once in Safe Mode, open Device Manager by pressing the Windows key + X and selecting Device Manager from the menu.
3. In Device Manager, expand the Network adapters category to see the list of installed network adapters.
4. Right-click on the network adapter you want to test and select Properties.
5. In the Properties window, go to the Driver tab and click on Update Driver.
6. Follow the on-screen instructions to update the driver using the Windows Update option.
7. After the driver update is complete, restart your computer and check if the network adapter is functioning properly.
If the network adapter still doesn’t work after testing it in Safe Mode, it could be a hardware issue. In this case, you may need to consider replacing the network adapter or seeking professional assistance.
Troubleshooting and fixing a bad network adapter
-
Check physical connections:
- Ensure that the Ethernet cable is securely plugged into both the computer and the router.
- If using a wireless adapter, make sure it is inserted properly into the computer’s USB port.
- If applicable, check that the network adapter card is seated correctly in its slot on the motherboard.
-
Restart the computer:
- Click on the “Start” button and select “Restart” from the power options.
- Allow the computer to fully restart and check if the network adapter is functioning properly.
-
Update or reinstall drivers:
- Open Device Manager by pressing Windows key + X and selecting “Device Manager” from the menu.
- Expand the “Network Adapters” category.
- Right-click on the faulty network adapter and choose “Update driver” or “Uninstall device”.
- If updating the driver, follow the on-screen instructions to download and install the latest driver from the manufacturer’s website.
- If uninstalling the device, restart the computer and let Windows automatically reinstall the driver.
-
Reset TCP/IP stack:
- Open Command Prompt by pressing Windows key + R, typing “cmd”, and pressing Enter.
- Type the following commands one by one and press Enter after each:
- netsh winsock reset
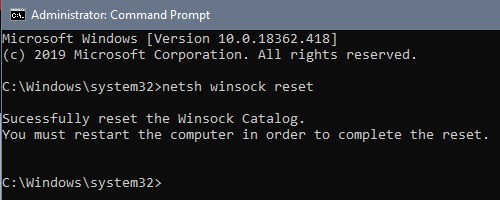
- netsh int ip reset
- netsh winsock reset
- Restart the computer to apply the changes.
-
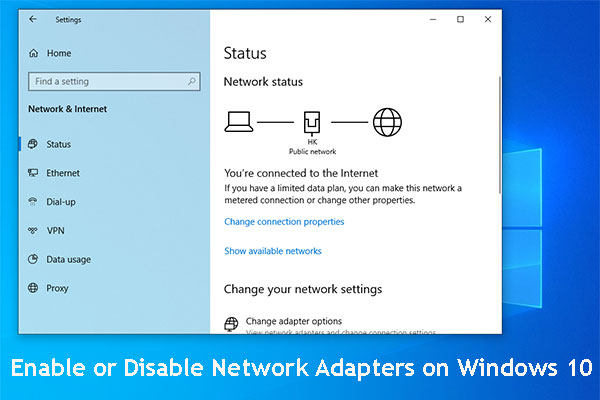
Disable and enable the network adapter:
- Open Network Connections by pressing Windows key + R, typing “ncpa.cpl”, and pressing Enter.
- Right-click on the faulty network adapter and select “Disable”.
- After a few seconds, right-click on the disabled network adapter and select “Enable”.
- Check if the network connection is restored.
-
Run network troubleshooter:
- Open Settings by pressing Windows key + I.
- Click on “Network & Internet” and select “Status” from the left sidebar.
- Scroll down and click on “Network troubleshooter”.
- Follow the on-screen instructions to diagnose and fix any network-related issues.
-
Try a different network adapter:
- If possible, use a different network adapter to connect to the network (e.g., USB Wi-Fi adapter).
- Install the necessary drivers for the new adapter if prompted.
- If the new adapter works properly, it indicates a problem with the original network adapter.
-
Seek professional assistance:
- If all else fails, consider contacting a computer technician or the manufacturer’s support for further assistance.
- Provide them with detailed information about the troubleshooting steps you have already taken.