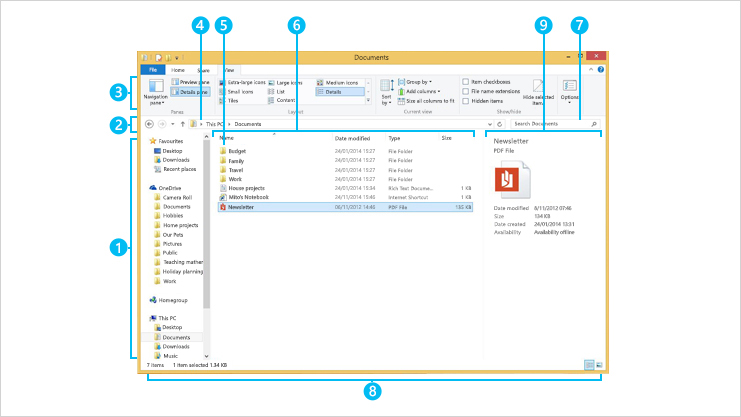
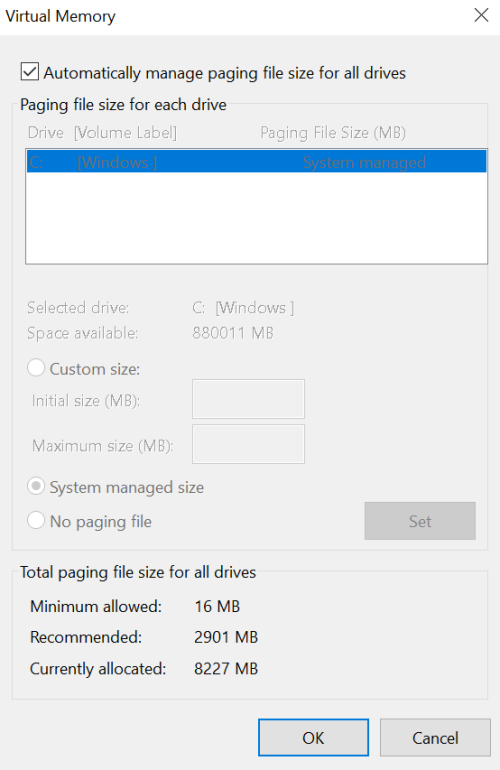
Having trouble with File Explorer not working on your Windows 10/11? Let’s explore some solutions to fix this issue.
Understanding File Explorer Issues

If you are facing File Explorer issues on Windows 10/11, there are a few steps you can take to fix the problem.
Firstly, try restarting File Explorer: Open Task Manager (Ctrl + Shift + Esc), locate Windows Explorer under Processes, right-click on it, and select Restart. This simple step can often resolve minor issues with File Explorer.
If that doesn’t work, try running System File Checker: Open Command Prompt as an administrator and type “sfc /scannow” (without quotes) and press Enter. This will scan and repair any corrupted system files that may be causing File Explorer problems.
Another option is to check for Windows updates: Go to Settings > Update & Security > Windows Update and click on Check for updates. Installing the latest updates can sometimes fix bugs and issues with File Explorer.
Restarting File Explorer via Task Manager
To restart File Explorer via Task Manager, first open Task Manager by pressing Ctrl + Shift + Esc on your keyboard.
Next, locate the “Windows Explorer” process under the “Processes” tab. Right-click on it and select Restart from the context menu.
This will close and then restart File Explorer, which may resolve any issues you were experiencing with it not working properly.
After restarting File Explorer, check to see if the problem has been resolved. If not, you may need to try other troubleshooting methods such as running a system file checker scan or updating Windows.
Remember to always save any important work before restarting File Explorer, as this process will close any open windows and programs associated with it.
Using Command Prompt to Restart Explorer.exe
To restart Explorer.exe using Command Prompt, follow these steps:
1. Press Ctrl + Shift + Esc to open Task Manager.
2. In the Task Manager window, click on File in the top-left corner.
3. Select Run new task from the dropdown menu.
4. Type cmd in the dialog box and check the box next to Create this task with administrative privileges.
5. Click OK to open Command Prompt.
6. In Command Prompt, type taskkill /f /im explorer.exe and press Enter to end the Explorer process.
7. Then, type explorer.exe and press Enter to restart File Explorer.
8. Close Command Prompt and check if File Explorer is working properly.
Restarting Explorer.exe can help resolve issues with File Explorer not working on Windows 10/11. This quick fix can refresh the File Explorer process and restore normal functionality to your system.
Running System File Checker Scan
To run a System File Checker scan on Windows 10/11 to fix File Explorer issues, follow these steps:
1. Press the Windows key + X on your keyboard to open the Power User menu.
2. Select Command Prompt (Admin) or Windows PowerShell (Admin) from the list.
3. In the command prompt window, type sfc /scannow and hit Enter to start the scan.
4. The System File Checker will begin scanning your system files for any issues and automatically repair them if possible.
5. Once the scan is complete, restart your computer and check if the File Explorer is now working properly.
Running a System File Checker scan can help resolve various system file-related issues that may be causing File Explorer to not work correctly. If the problem persists after running the scan, you may need to consider other troubleshooting steps or seek further assistance.
Clearing File Explorer History
- Step 1: Open File Explorer by pressing Windows key + E.
- Step 2: Click on the View tab at the top of the window.
- Step 3: In the Show/Hide group, check the box next to Hidden items to display hidden files and folders.
- Step 4: Navigate to the following directory: C:\Users\YourUsername\AppData\Local.
- Step 5: Locate the History folder and delete its contents.
Adjusting Display Settings
To adjust display settings in Windows 10/11, you can follow these steps:
1. Right-click on the desktop and select Display settings from the context menu.
2. Here, you can adjust the resolution, scaling, and orientation of your display.
3. You can also change the refresh rate by clicking on Advanced display settings.
4. To change the color profile or night light settings, click on Color settings or Night light settings.
5. If you have multiple monitors, you can set up multiple displays by clicking on Identify and arranging them as needed.
6. Make sure to click Apply after making any changes to see them take effect.
Adjusting the display settings can help resolve issues with File Explorer not working properly on Windows 10/11.
Managing System Partition Space
To manage system partition space on Windows 10/11 and fix File Explorer not working issues, follow these steps:
1. Check Disk Space: Open File Explorer, right-click on the system partition, and select “Properties” to check the available space.
2. Run Disk Cleanup: Click on the “Disk Cleanup” button to remove unnecessary files and free up space on the system partition.
3. Uninstall Unnecessary Programs: Open the Control Panel, go to “Programs” and then “Programs and Features” to uninstall any programs you don’t need.
4. Move Files to Another Drive: Transfer large files to another drive or external storage to free up space on the system partition.
5. Use Disk Management Tool: Open the Disk Management tool to resize partitions and allocate more space to the system partition if needed.
By managing the system partition space effectively, you can improve the performance of File Explorer and prevent it from crashing or not working properly.
Creating a New User Account
To create a new user account on Windows 10/11, follow these steps:
1. Press the Windows key + I to open the Settings menu.
2. Click on Accounts.
3. Select Family & other users from the left-hand menu.
4. Under “Other users,” click on Add account.
5. Choose whether to add a Microsoft account or a local account.
6. Follow the on-screen instructions to complete the setup process.
7. Once the new user account is created, you can switch between accounts by clicking on the profile picture in the Start menu.
Creating a new user account can help troubleshoot issues with File Explorer not working properly on Windows 10/11.
Updating Windows to the Latest Version
If there are any updates available, make sure to download and install them. After updating your Windows operating system, restart your computer and check if File Explorer is now working properly. Sometimes, a simple update can solve the issue without the need for further troubleshooting.
If updating Windows does not fix the problem, you may need to consider other solutions such as running the Windows Update Troubleshooter or performing a system restore to a previous point when File Explorer was working correctly.
Restoring Windows to an Earlier Date
If your File Explorer is not working on Windows 10/11, you can try restoring your system to an earlier date to fix the issue. This can help undo any recent changes that may have caused the problem.
To restore Windows to an earlier date, follow these steps:
1. Open the Start menu and type “System Restore” in the search bar.
2. Click on “Create a restore point” from the search results.
3. In the System Properties window, click on the “System Restore” button.
4. Follow the on-screen instructions to choose a restore point from a date before the File Explorer issue started.
5. Complete the restoration process and restart your computer.
By restoring Windows to an earlier date, you can potentially resolve the File Explorer not working problem and get your system back to normal functioning.
FAQ
Why is my File Explorer not working?
Your File Explorer may not be working due to reasons such as outdated or corrupt device drivers, malware infections, insufficient system resources, or conflicting software.
How do you reset File Explorer?
To reset File Explorer, you can use Task Manager. Open Task Manager by pressing Ctrl + Alt + Delete or Windows Key + X, then click on Task Manager. Right-click on Windows Explorer in the list of processes and select Restart.
How do I fix a crashed File Explorer?
To fix a crashed File Explorer, you can try updating Windows, disabling thumbnails, clearing File Explorer history, launching folder windows in a separate process, running CHKDSK and SFC scans, and making changes to the graphics card driver.
How do I restart File Explorer?
To restart File Explorer, simply open Task Manager by pressing Ctrl+Shift+Esc. Then, click on the File menu and select “Run new task” in Windows 8 or 10 (or “Create new task” in Windows 7). Type “explorer.exe” into the run box and press “OK” to relaunch File Explorer.


