In this article, I will discuss troubleshooting fixes for a WiFi router that is not working.
Quick Home Wi-Fi Fixes
- Check Power
- Make sure the router is plugged in and the power light is on.
- If the power light is off, try unplugging and plugging it back in.
- Reset Router
- Press and hold the reset button on the router for 10 seconds.
- Wait for the router to restart and try connecting to the Wi-Fi again.
- Update Firmware
- Access the router’s admin page through a web browser.
- Check for any firmware updates and install them if available.
- Move Router
- Place the router in a central location in your home.
- Avoid obstructions such as walls or metal objects that can interfere with the signal.
Understanding Router Lights and Icons
Router lights and icons can provide valuable information about the status of your WiFi connection. When troubleshooting your router, it’s important to understand what these lights and icons mean.
Start by checking the power light on your router. If it’s not lit up, make sure the router is plugged in and turned on. The power light indicates that the router is receiving power and is functioning properly.
Next, look at the internet light. This light shows whether your router is connected to the internet. If the internet light is off, try restarting your router and modem.
Pay attention to the WiFi light as well. This light indicates whether the wireless network is active. If the WiFi light is off, try resetting your router or checking the wireless settings.
Understanding the meaning of these lights and icons can help you identify and resolve issues with your WiFi router quickly and effectively. By familiarizing yourself with your router’s indicators, you can troubleshoot connectivity problems with confidence.
Troubleshooting Connection Issues
If you are experiencing connection issues with your WiFi router, there are a few troubleshooting steps you can take to try and resolve the issue. First, make sure that the router is properly connected to power and that all cables are securely plugged in.
Next, check the WiFi signal strength on your device to see if it is a problem with the router or your device’s connectivity. You can also try rebooting the router by unplugging it, waiting a few seconds, and plugging it back in.
If the issue persists, you can reset the router to factory settings by pressing and holding the reset button for a few seconds. Be sure to consult your router’s user guide for specific instructions on how to do this.
Additionally, you can check for any interference from other electronic devices that may be affecting the signal. Moving the router to a different location or adjusting the antenna position can also help improve the connection.
Boosting Speed and Range

- Reposition the Router
- Move the router to a central location in your home or office
- Avoid placing the router near walls or metal objects that can interfere with the signal
- Update Firmware
- Access the router’s settings by typing the IP address into a web browser
- Check for firmware updates and install them if available
- Switch to a Different Channel
- Access the router’s settings and switch to a less congested channel
- Channels 1, 6, and 11 are typically less congested and provide better performance
- Use a WiFi Extender
- Place a WiFi extender in an area where the signal is weak
- Connect the extender to the router and follow the setup instructions
Switching Wi-Fi Bands

To switch Wi-Fi bands on your router, follow these steps:
1. Access your router’s settings by typing the IP address into your web browser.
2. Look for the Wi-Fi settings tab or section in the menu.
3. Find the option to switch between 2.4GHz and 5GHz bands.
Switching bands can help improve your Wi-Fi connection by reducing interference and increasing speed. If you’re experiencing connectivity issues, switching bands may be a simple solution to troubleshoot the problem.
Using Ethernet for Troubleshooting
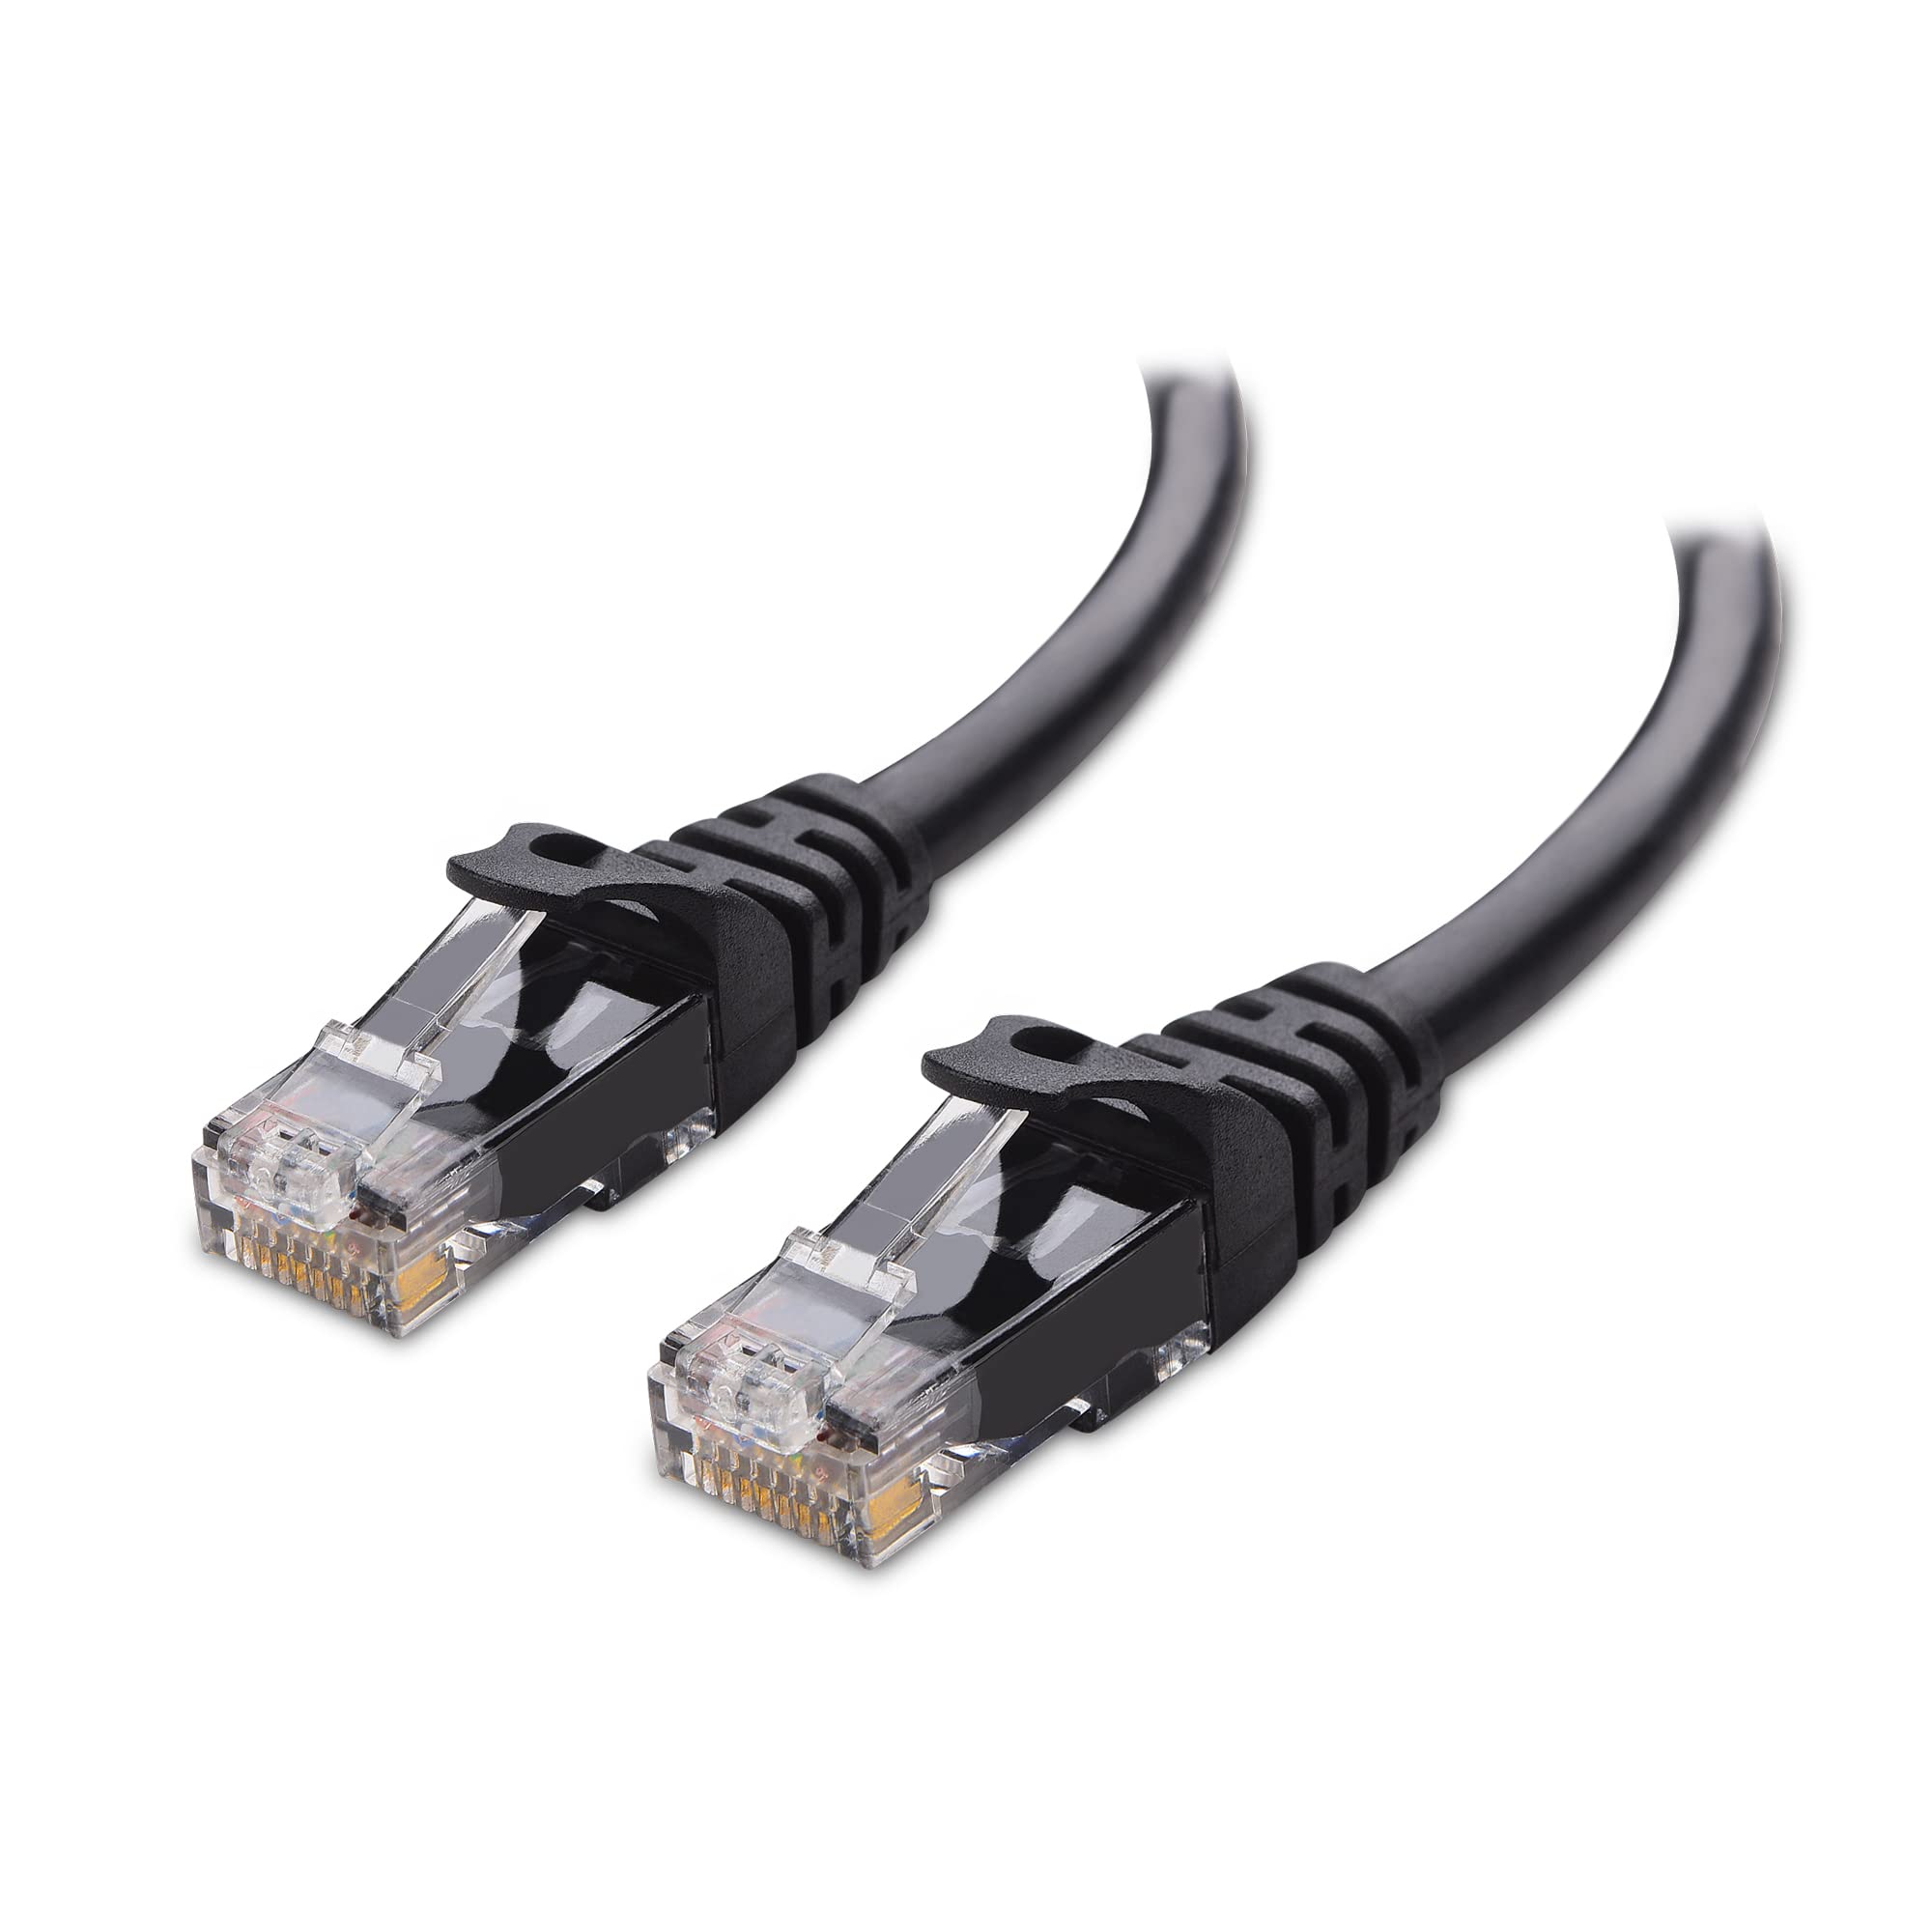
To troubleshoot a WiFi router that is not working, one effective method is to use an Ethernet cable to directly connect your computer to the router. This can help determine if the issue lies with the WiFi connection or the router itself.
Start by locating an Ethernet cable and connecting one end to the Ethernet port on your computer and the other end to one of the LAN ports on the router.
Once connected, check to see if you are able to access the internet through the wired connection. If you are able to successfully connect to the internet, the issue may be related to the WiFi settings on the router or interference with the wireless network.
Try accessing the router’s settings page by typing its IP address into a web browser. From there, you can check the wireless settings and make any necessary adjustments.
If you are still unable to connect to the internet even when using an Ethernet cable, there may be a problem with the router itself. Consider resetting the router to its factory settings or consulting the user guide for troubleshooting tips specific to your router brand.
Using an Ethernet cable for troubleshooting can help narrow down the source of the issue and determine the best course of action to get your WiFi router up and running again.
Diagnosing with Speed Tests and Wireless Diagnostics
To diagnose issues with your WiFi router not working, you can use various tools such as speed tests and wireless diagnostics.
Speed tests can help determine if your internet connection is running at the expected speed. You can use online tools like Ookla’s Speedtest to check your download and upload speeds.
Wireless diagnostics can identify any connectivity issues between your device and the router. On a Windows computer, you can access the built-in troubleshooter by right-clicking on the network icon in the taskbar.
If you’re using a Mac, you can run wireless diagnostics by holding down the Option key and clicking on the WiFi icon in the menu bar. This will help pinpoint any potential problems with your WiFi connection.
By utilizing these tools, you can quickly identify and troubleshoot issues with your WiFi router, ensuring a seamless internet connection for your devices.
Checking for Firmware Updates
To check for firmware updates on your WiFi router, you need to access the router’s web-based setup page. First, connect your computer to the router either via an Ethernet cable or wirelessly. Open a web browser and enter the router’s IP address in the address bar. This information can usually be found on the router itself or in the user manual.
Once you’re on the setup page, look for the firmware section or a tab labeled “Maintenance” or “Administration.” Here, you should see an option to check for updates. Click on it to search for any available firmware updates for your router. If there are updates available, follow the on-screen instructions to download and install them.
Repositioning Devices and Routers

- Check the physical location of your router and devices:
- Make sure your router is placed in a central location in your home.
- Avoid placing the router near thick walls, metal objects, or other electronics that may interfere with the signal.
- Adjust the antennas on your router:
- If your router has adjustable antennas, try positioning them vertically for a better signal.
- Experiment with different angles to see which position provides the best signal strength.
- Move devices closer to the router:
- If possible, move your devices closer to the router to see if the signal improves.
- Consider using a Wi-Fi extender or repeater to boost the signal in areas with poor coverage.
Scanning for Viruses and Malware
To ensure that your WiFi router is not being affected by viruses or malware, you should regularly scan your device for any potential threats. This can be done by using a reliable antivirus program that is up to date. Scan your router using the antivirus software and remove any detected viruses or malware immediately.
It is also important to make sure that your router’s firmware is updated to the latest version. This can help protect your device from any vulnerabilities that hackers may exploit. Check the manufacturer’s website for firmware updates and follow the instructions to update your router.
In addition, you should consider changing the default login credentials of your router to enhance security. Access your router’s settings by typing its IP address into a web browser, then change the default username and password to something unique and secure.
By regularly scanning for viruses and malware, updating your router’s firmware, and changing default login credentials, you can ensure that your WiFi router is working efficiently and securely.
Resetting Network to Factory Settings

To reset your network to factory settings, locate the reset button on your WiFi router. It is usually a small hole that can be pressed with a paper clip.
Use the paper clip to press and hold the reset button for about 10-15 seconds. This will reset the router to its default settings.
After resetting, you may need to reconnect all your devices to the network using the default network name and password provided by the manufacturer.
If you are still experiencing issues with your WiFi router after resetting it, consider contacting your internet service provider for further assistance.
Remember to also check for any firmware updates for your router that may help resolve any connectivity problems.
When to Contact Your Service Provider

If you have tried all the troubleshooting steps mentioned in the article and your WiFi router is still not working, it may be time to contact your service provider.
Contact your service provider if:
– You have checked all the cables and connections, but still have no internet access.
– The router lights are not turning on or are flashing in an unusual pattern.
– Your devices are unable to detect the WiFi network.
– You have tried resetting the router multiple times without success.
It is important to reach out to your service provider for further assistance in these situations. They may be able to provide additional troubleshooting steps or schedule a technician to come and investigate the issue further.
FAQs
Why is my router not giving Wi-Fi?
Your router may not be giving Wi-Fi due to various factors such as obstructions, distance between the router and devices, or interference from other networks and electronics.
Why wont my router turn on Wi-Fi?
Your router may not be turning on Wi-Fi due to a power issue. Try power cycling the router by unplugging it from the electrical outlet for about 30 seconds to 1 minute, then plugging it back in.
Why is my Wi-Fi router not detecting?
Your Wi-Fi router may not be detecting due to a need for a proper restart. Power cycling the modem and router can help fix connectivity issues and resolve wireless connection problems. Additionally, check your network settings as the network may be hidden.
Why did my Wi-Fi suddenly stop working?
Your Wi-Fi suddenly stopped working likely due to a problem with your router, modem, or a loose cable. However, there may also be more technical reasons for the issue.


