
Are you experiencing the frustrating issue of your Windows 10 laptop showing “plugged in, not charging”? Let’s explore some potential fixes for this common problem.
Update Battery Drivers
To update battery drivers on a Windows 10 laptop that is plugged in but not charging, you can follow these steps. First, go to the Start menu and type “Device Manager” in the search bar. Then, click on the Device Manager icon that appears in the search results. In the Device Manager window, expand the “Batteries” category and right-click on the Microsoft ACPI-Compliant Control Method Battery.
Select “Uninstall device” from the context menu that appears. After the device is uninstalled, restart your computer. When your computer boots back up, the battery drivers will automatically be reinstalled. If this doesn’t solve the issue, you may need to visit the manufacturer’s website to download and install the latest battery drivers for your specific laptop model.
AC Adapter and Battery Driver Reinstallation
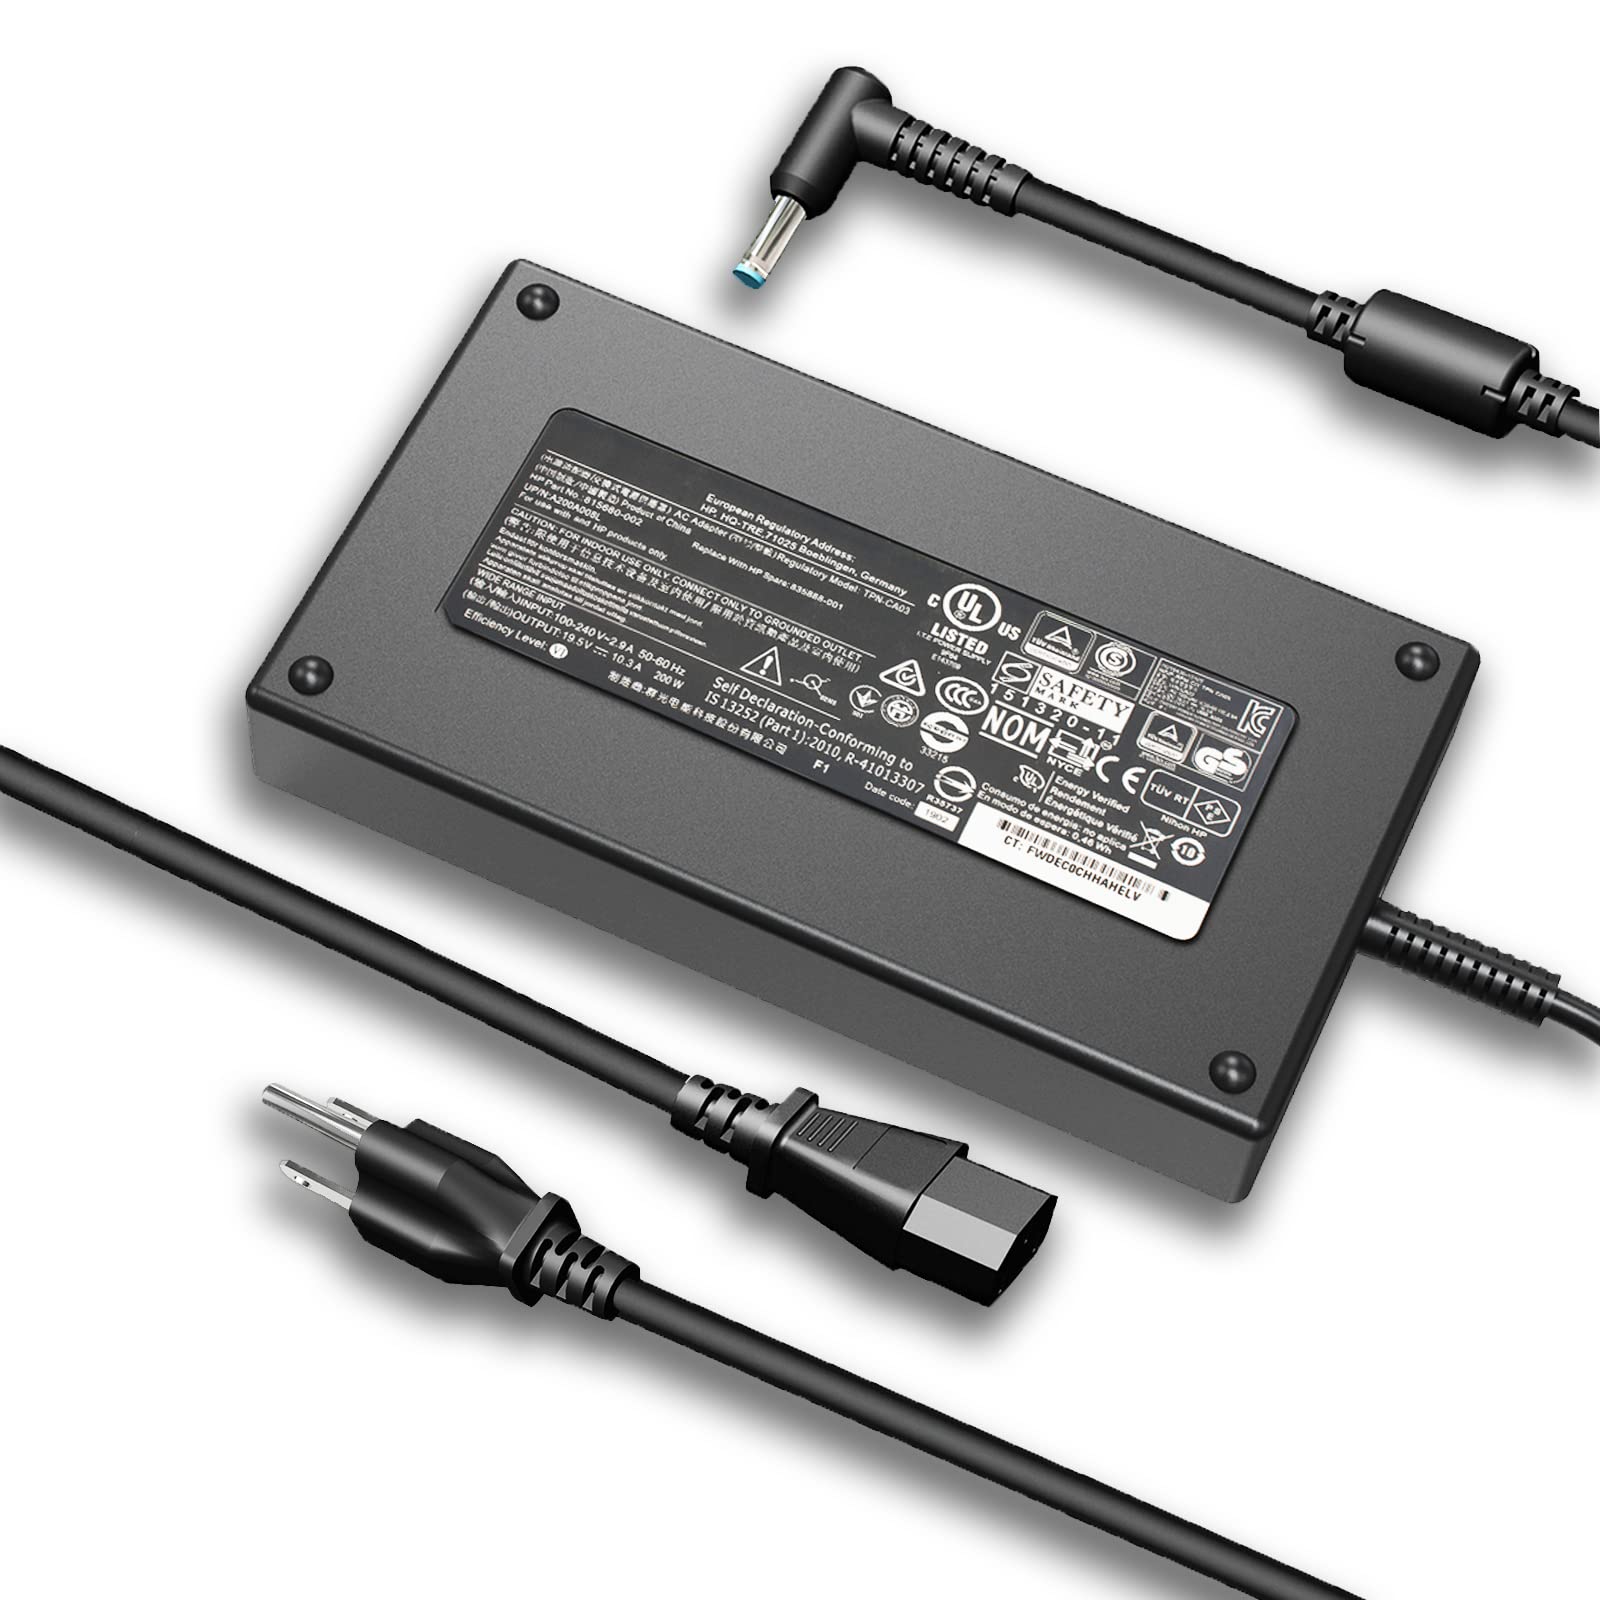
If your Windows 10 laptop is not charging even when plugged in, it could be due to issues with the AC adapter or battery driver. To fix this, first, unplug the AC adapter from the laptop and then remove the battery if it’s removable. Next, reinstall the battery driver by going to Device Manager, finding the battery category, right-clicking on it, and selecting “Uninstall device.” Then, restart your laptop and the driver will be automatically reinstalled.
If the issue persists, you can also try reinstalling the AC adapter driver. Go to Device Manager, find the AC adapter category, right-click on it, and select “Uninstall device.” Restart your laptop again, and the driver will be reinstalled. If these steps don’t resolve the problem, it may be a hardware issue, and you should consider seeking professional help or contacting the manufacturer for further assistance.
AC Charger Connection Check
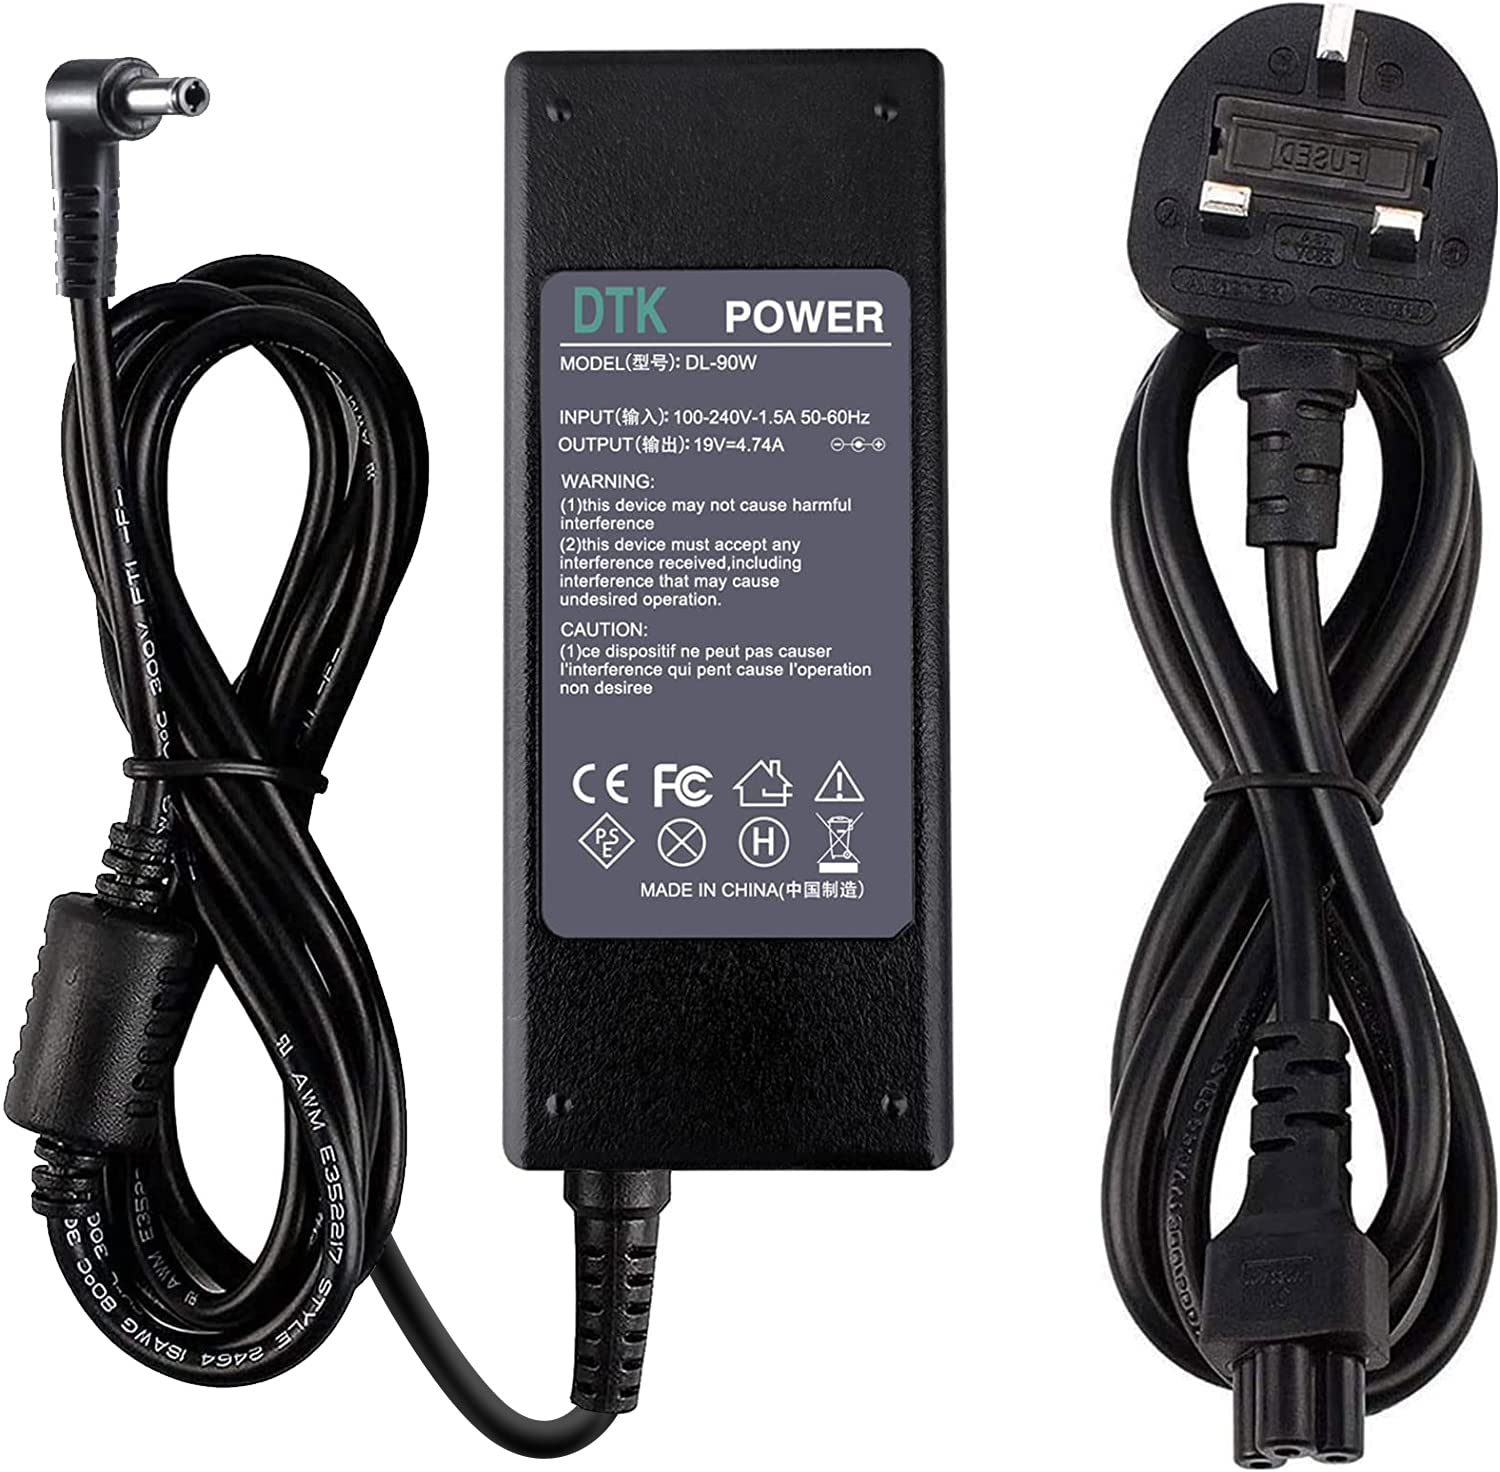
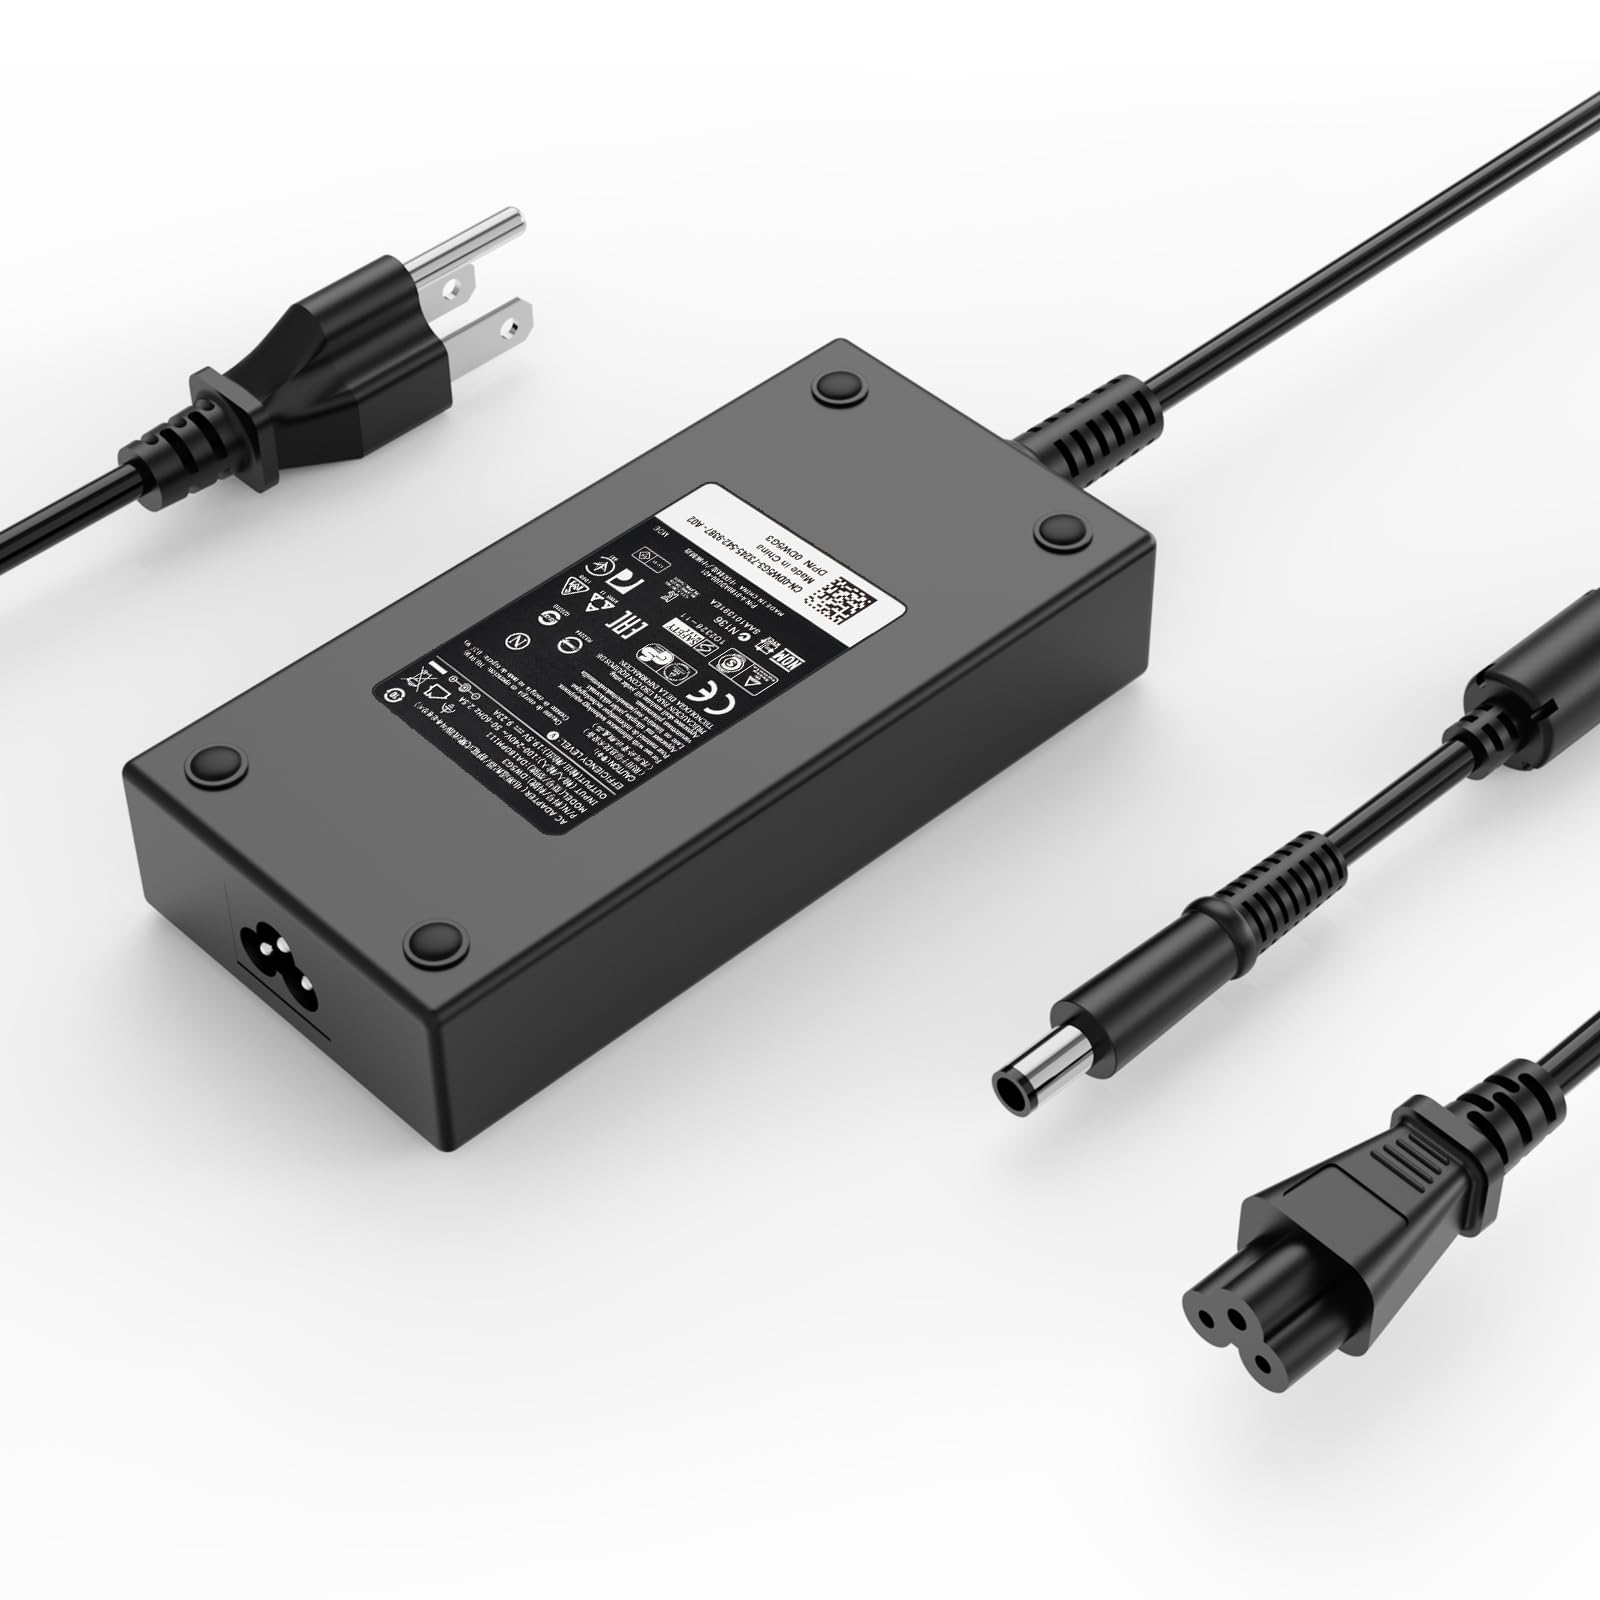
To check the AC charger connection on your Windows 10 laptop, start by ensuring the power cable is securely plugged into both the laptop and the power outlet. If the connection seems fine, try using a different power outlet to rule out any issues with the current one. It’s also a good idea to inspect the power cable for any signs of damage or wear that could be causing the charging problem.
If the power cable and outlet are not the issue, you can try using a different AC charger to see if the problem lies with the charger itself. Additionally, check the charging port on your laptop for any debris or damage that could be interfering with the connection.
DC Jack Inspection
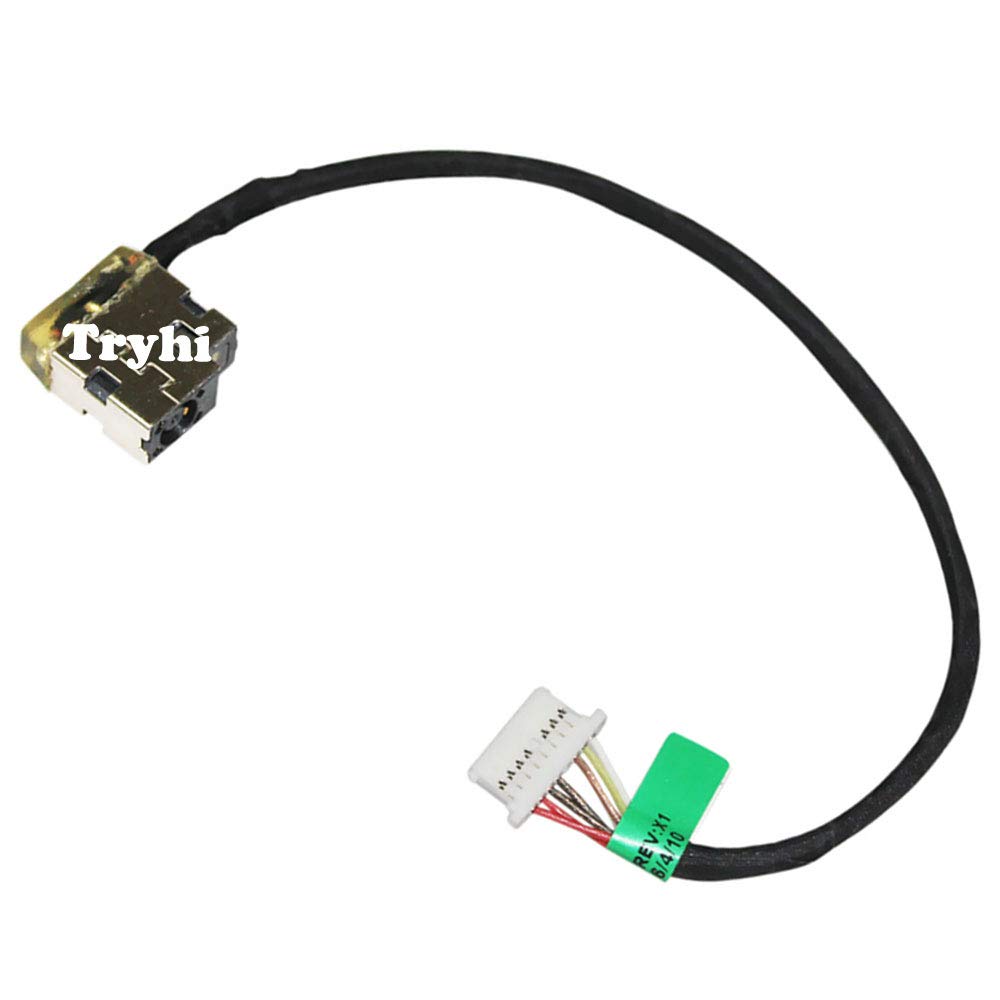
- Inspect the DC jack for any physical damage or loose connections.
- Ensure the laptop is powered off and unplugged from the charger.
- Examine the DC jack for any visible signs of damage, such as bent pins or loose connections.
- If there is physical damage, consider seeking professional repair or replacement of the DC jack.
Power Management Settings Adjustment
To adjust the power management settings on your Windows 10 laptop, first, go to the Start menu and type “Control Panel” in the search bar. Then, click on “Control Panel” from the search results to open it. In the Control Panel, navigate to “Hardware and Sound” and then “Power Options.”
Click on “Change plan settings” next to the power plan you are currently using. Then, select “Change advanced power settings.” In the Power Options window, you can adjust various power settings such as the battery charging threshold and power plan options.
If your laptop is still not charging after adjusting the power management settings, you may need to update your device drivers. To do this, go to the Device Manager by right-clicking on the Start button and selecting “Device Manager.” Look for the “Batteries” category and expand it. Right-click on “Microsoft ACPI-Compliant Control Method Battery” and select “Uninstall device.”
After uninstalling the device, restart your laptop and the device driver will be reinstalled automatically. If you are still experiencing issues, you may need to consult with a professional or contact the manufacturer for further assistance.


