
Upgrading from Windows 7 to Windows 10 can be a transformative experience, but occasionally, users may encounter a few bumps along the way. In this article, we will explore the most common issues that arise during the upgrade process and provide troubleshooting tips to ensure a seamless transition.
Changing Installation Settings
When upgrading from Windows 7 to Windows 10, you may encounter installation issues. To troubleshoot these problems, you can change the installation settings. Here are the steps to follow:
1. Open the Control Panel on your PC.
2. Navigate to “System and Security.”
3. Click on “System.”
4. In the left panel, select “Advanced system settings.”
5. Under the “Advanced” tab, click on “Settings” in the “Startup and Recovery” section.
6. Uncheck the box next to “Automatically restart” under the “System failure” section.
7. Click “OK” to save the changes.
8. Restart your computer.
By changing these settings, you can prevent your PC from automatically restarting when an error occurs during the upgrade process. This will give you a chance to read any error messages and take the necessary steps to fix the issue.
Note: Make sure to consult the troubleshooting guide or seek help from Microsoft support for specific error codes or messages you encounter during the upgrade process.
Running the Update Troubleshooter
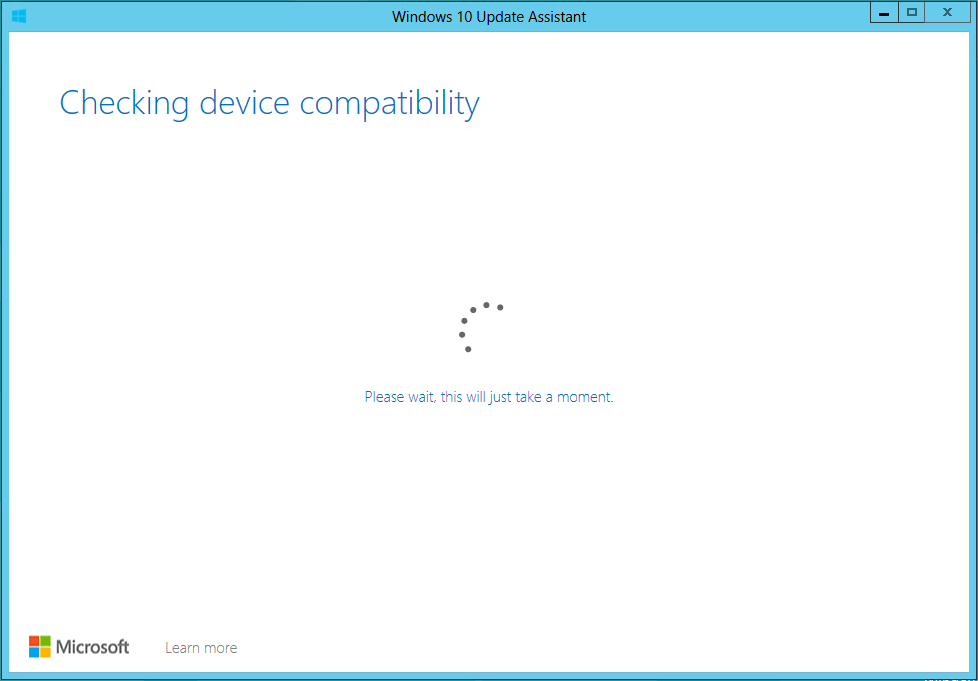
If the troubleshooter does not resolve the issue, there are other methods you can try. You can use the Media Creation Tool to create installation media and perform a clean installation of Windows 10. Alternatively, you can try upgrading using the Windows 10 ISO file or performing an in-place upgrade by using the “Upgrade this PC now” option in the Media Creation Tool.
python

import os
# Path to Windows 10 Upgrade Assistant executable
upgrade_assistant_path = r"C:\Windows10Upgrade\Windows10Upgrade9252.exe"
# Check if Upgrade Assistant exists
if os.path.exists(upgrade_assistant_path):
# Run the Upgrade Assistant
os.system(upgrade_assistant_path)
else:
print("Windows 10 Upgrade Assistant not found.")
Please make sure to adjust the `upgrade_assistant_path` variable to the correct path of the Windows 10 Upgrade Assistant executable on your system. This code snippet simply checks if the Upgrade Assistant exists and runs it if found. It’s important to note that executing the Upgrade Assistant is just one step in the process, and other prerequisites and compatibility checks may be required before upgrading.
For a more comprehensive and accurate approach to upgrading Windows 7 to Windows 10, it is recommended to follow official documentation provided by Microsoft or seek assistance from their customer support.
Performing a Registry Tweak
If you’re experiencing issues with your Windows 7 to Windows 10 upgrade, a registry tweak might help resolve the problem. Here’s how you can do it:
1. Press the Windows key + R to open the Run dialog box.
2. Type “regedit” and hit Enter to open the Registry Editor.
3. Navigate to the following key: HKEY_LOCAL_MACHINE\SOFTWARE\Microsoft\Windows\CurrentVersion\WindowsUpdate\OSUpgrade.
4. Look for the DWORD value called “AllowOSUpgrade” and double-click on it.
5. Change the value data to 1 and click OK.
6. Close the Registry Editor and restart your computer.
Performing this registry tweak can sometimes resolve installation errors or help with compatibility issues. However, please note that modifying the registry can have unintended consequences, so it’s essential to create a backup before making any changes.
If you’re still experiencing problems after performing this tweak, we recommend seeking further assistance from Microsoft support or referring to other troubleshooting guides available online.
Starting the BITS Service
If you’re experiencing issues with the Windows 7 to Windows 10 upgrade, one potential solution is to start the BITS (Background Intelligent Transfer Service) service. This service is responsible for transferring files in the background and is essential for successful upgrades.
To start the BITS service, follow these steps:
1. Press the Windows key + R to open the Run dialog box.
2. Type “services.msc” and press Enter.
3. In the Services window, scroll down and locate the “Background Intelligent Transfer Service” entry.
4. Right-click on it and select “Properties“.
5. In the Properties window, set the “Startup type” to “Automatic“.
6. Click “Apply” and then “OK” to save the changes.
7. Restart your computer.
Starting the BITS service can help resolve installation errors and allow for a smoother upgrade experience. If you’re still encountering issues, consider referring to the troubleshooting guide provided by Microsoft or seeking assistance from their support forums.
Using a Different User Account
If you encounter issues while upgrading from Windows 7 to Windows 10, one possible solution is to use a different user account. This method can help resolve compatibility problems and errors that may arise during the upgrade process.
To use a different user account, follow these steps:
1. Press the Windows key + R to open the Run dialog box.
2. Type “netplwiz” and press Enter to open the User Accounts window.
3. Click on “Add” to create a new user account.
4. Follow the prompts to set up the new account.
5. Restart your computer and log in using the newly created user account.
6. Attempt the Windows 10 upgrade again.
Using a different user account can provide a fresh start and eliminate any conflicts that may have occurred with the previous user account.
For more troubleshooting tips and solutions, visit the Microsoft support page or consult other relevant articles by Ivan Jenic, Vlad Turiceanu, or Fortect. Remember to ensure your hardware devices meet the system requirements and that you have a valid installation media for Windows 10.
Note: This method is specific to troubleshooting upgrade issues and may not resolve all problems. If you continue to experience issues, it is recommended to seek further assistance or consult a professional.
Removing Incompatible Software
When upgrading from Windows 7 to Windows 10, it’s important to remove any incompatible software to ensure a smooth transition. Here’s how to do it:
1. Check for incompatible software: Open Control Panel and click on “Programs” or “Programs and Features.” Look for any software that is not compatible with Windows 10.
2. Uninstall incompatible software: Select the incompatible software and click on “Uninstall.” Follow the on-screen instructions to remove it from your system.
3. Update drivers: Visit the manufacturer’s website for your hardware devices (e.g., scanners, speakers, docking stations) and download the latest drivers compatible with Windows 10.
4. Remove external devices: Disconnect any USB flash drives or other external devices connected to your PC. These can sometimes cause compatibility issues during the upgrade.
5. Restart your computer: After removing incompatible software and updating drivers, restart your computer to apply the changes.
Checking Hardware Compatibility
- Review System Requirements: Ensure that your hardware meets the minimum requirements for upgrading to Windows 10.
- Check Device Compatibility: Verify that all the devices connected to your computer are compatible with Windows 10 by visiting the manufacturer’s website.
- Update Drivers: Update your device drivers to the latest versions available from the manufacturer’s website to ensure compatibility with Windows 10.
- Remove Incompatible Software: Uninstall any software applications that are known to be incompatible with Windows 10 before proceeding with the upgrade.
- Run Compatibility Check: Use the Windows 10 Upgrade Assistant or the Get Windows 10 app to perform a compatibility check on your system and identify any potential issues.
- Resolve Hardware Conflicts: Resolve any conflicts between hardware devices by disconnecting unnecessary peripherals or updating firmware.
- Disable Security Software: Temporarily disable any security software, such as antivirus or firewall programs, that may interfere with the upgrade process.
- Free Up Disk Space: Ensure that you have enough free disk space on your system drive to accommodate the Windows 10 installation.
- Backup Important Data: Create a backup of all your important files and data to an external storage device or cloud storage service before initiating the upgrade.
Fixing Common Errors and Issues
- Perform a Clean Boot
- Press Windows Key + R to open the Run dialog box.
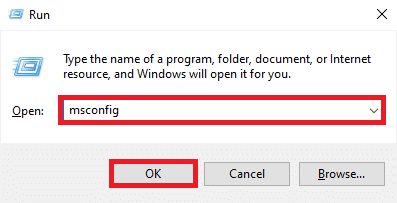
- Type msconfig and press Enter to open the System Configuration window.
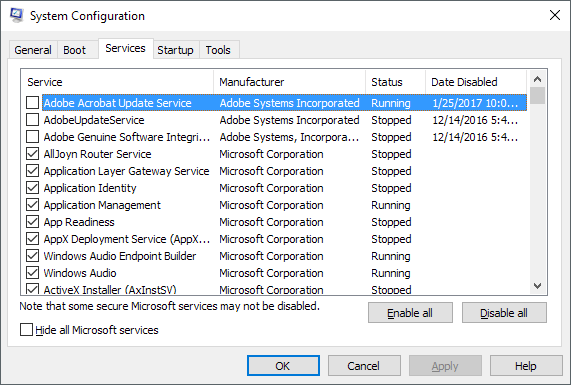
- In the General tab, select the Selective startup option and uncheck the Load startup items box.
- Go to the Services tab and check the Hide all Microsoft services box.
- Click on Disable all and then click OK.
- Restart your computer and check if the issue persists.
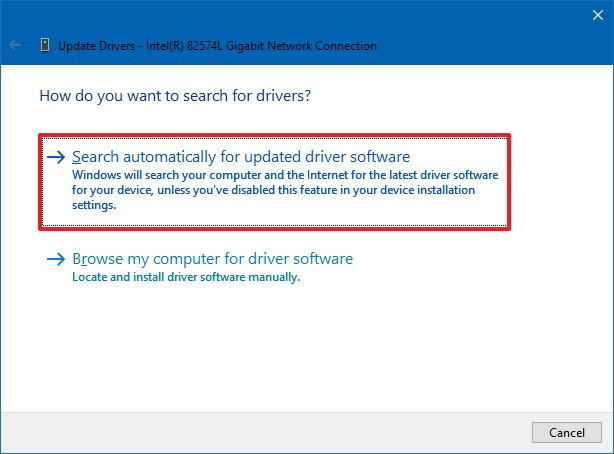
- Update Device Drivers
- Press Windows Key + X and select Device Manager.
- Expand the categories and right-click on the device that needs an update.
- Select Update driver and choose either Search automatically for updated driver software or Browse my computer for driver software.
- Follow the on-screen instructions to complete the driver update process.
- Restart your computer and check if the issue persists.
- Run Windows Update Troubleshooter
- Press Windows Key + I to open the Settings app.
- Go to Update & Security and select Troubleshoot from the left pane.
- Click on Additional troubleshooters and select Windows Update.
- Click on Run the troubleshooter and follow the on-screen instructions.
- Restart your computer and check if the issue persists.
- Reset Windows Update Components
- Press Windows Key + X and select Command Prompt (Admin).
- Type the following commands and press Enter after each one:
- net stop wuauserv
- net stop cryptSvc
- net stop bits
- net stop msiserver
- Type ren C:\Windows\SoftwareDistribution SoftwareDistribution.old and press Enter.
- Type ren C:\Windows\System32\catroot2 catroot2.old and press Enter.
- Type the following commands and press Enter after each one:
- net start wuauserv
- net start cryptSvc
- net start bits
- net start msiserver
- Restart your computer and check if the issue persists.
- Perform a System File Checker (SFC) Scan
- Press Windows Key + X and select Command Prompt (Admin).
- Type sfc /scannow and press Enter.
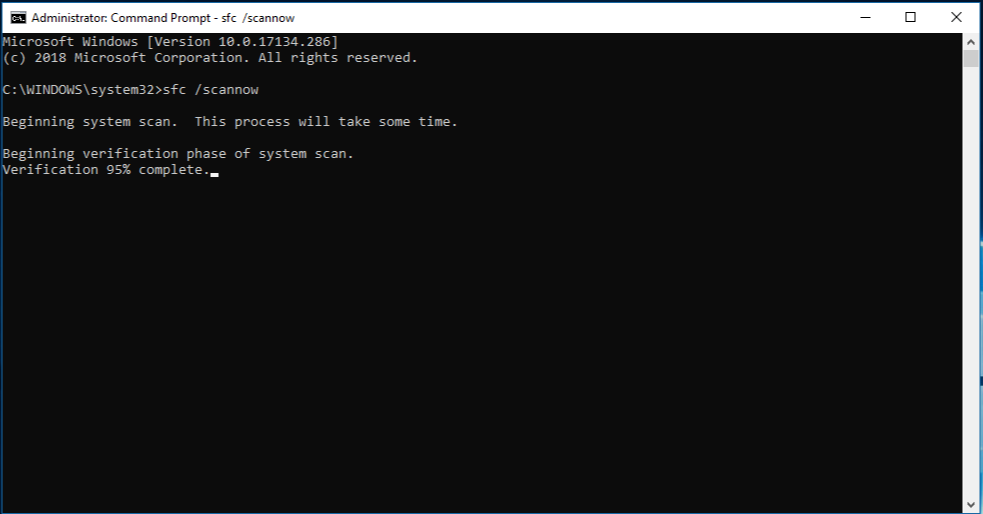
- Wait for the scan to complete and restart your computer.
- Check if the issue persists.


