
In this guide, I will walk you through the setup and troubleshooting of the microphone in BlueStacks 4.
PC Specifications for Setup
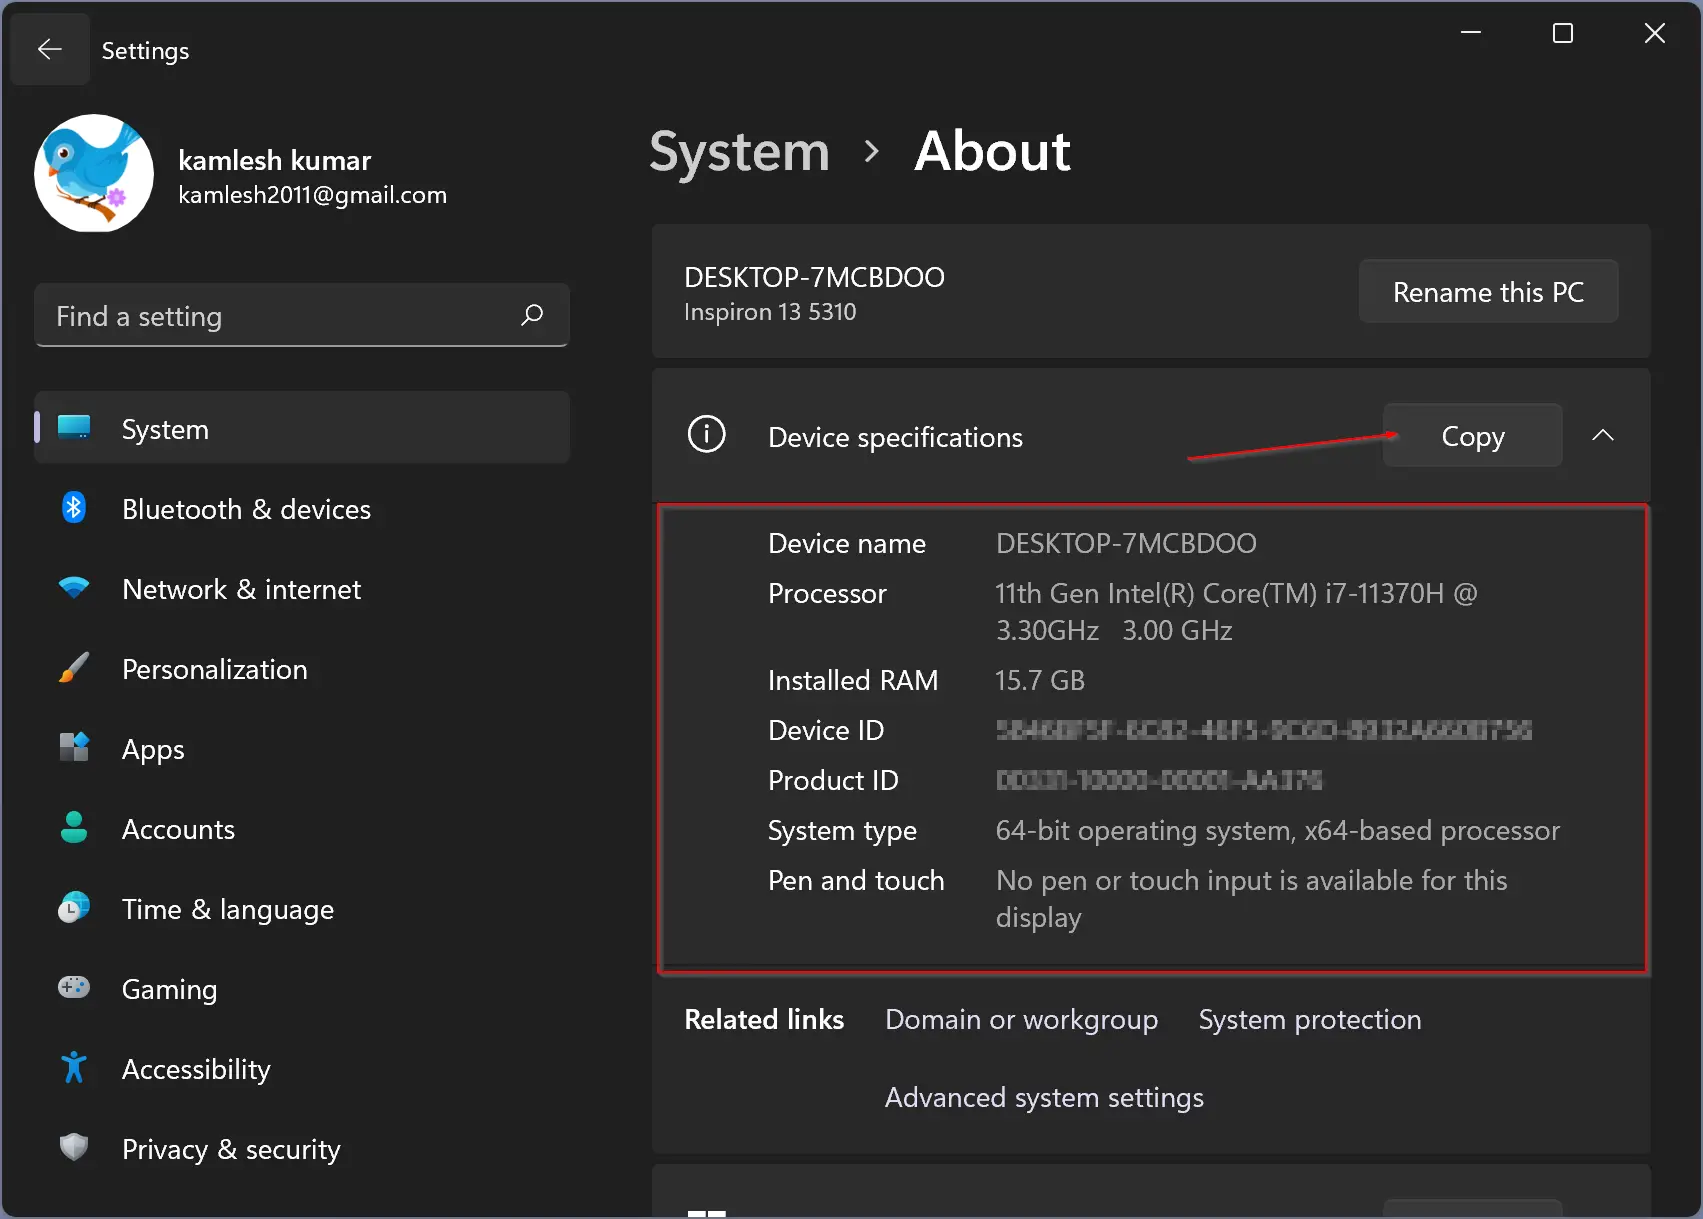
When setting up BlueStacks 4 for microphone usage, it is essential to ensure that your PC meets the necessary specifications. Your computer should have a minimum of an Intel or AMD processor, at least 2GB of RAM, and 5GB of hard disk space available. Make sure your PC is running on Windows 7 or above, with the latest graphics drivers installed.
Before proceeding with the setup, check your PC specifications to ensure compatibility with BlueStacks 4. Make sure you meet the minimum requirements for processor, RAM, and storage capacity.
If you plan on using a USB microphone with BlueStacks 4, ensure that your PC has the necessary USB ports available for connection. USB microphones are typically plug and play devices, so you should be able to connect them directly to your PC without any additional setup.
If you are using a USB microphone, simply plug it into an available USB port on your PC. BlueStacks 4 should automatically detect the microphone and make it available for use within the application.
For troubleshooting microphone issues in BlueStacks 4, make sure that the microphone is selected as the default recording device on your PC. You can do this by right-clicking on the speaker icon in the system tray, selecting “Recording devices,” and setting your microphone as the default device.
If you are experiencing microphone issues, check that the microphone is selected as the default recording device on your PC. This can often resolve any problems with microphone functionality in BlueStacks 4.
By ensuring that your PC meets the necessary specifications and following these troubleshooting steps, you can successfully set up and use a microphone with BlueStacks 4 for a seamless experience.
Game Performance on the Platform
| Game | Platform | Performance Rating |
|---|---|---|
| PUBG Mobile | BlueStacks 4 | Excellent |
| Fortnite | BlueStacks 4 | Good |
| Call of Duty Mobile | BlueStacks 4 | Average |
| Mobile Legends | BlueStacks 4 | Excellent |
Stability and Endurance Evaluation
The stability and endurance of your microphone setup are crucial factors for a smooth streaming experience. To ensure optimal performance, follow these steps:
First, make sure your microphone is securely connected to your computer or laptop. Loose connections can cause audio disruptions during streaming sessions.
Next, adjust the microphone settings in BlueStacks 4 to suit your preferences. You can do this by accessing the settings menu and selecting the audio options. Experiment with different settings to find the best configuration for your setup.
If you encounter any issues with your microphone, such as low volume or background noise, try troubleshooting the problem by checking the physical connections and adjusting the settings. You can also refer to the BlueStacks 4 microphone setup and troubleshooting guide for more detailed instructions.
To enhance the stability and endurance of your microphone setup, consider investing in a high-quality microphone stand or audio headset. These accessories can improve the audio quality of your streams and make your setup more professional.
Speed and Overall Assessment
Setting up the Microphone: To set up your microphone in BlueStacks 4, first, ensure that your microphone is properly connected to your computer. Open BlueStacks and go to the settings menu. Click on the “Preferences” tab, then select “Microphone” from the list of options. Choose the microphone you want to use from the dropdown menu. Test your microphone by speaking into it and adjusting the volume levels as needed.
Troubleshooting: If you are experiencing issues with your microphone in BlueStacks 4, there are a few troubleshooting steps you can try. First, make sure that your microphone is properly connected to your computer and that it is not muted. Check the settings in BlueStacks to ensure that the correct microphone is selected. If you are still having issues, try restarting BlueStacks and your computer to see if that resolves the problem.
Overall Assessment: BlueStacks 4 offers a seamless experience for users looking to use a microphone for various purposes such as live streaming, gaming, or video calls. The setup process is straightforward, and troubleshooting common issues is relatively easy. With the ability to adjust volume levels and select from different microphones, BlueStacks 4 provides users with flexibility and control over their audio input. Whether you are using a Blue Microphone, Audio-Technica, or another brand, BlueStacks 4 is compatible with a wide range of microphone options.
F.A.Q.
How do I get my microphone to work on BlueStacks?
To get your microphone to work on BlueStacks, you need to ensure that BlueStacks has the necessary permissions to access your microphone. This can be done by adjusting the settings in Windows to allow BlueStacks access to the microphone.
Why can’t I hear audio on BlueStacks?
You can’t hear audio on BlueStacks because the Speaker icon for BlueStacks Android Host may be muted. Ensure it is unmuted and try maximizing the volume.
How do I use my headset on BlueStacks?
To use your headset on BlueStacks, make sure it is properly connected to your PC. Then, go to the “Microphone” settings in BlueStacks and select your headset from the list of available devices.
How do I change the audio on BlueStacks?
To change the audio on BlueStacks, go to the top of the screen and click on the Audio tab in the menu bar. From there, you can adjust the sound settings as needed.


