Having trouble with Windows 10 locating your network printer? Let’s explore the potential causes and solutions to address this issue efficiently.
Before you begin
1. Verify the printer is turned on and connected to the same Wi-Fi network as your computer. Ensure that the printer is within range of your wireless access point.
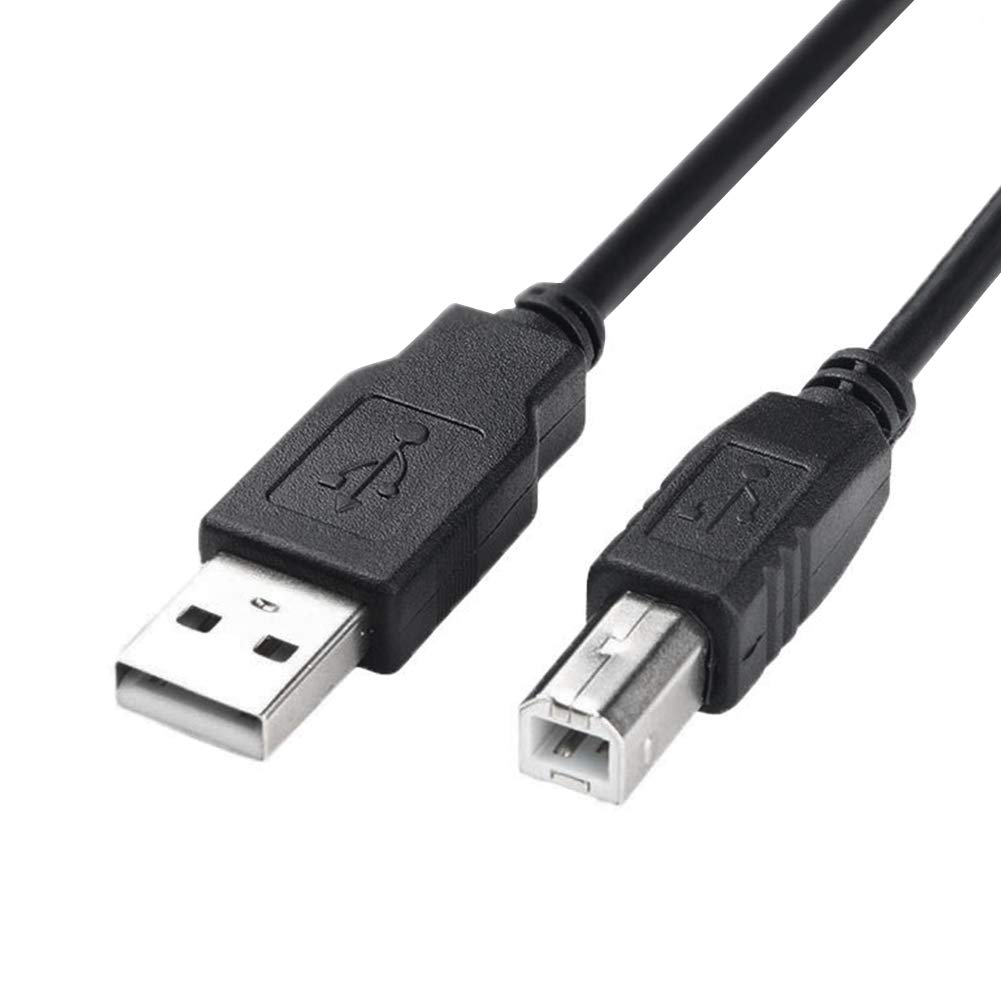
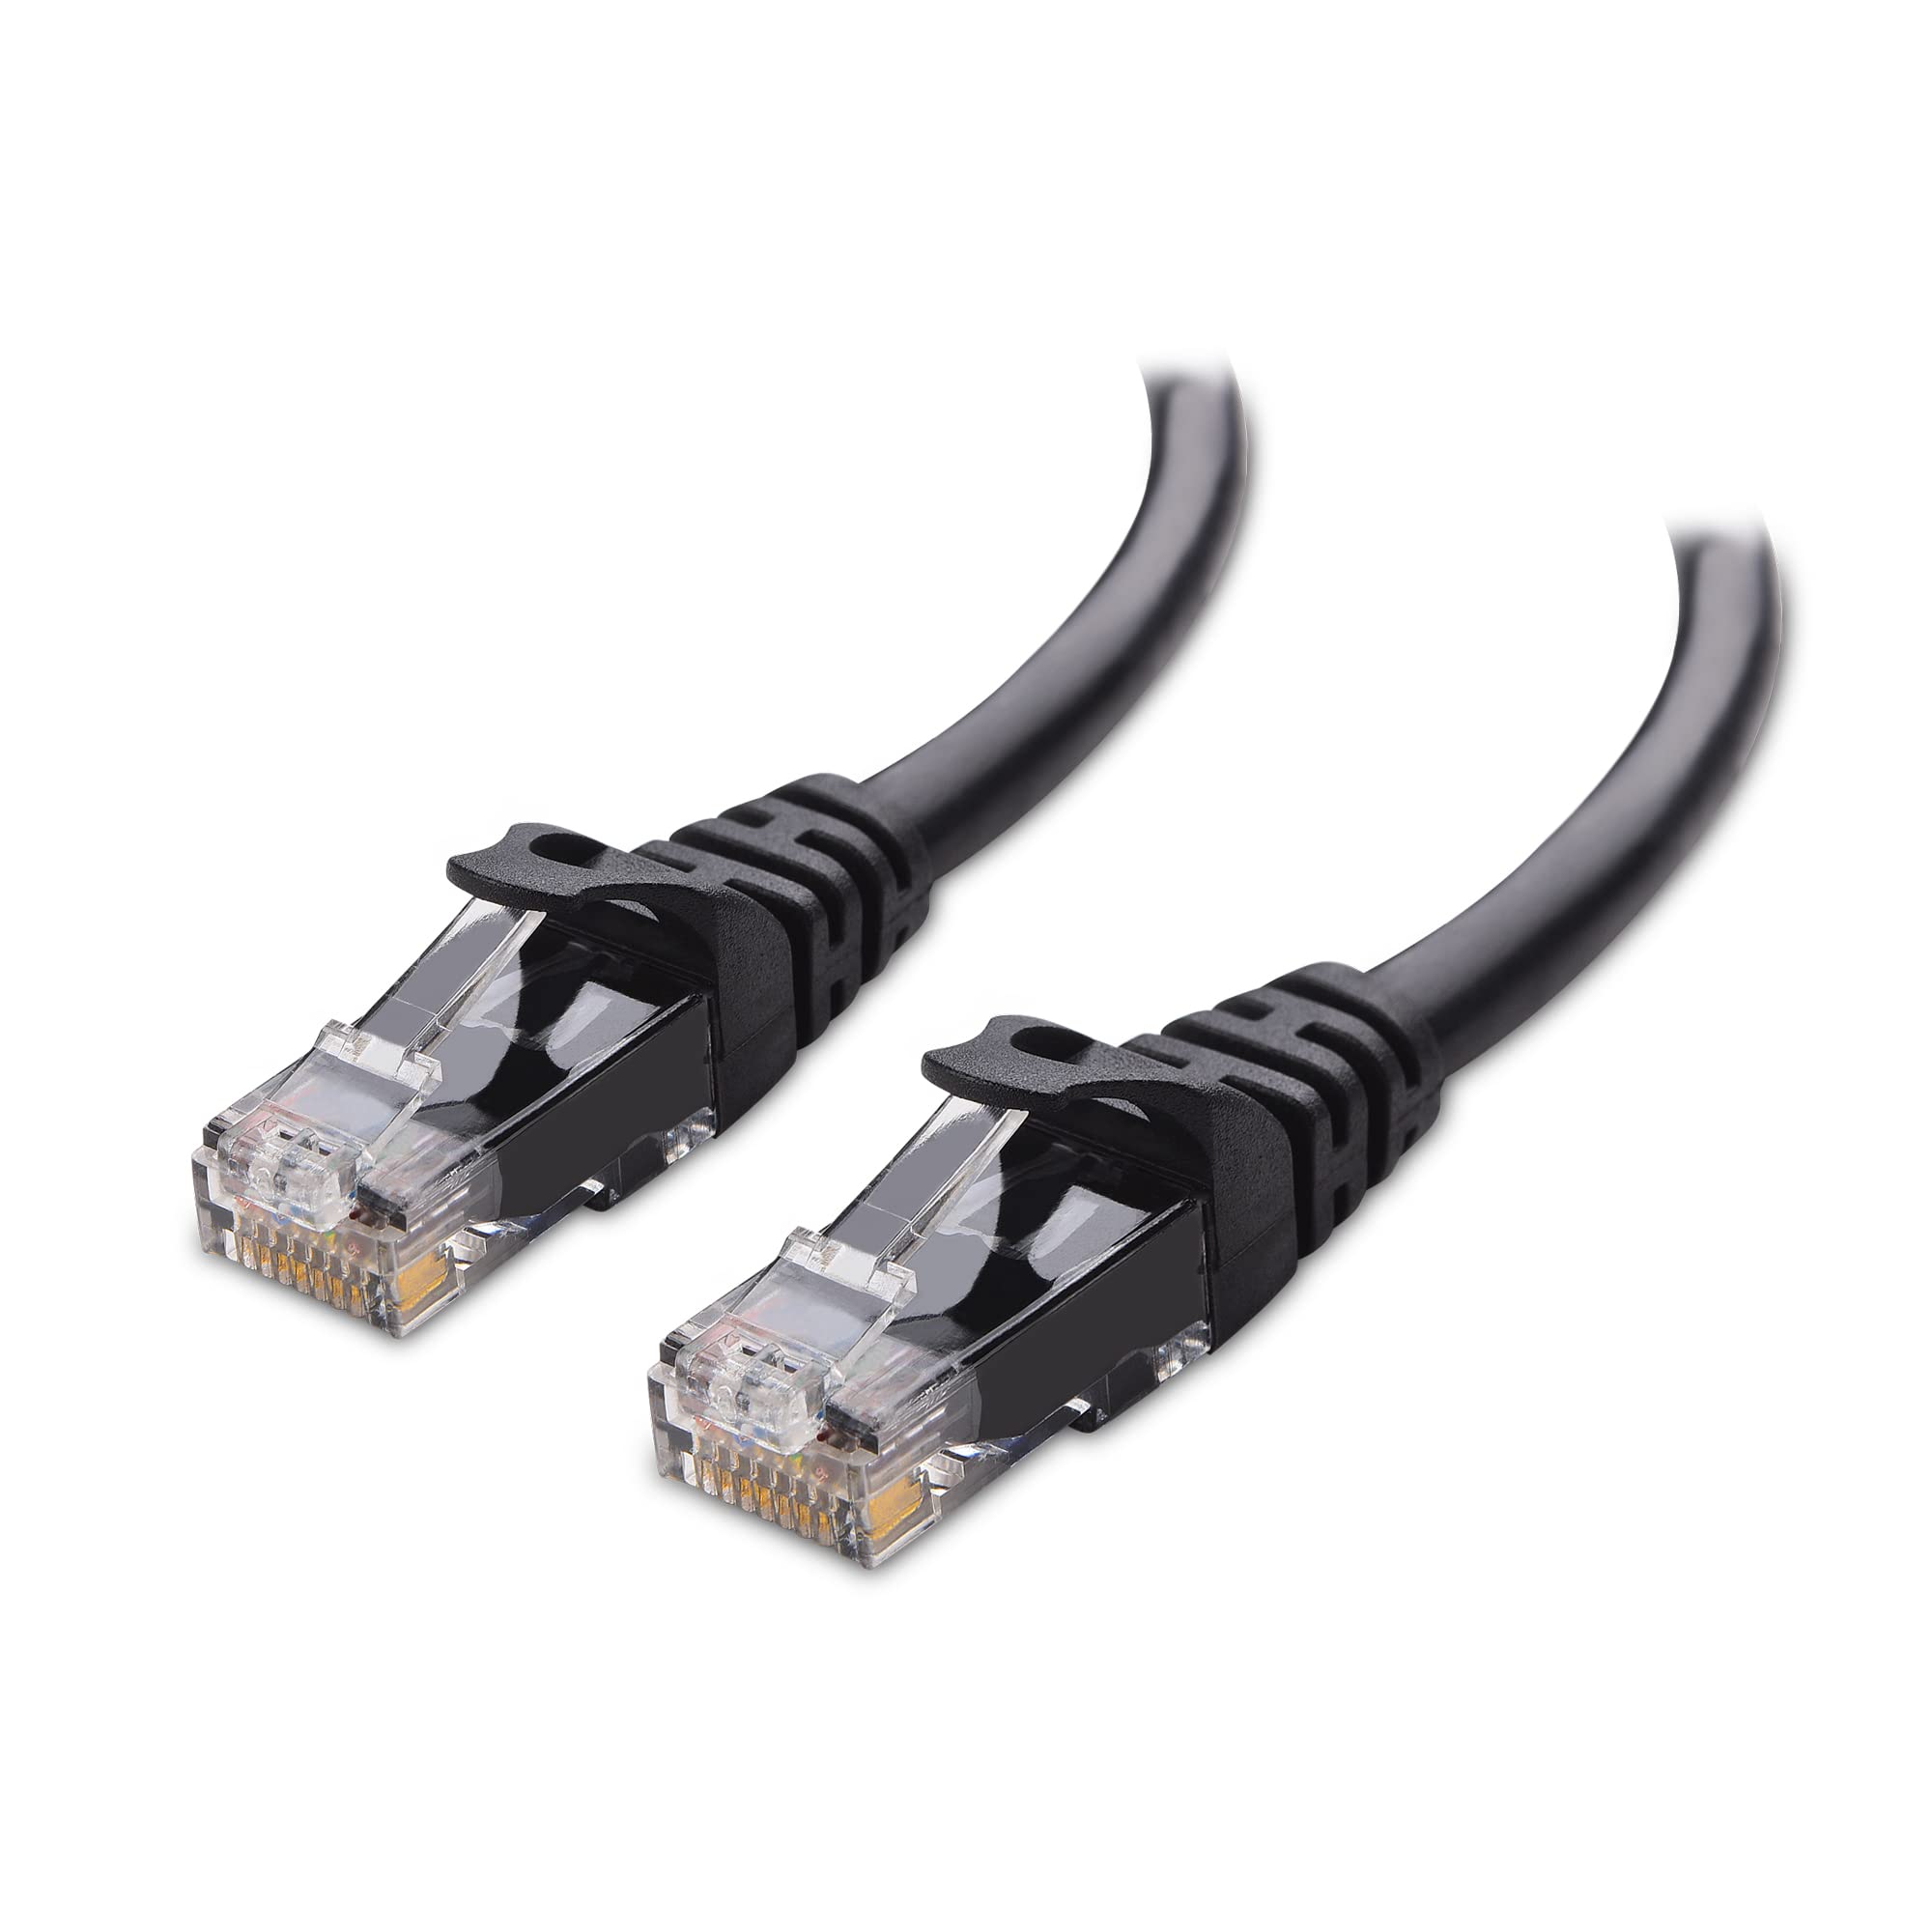
2. Check the physical connections between the printer and your computer. If you’re using a USB connection, make sure the cable is securely plugged in at both ends. If you’re using an Ethernet connection, ensure that the cable is properly connected to both the printer and your router.
3. Confirm that the printer is installed and set as the default printer on your computer. To do this, go to the Control Panel and navigate to “Devices and Printers.” Look for your printer in the list and right-click on it. Select “Set as default printer” from the context menu.
4. Update the printer driver to ensure compatibility with Windows 10. Visit the manufacturer’s website and search for the latest driver for your printer model. Download and install the driver according to the provided instructions.
5. Restart your computer and printer. Sometimes, a simple power cycle can resolve connectivity issues. Turn off both devices, wait a few seconds, and then turn them back on.
If you’re still unable to find your network printer on Windows 10, consider these additional troubleshooting steps:
1. Check if your printer supports wireless printing. Some printers may require a wired connection or additional setup steps to function wirelessly.
2. Make sure your printer and computer are connected to the same local area network (LAN). If you’re using a wireless router, ensure that both devices are connected to it.
3. Temporarily disable any firewall or antivirus software that may be blocking the printer’s communication with your computer. Remember to re-enable the software once you’ve finished troubleshooting.
4. Use Windows’ built-in troubleshooting tool to diagnose and fix printer-related issues. Open the Settings app, go to “Update & Security,” and select “Troubleshoot” from the left menu. Choose “Printers” and follow the on-screen instructions to complete the troubleshooting process.
Connecting your printer

First, make sure that your printer is connected to the same Wi-Fi network as your computer. This is crucial for establishing a connection between the two devices. If your printer supports a wired connection, such as Ethernet or USB, you may also consider using those options for a more stable connection.
Next, check if your printer is turned on and properly connected to the network. Ensure that the printer is powered on and its Wi-Fi or Ethernet connection is active. If you’re using a USB connection, ensure that the cable is securely plugged into both the printer and your computer.
Once you’ve verified the physical connections, it’s time to troubleshoot through the Windows operating system. Open the Control Panel on your Windows 10 computer by pressing the Windows key + X and selecting “Control Panel” from the menu. Alternatively, you can search for “Control Panel” in the Windows search bar.
In the Control Panel, navigate to the “Devices and Printers” section. This is where you can manage all the devices connected to your computer, including printers. Look for your printer in the list of devices and make sure it’s set as the default printer. If it’s not listed, click on the “Add a printer” button and follow the on-screen instructions to add your printer to the network.
If the above steps don’t resolve the issue, you may need to update the printer driver. Drivers are software that allow your computer to communicate with the printer. To update the driver, visit the manufacturer’s website and search for the latest driver for your specific printer model. Download and install the driver, then try connecting your printer again.
If you’re still unable to find your network printer, it’s worth considering power cycling your devices. This involves turning off your printer, computer, and wireless router, then turning them back on after a few minutes. Power cycling can reset any temporary issues that may be preventing your printer from being detected.
Installing a printer
If your Windows 10 operating system cannot find your network printer, follow these simple steps to install it correctly.
First, make sure your printer is connected to the same network as your computer. Check that the printer is turned on and connected to the network either via Ethernet cable or Wi-Fi.
Next, open the Control Panel by pressing the Windows key on your keyboard and typing “Control Panel.” Select the Control Panel app from the search results.
In the Control Panel, click on “Devices and Printers” or “Printers and Scanners,” depending on your version of Windows 10.
In the Devices and Printers window, click on the “Add a printer” button.
A new window will appear, showing a list of available printers. If your network printer is not listed, click on the “The printer that I want isn’t listed” link.
In the next window, select the option “Add a printer using a TCP/IP address or hostname” and click “Next.”
Enter the IP address or hostname of your network printer. If you don’t know the IP address or hostname, consult your printer’s manual or contact your network administrator.
After entering the IP address or hostname, click “Next” and Windows will attempt to detect the printer on your network.
If the printer is detected, Windows will install the necessary drivers and add the printer to your list of devices. Follow the on-screen instructions to complete the installation.
If Windows cannot find the printer, it may prompt you to choose a device driver manually. Select the appropriate driver from the list or download it from the manufacturer’s website.
Once the installation is complete, you should see your network printer listed in the Devices and Printers window. You can now use it to print documents and images from your computer.
If you encounter any issues during the installation process, consult the printer’s manual or contact the manufacturer for further assistance.
Troubleshooting printer problems

If you’re experiencing issues with Windows 10 not being able to find your network printer, there are a few troubleshooting steps you can take to resolve the problem. Follow these steps to diagnose and fix the issue:
1. Check your network connection: Ensure that your computer is properly connected to the network where the printer is located. Make sure your computer is connected to the correct Wi-Fi network or Ethernet connection.
2. Verify printer availability: Confirm that the printer is turned on and connected to the same network as your computer. Check the printer’s display or control panel for any error messages or connectivity issues.
3. Restart your devices: Sometimes, a simple restart can help resolve connectivity problems. Turn off both your computer and printer, wait for a few seconds, and then turn them back on. This can refresh the network connection and resolve any temporary issues.
4. Update printer drivers: Outdated or incompatible printer drivers can cause problems with network connectivity. Visit the manufacturer’s website to download and install the latest drivers for your printer model. Alternatively, you can use the built-in Windows Update feature to automatically update the drivers.
5. Run the Windows Printer Troubleshooter: Windows 10 includes a built-in troubleshooter that can automatically detect and fix common printer issues. To access it, go to the Control Panel and search for “Troubleshooting.” Select “View all” on the left sidebar and then click on “Printer” to launch the troubleshooter.
6. Check your firewall and antivirus settings: Sometimes, firewall or antivirus software can block communication between your computer and printer. Temporarily disable these security programs and check if the printer is now detected. If it is, adjust the settings to allow the printer communication.
7. Reset the print spooler: The print spooler is a Windows service that manages print jobs. Resetting it can help resolve issues with print queues and pending jobs. Press the Windows key + R to open the Run dialog box, then type “services.msc” and hit Enter. Locate the “Print Spooler” service, right-click on it, and select “Restart.”
Find a connected printer
1. Open the Control Panel by clicking on the Start button and typing “Control Panel” in the search bar. Press Enter to open the Control Panel.
2. In the Control Panel, click on “Devices and Printers.”
3. A list of connected printers will appear. If your printer is listed, right-click on it and select “Set as default printer” to make it the default for your device.
4. If your printer is not listed, click on “Add a printer” at the top of the window.
5. Windows will search for available printers on your network. If your printer is found, select it and click “Next” to install the necessary drivers.
6. If your printer is not found, click on “The printer that I want isn’t listed.”
7. Select the option “Add a printer using a TCP/IP address or hostname” and click “Next.”
8. Enter the IP address or hostname of your printer and click “Next.” If you’re not sure how to find this information, refer to your printer’s manual or contact the manufacturer.
9. Windows will attempt to connect to the printer using the provided information. If successful, click “Next” to install the drivers.
10. Follow the on-screen instructions to complete the printer installation.
If you are still unable to find your network printer, you may need to troubleshoot further. Visit the Microsoft support website for more detailed troubleshooting steps or contact your printer manufacturer for assistance.
Add an unseen printer
1. Open the Control Panel by clicking the Start menu and typing “Control Panel.” Select it from the search results.
2. In the Control Panel, click on “Devices and Printers.”
3. On the Devices and Printers page, click on the “Add a printer” option.
4. A new window will appear with two options: “Add a local printer” and “Add a network, wireless, or Bluetooth printer.” Select the second option.
5. Windows will start searching for available printers on the network. This may take a few moments.
6. Once the search is complete, a list of available printers will be displayed. If you see your printer in the list, select it and click “Next.” Windows will install the necessary drivers and configure the printer for use.
7. If your printer is not listed, click on the “The printer that I want isn’t listed” option.
8. In the next window, select the option “Add a printer using a TCP/IP address or hostname” and click “Next.”
9. Enter the IP address or hostname of your printer and click “Next.” If you’re not sure about the IP address or hostname, consult your printer’s manual or contact the manufacturer.
10. Windows will attempt to connect to the printer using the provided information. If successful, it will install the necessary drivers and configure the printer.
11. Finally, you will be prompted to set the printer as the default printer. Choose whether to set it as the default or not, and click “Finish.”
Run the troubleshooter
If you’re experiencing difficulty in finding a network printer on your Windows 10 computer, you can use the built-in troubleshooter to help diagnose and resolve the issue. The troubleshooter is a helpful tool that can automatically detect and fix common printer problems.
To run the troubleshooter, follow these steps:
1. Press the Windows key + I to open the Settings app.
2. Click on “Update & Security.”
3. In the left-hand menu, select “Troubleshoot.”
4. Scroll down and click on “Additional troubleshooters.”
5. Locate and click on “Printer” under the “Find and fix other problems” section.
6. Click on the “Run the troubleshooter” button.
The troubleshooter will now analyze your system and attempt to identify any issues related to your network printer. It will provide a step-by-step guide to resolve the problem or offer suggestions for further troubleshooting.
During the troubleshooting process, the troubleshooter may ask you to perform certain actions, such as checking the printer’s power and connection, updating drivers, or restarting your computer. Follow the instructions provided by the troubleshooter to complete each step.
If the troubleshooter is unable to resolve the issue, it may suggest additional troubleshooting steps or provide further resources to help you find a solution.
Remember, the troubleshooter is designed to address common printer problems, but it may not be able to fix every issue. If you continue to experience difficulties, you may need to consult the printer’s manufacturer website or contact their support for further assistance.
Fixing network connection issues
If you’re experiencing network connection issues with your network printer on Windows 10, there are a few troubleshooting steps you can try to resolve the problem.
First, ensure that your printer is properly connected to your computer network. Check all the cables and connections to make sure everything is securely plugged in. If you’re using a wireless printer, make sure it is connected to the correct wireless network and that it has a stable connection.
Next, check the printer’s power and paper/ink levels. Make sure the printer is turned on and has enough paper and ink or toner to complete the print job. If the printer is low on ink or toner, replace the cartridge accordingly.
If the printer is properly connected and has sufficient resources, you can try reinstalling the printer driver on your computer. To do this, follow these steps:
1. Press the Windows key + X on your keyboard and select “Device Manager” from the menu that appears.
2. In Device Manager, expand the “Print queues” category.
3. Right-click on your printer and select “Uninstall device.”
4. Confirm the uninstallation and wait for the process to complete.
5. Once the printer driver is uninstalled, restart your computer.
6. After your computer restarts, Windows will automatically reinstall the printer driver. However, it’s recommended to manually install the latest driver from the manufacturer’s website for optimal performance.
If reinstalling the printer driver doesn’t resolve the issue, you can try resetting the printer’s network settings. To do this, follow these steps:
1. On the printer’s control panel, navigate to the network settings or network setup menu.
2. Look for an option to reset the network settings or restore defaults.
3. Select the option and confirm the reset. The printer will restart and its network settings will be restored to factory defaults.
4. After the reset, reconnect the printer to your computer network and try printing again.
If none of these steps resolve the network connection issues, you may need to contact the printer manufacturer’s support for further assistance. They can provide specific troubleshooting steps or recommend additional solutions based on your printer model and network setup.
Updating printer drivers
1. Open the Control Panel by clicking the Start button, searching for “Control Panel,” and selecting it from the results.
2. In the Control Panel, locate and click on the “Devices and Printers” option.
3. In the Devices and Printers window, find your network printer. It should be listed under the “Printers” section.
4. Right-click on your network printer and select “Properties” from the context menu.
5. In the printer’s Properties window, navigate to the “Hardware” or “Hardware and Sound” tab.
6. Locate and click on the “Properties” or “Device Settings” button. This will open a new window specific to your printer.
7. Look for an option like “Update Driver,” “Driver Update,” or a similar phrase. Click on it to start the driver update process.
8. Windows will provide you with two options: “Search automatically for updated driver software” and “Browse my computer for driver software.” Choose the first option to let Windows search for the latest driver online.
9. If Windows finds an updated driver, it will automatically download and install it. Follow any on-screen prompts if necessary.
10. Once the driver update is complete, restart your computer to apply the changes.
By updating the printer drivers, you ensure that your Windows 10 machine can communicate effectively with your network printer, resolving the “Windows 10 Cannot Find Network Printer” issue. Remember to periodically check for driver updates to keep your printer functioning optimally.
If you encounter any further issues, consider visiting the Microsoft website for more troubleshooting steps or contacting their support for further assistance.


