In the realm of printing, encountering errors can be a frustrating hurdle to overcome. One such error, known as PCL XL, has been causing headaches for HP printer users on Windows 10/11. However, fear not, as this article aims to provide you with simple and effective solutions to fix the PCL XL error and get your HP printer back up and running smoothly.
Understanding the PCL XL Error
The PCL XL Error is a common issue that occurs when printing documents on HP printers using Windows 10/11. It is usually caused by an incompatible or corrupted printer driver. When this error occurs, it can result in distorted or incomplete printouts.
Solution:
To fix the PCL XL Error, follow these steps:
1. Update or reinstall the printer driver: Go to the HP website and download the latest driver for your specific printer model. Install the driver on your computer and restart the printer.
2. Adjust printing settings: Open the document you want to print and go to the “Print” menu. Click on “Properties” and navigate to the “Advanced” or “Printer Features” tab. Look for the option “Send True Type as Bitmap” and enable it. Click “OK” to save the changes.
3. Clear print spooler files: Press the Windows key + R to open the Run dialog box. Type “services.msc” and press Enter. Locate the “Print Spooler” service, right-click on it, and select “Stop.” Open File Explorer and navigate to C:\Windows\System32\spool\PRINTERS. Delete all the files in this folder. Restart the Print Spooler service.
Solutions to Fix the PCL XL Error
-
Update the Printer Driver:
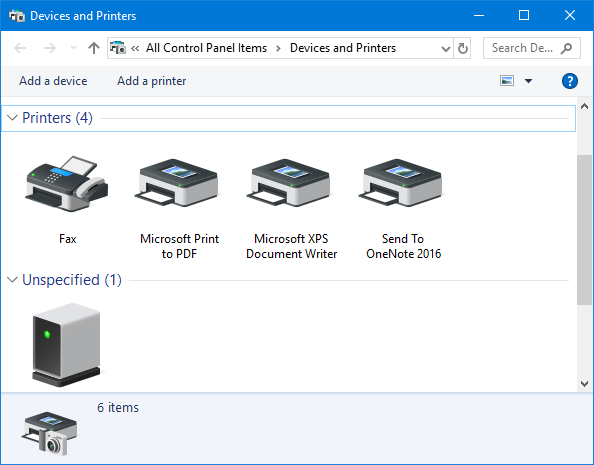
- Open the Control Panel on your Windows 10/11 computer.
- Click on Devices and Printers.
- Locate your HP printer and right-click on it.
- Select Properties from the context menu.
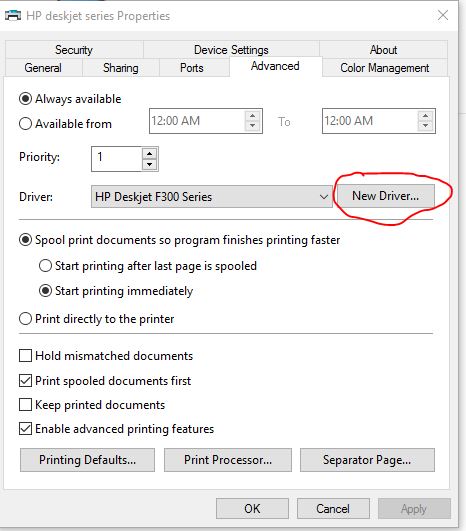
- In the Properties window, go to the Advanced tab.
- Click on the New Driver button.
- Follow the on-screen instructions to update the driver.
-
Change the Printer Settings:
- Open the Control Panel on your Windows 10/11 computer.
- Click on Devices and Printers.
- Locate your HP printer and right-click on it.
- Select Printing preferences from the context menu.
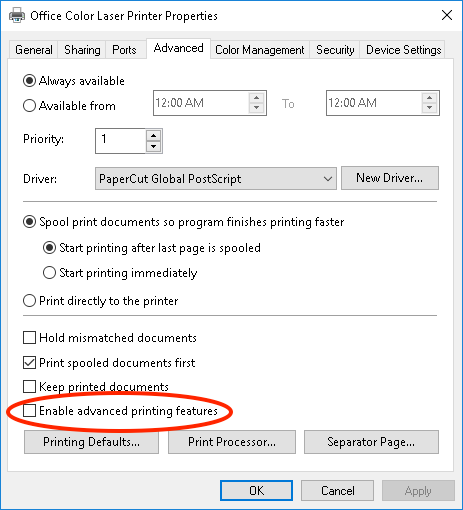
- In the Printing Preferences window, navigate to the Advanced tab.
- Disable the Advanced Printing Features option.

- Click on Apply and then OK to save the changes.
-
Clear the Print Queue:
- Open the Control Panel on your Windows 10/11 computer.
- Click on Devices and Printers.
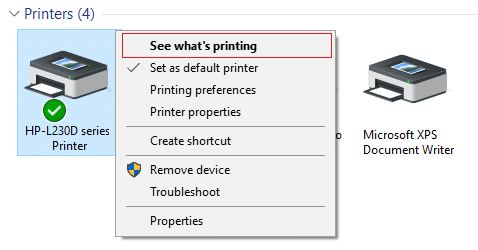
- Locate your HP printer and right-click on it.
- Select See what’s printing from the context menu.
- In the print queue window, click on Printer in the top menu.
- Select Cancel All Documents from the drop-down menu.
- Confirm the action by clicking on Yes.
-
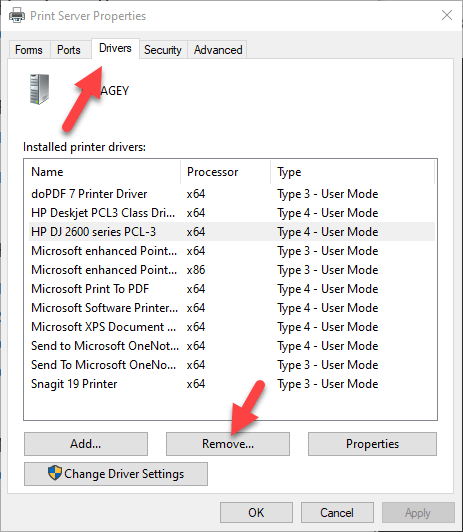
Reinstall the Printer:
- Open the Control Panel on your Windows 10/11 computer.
- Click on Devices and Printers.
- Locate your HP printer and right-click on it.
- Select Remove device from the context menu.
- Follow the on-screen instructions to uninstall the printer.
- Restart your computer.
- Reconnect the printer and let Windows automatically reinstall the drivers.
-
Use a Different Printer Driver:
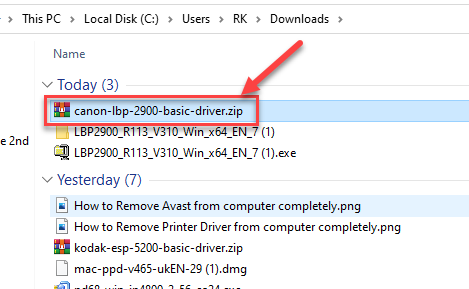
- Visit the HP website or the manufacturer’s website to download an alternative printer driver.
- Ensure that the downloaded driver is compatible with your HP printer model and Windows 10/11.
- Install the new printer driver by following the provided instructions.
- Set the newly installed driver as the default printer driver.
Privacy & Transparency in Printer Issues
When encountering a PCL XL error on your HP printer while using Windows 10/11, it’s essential to address the issue promptly. Here are some steps to help you fix the error:
Step 1: Clear your printing settings by going to the Control Panel and selecting “Devices and Printers.”
Step 2: Locate your HP printer and right-click on it. Choose “Printing Preferences” from the drop-down menu.
Step 3: In the Printing Preferences window, navigate to the “Advanced” tab.
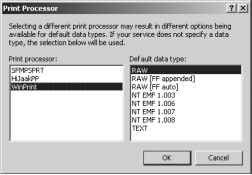
Step 4: Under the Advanced tab, click on the “Print Processor” button.
Step 5: In the Print Processor window, select a different printing language, such as PCL5 or PCL6, from the drop-down menu.
Step 6: Click “OK” to save the changes and exit the window.
Effective Fixes for the PCL XL Error
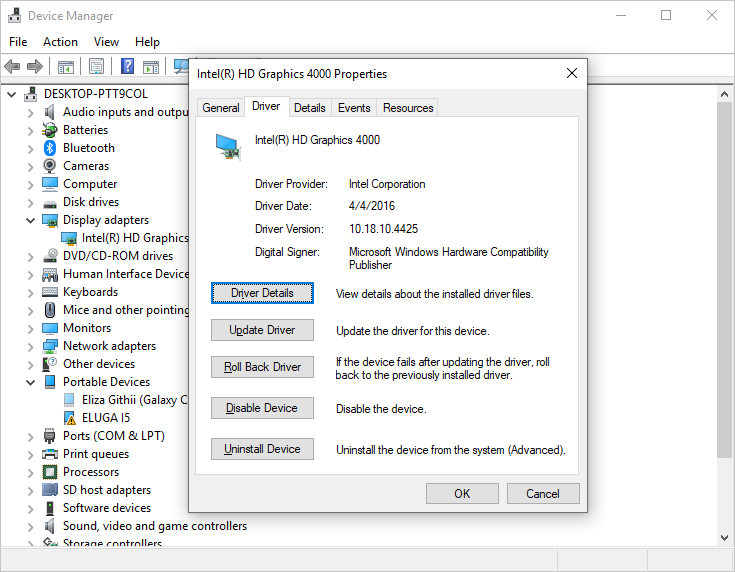
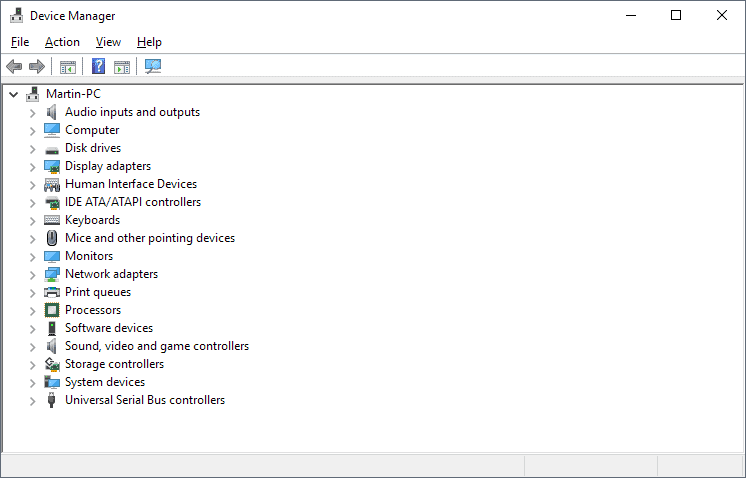
- Open Device Manager by pressing Win+X and selecting Device Manager from the list.
- Expand the Print queues category.
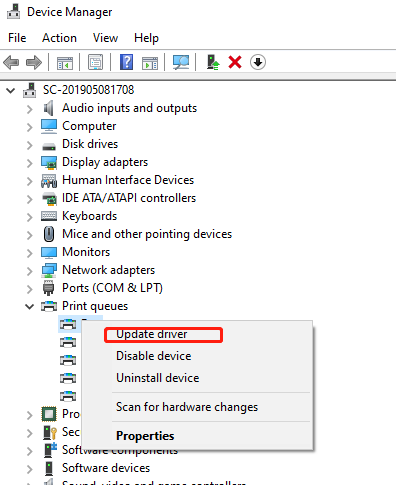
- Right-click on your HP printer and choose Update driver.
- Select Search automatically for updated driver software and follow the on-screen instructions to update the driver.
- If updating the driver doesn’t resolve the issue, right-click on your HP printer again and select Uninstall device.
- Download the latest driver for your HP printer from the official website.
- Install the downloaded driver and restart your computer.
Method 2: Change Print Data Optimization Settings
- Open the Control Panel by pressing Win+X and selecting Control Panel from the list.
- Click on Devices and Printers.
- Right-click on your HP printer and select Printing preferences.
- In the Advanced tab, locate the Print Data Optimization or Optimize for Text and Vector option.
- Select Optimize for Text and Vector or a similar option if available.
- Click Apply or OK to save the changes.
Method 3: Adjust Print Processor Settings
- Open the Control Panel by pressing Win+X and selecting Control Panel from the list.
- Click on Devices and Printers.
- Right-click on your HP printer and select Printer properties.
- In the Advanced tab, click on the Print Processor button.
- Select a different print processor from the list.
- Click OK to save the changes.
Method 4: Disable Print Optimization Features
- Open the Control Panel by pressing Win+X and selecting Control Panel from the list.
- Click on Devices and Printers.
- Right-click on your HP printer and select Printer properties.
- In the Advanced tab, uncheck the Enable Advanced Printing Features option.
- Uncheck the Enable Print Optimization option.
- Click Apply or OK to save the changes.