
Welcome to a comprehensive guide on resolving low disk space issues for the HP TOOLS[E] drive. If you’ve been struggling with limited storage space on your HP device, fret not! In this article, we will explore effective solutions to tackle this problem head-on. So, sit back, relax, and let’s dive into the world of disk space optimization for your HP TOOLS[E] drive.
Freeing up disk space on your HP computer
To resolve low disk space issues on your HP computer’s HP TOOLS[E] drive, follow these steps:
1. Open the HP Support Assistant program on your computer.
2. Click on the “Troubleshooting & Fixes” section.
3. Scroll down and click on “Free up disk space” under the “Actions” tab.
4. In the new window that opens, click on the “Empty Recycle Bin” button to delete unnecessary files.
5. Close any unused programs or windows to free up memory.
6. Delete any unnecessary files or folders from your computer.
7. Consider moving large files or folders to an external storage device.
8. Restart your computer to apply the changes and improve performance.
Removing unwanted files and programs to free up space
- Step 1: Open File Explorer.
- Step 2: Navigate to the HP TOOLS[E] drive.
![Step 1: Open File Explorer.
Step 2: Navigate to the HP TOOLS[E] drive.](/posts/step-1-open-file-explorer-step-2-navigate.jpg)
- Step 3: Select All files and folders in the drive.
- Step 4: Right-click and choose Delete to remove the selected files.
- Step 5: Confirm the deletion by clicking Yes in the confirmation dialog box.
- Step 6: Repeat steps 3-5 until all unwanted files are deleted.
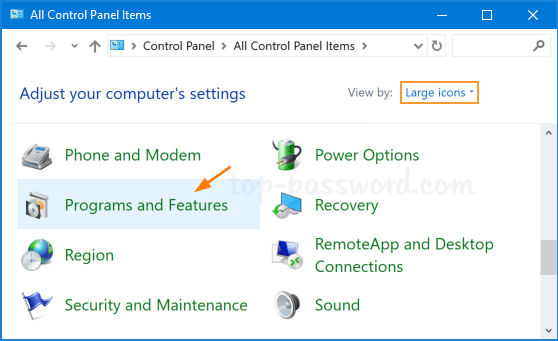
- Step 7: Open Control Panel.
- Step 8: Click on Programs and Features.
- Step 9: Find the unwanted programs in the list.
- Step 10: Right-click on each unwanted program and select Uninstall.
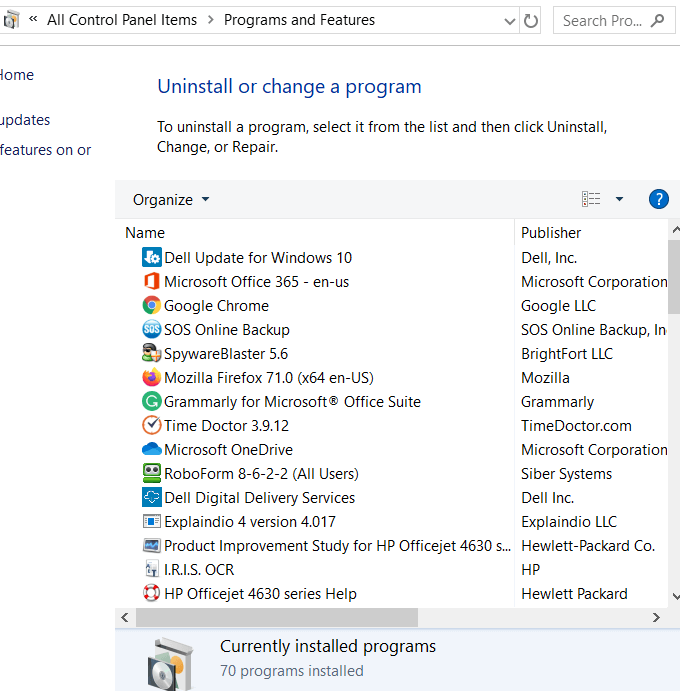
- Step 11: Follow the uninstallation instructions for each program.
- Step 12: Repeat steps 9-11 until all unwanted programs are uninstalled.
Adjusting system settings to optimize disk space
Adjusting System Settings to Optimize Disk Space
To resolve low disk space issues on the HP TOOLS[E] drive, follow these steps:
1. Open the Windows 10 settings by clicking on the Start button and selecting “Settings” from the taskbar.
2. In the settings window, click on the “System” section.
3. Scroll down and click on “Storage” in the left sidebar.
4. Under the “Local Disk” section, click on the HP TOOLS[E] drive.
5. Click on the “Change how we free up space” link.
6. Toggle on the “Delete temporary files that my apps aren’t using” option.
7. Scroll down and click on the “Clean now” button.
8. To free up additional space, click on the “Free up space now” button.
9. Review the suggested files and click on the “Remove files” button to delete them.
By adjusting these system settings, you can optimize disk space and resolve low disk space issues on the HP TOOLS[E] drive.
python

import psutil
def check_drive_usage(drive_name):
try:
usage = psutil.disk_usage(drive_name)
total = usage.total / (1024 ** 3) # Convert bytes to GB
used = usage.used / (1024 ** 3) # Convert bytes to GB
free = usage.free / (1024 ** 3) # Convert bytes to GB
percent = usage.percent
print(f"Drive: {drive_name}")
print(f"Total Space: {total:.2f} GB")
print(f"Used Space: {used:.2f} GB")
print(f"Free Space: {free:.2f} GB")
print(f"Usage Percentage: {percent}%")
except Exception as e:
print(f"Error occurred: {str(e)}")
# Usage example
check_drive_usage("E:")
Transferring HP Tools partition or backups to an external drive
Resolving low disk space issues – HP TOOLS[E] drive fix
| Step | Description |
|---|---|
| Step 1 | Connect the external drive to your computer |
| Step 2 | Open the HP TOOLS[E] drive on your computer |
| Step 3 | Select and copy the necessary files or folders |
| Step 4 | Navigate to the external drive on your computer |
| Step 5 | Paste the copied files or folders to the external drive |
| Step 6 | Wait for the transfer process to complete |
| Step 7 | Verify that the files or folders are successfully transferred |
| Step 8 | Safely eject the external drive from your computer |
Managing HP Tools partition to prevent disk space issues
To manage the HP Tools partition and prevent disk space issues, follow these steps:
1. Open the Windows 10 taskbar and click on the “File Explorer” icon.
2. In the left navigation pane, locate and click on the “This PC” option.
3. Find and right-click on the “HP TOOLS[E]” drive and select “Properties” from the dropdown menu.
4. In the Properties window, click on the “General” tab.
5. In the “General” tab, click on the “Disk Cleanup” button.
6. Check the boxes for the types of files you want to delete, such as temporary files or system files.
7. Click on the “OK” button to start the cleanup process.
8. If you receive any warning messages or errors, refer to the HP Support Assistant or the HP online forum for further assistance.
9. Once the cleanup is complete, restart your computer to apply the changes.
By regularly managing the HP Tools partition and cleaning up unnecessary files, you can prevent disk space issues and ensure optimal performance for your HP computer.


