
Are you running low on space but still want to upgrade to Windows 10? Check out these 6 fixes to make the upgrade possible without having to delete all your important files.
Causes of Limited Disk Space in Windows 10
1. System Restore Points: Windows 10 automatically creates restore points which take up a lot of disk space.
2. Temporary Files: Temporary files are created while using various applications, which can also take up significant space.
3. Windows.old Folder: When you upgrade to Windows 10 from an older version, the previous version is stored in the Windows.old folder, which can take up a lot of disk space.
4. Application Data: Applications store data such as cache, logs, and other files which can take up significant disk space.
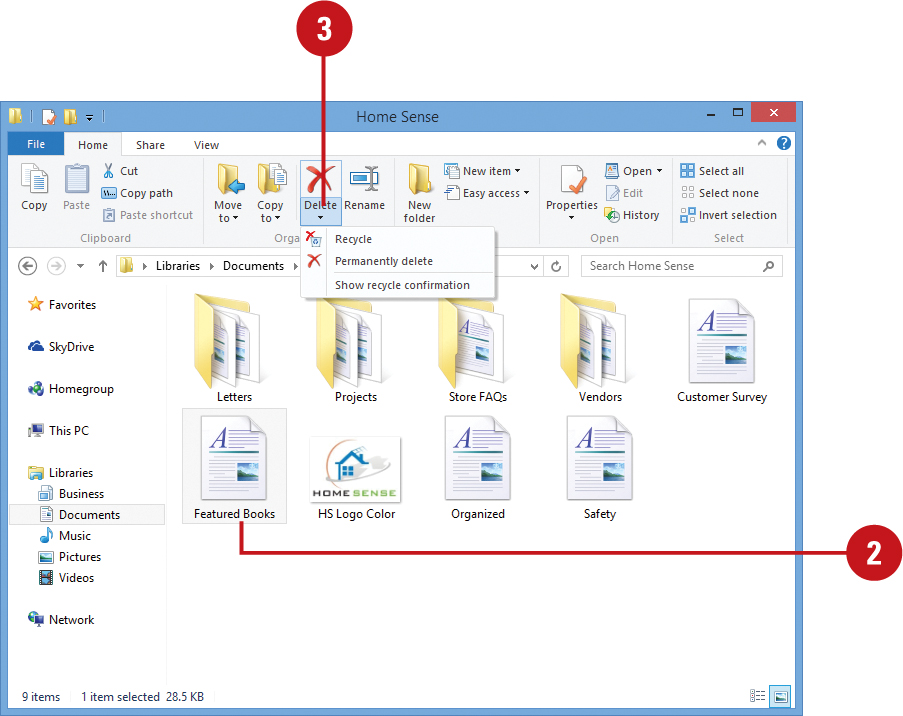
5. Recycle Bin: Items in the Recycle Bin take up space on the hard drive until they are permanently deleted.
6. Large Files: Large files such as movies, music, and pictures can quickly fill up disk space.
To free up space, you can delete unnecessary files, empty the Recycle Bin, disable System Restore points, delete the Windows.old folder, and use disk cleanup tools.
Solutions to Free Up Space in Windows 10
- Use Disk Cleanup
- Open the Disk Cleanup tool
- Select the drive you want to clean up
- Check the files you want to delete
- Click on “Clean up system files”
- Select the files you want to delete

- Click on “OK”
- Uninstall Unused Programs
- Open Settings
- Select Apps & Features
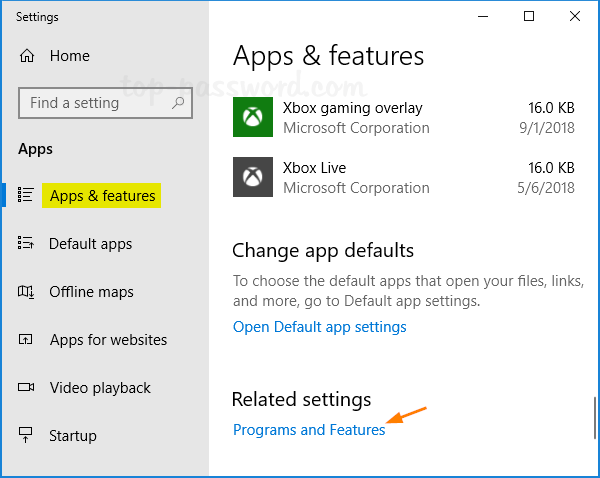
- Select the program you want to remove
- Click on Uninstall
- Follow the prompts to complete the uninstallation process
- Remove Temporary Files
- Open the Run dialog box by pressing Windows key + R
- Type %temp% and press Enter
- Select all files and folders
- Press Shift + Delete to permanently delete the files
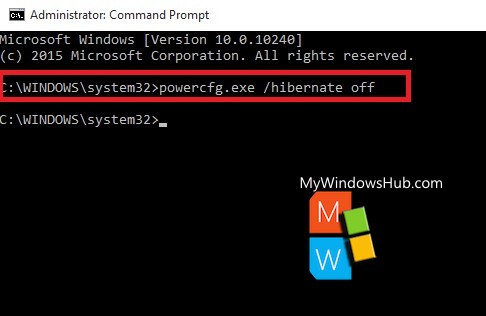
- Disable Hibernation
- Open the Command Prompt as an administrator
- Type powercfg.exe /hibernate off and press Enter
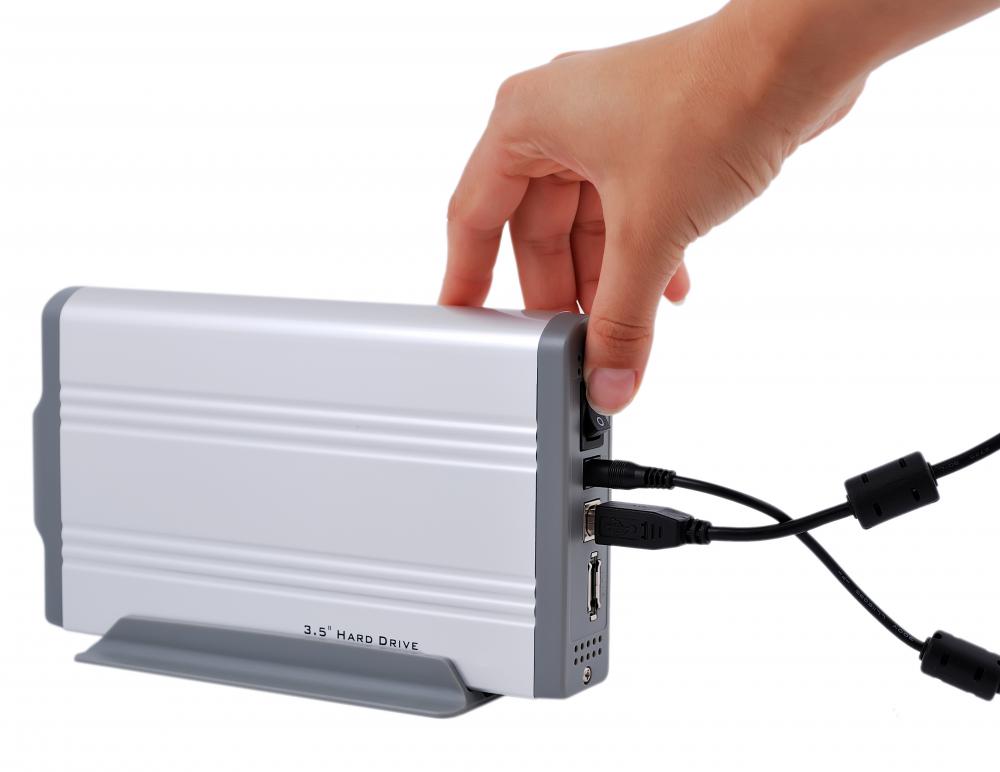
- Move Files to External Storage
- Connect the external storage device to your computer
- Select the files you want to move
- Right-click on the files and select Copy
- Open the external storage device
- Right-click and select Paste
- Use Storage Sense
- Open Settings
- Select System
- Select Storage
- Toggle on Storage Sense
- Select the frequency of cleanup
- Select the files you want to delete
Deleting Unnecessary Files and Programs
One of the most common reasons for not having enough space for a Windows 10 upgrade is the accumulation of unnecessary files and programs. These can take up a considerable amount of space and slow down your computer’s performance. To free up space, start by deleting temporary files, such as those in the recycle bin or the Downloads folder.
Next, uninstall any programs that you no longer use or need. This can be done through the Control Panel or by using third-party uninstaller software. Be cautious when deleting files and programs, as some may be necessary for your computer to function properly.
Consider using disk cleanup tools or storage management software to help identify and delete unnecessary files and programs. Cleaning up your computer regularly can not only make more space available for upgrades but also improve its overall performance.
Cleaning Up the C: Drive
| Method | Description |
|---|---|
| 1 | Delete unnecessary files |
| 2 | Uninstall unused programs |
| 3 | Turn off hibernation |
| 4 | Disable system restore |
| 5 | Run disk cleanup |
| 6 | Use storage sense |
Extending the C: Drive with Disk Management
If you’re running out of space on your C: drive, you may need to extend its capacity to continue using your computer. Luckily, Windows 10 has a built-in Disk Management tool that allows you to do just that.
To start, right-click on the Windows Start menu and select Disk Management. From there, locate your C: drive and check if there is any unallocated space adjacent to it. If there is, you can extend the C: drive by right-clicking on it and selecting Extend Volume.
If there is no unallocated space, you can still extend the C: drive by shrinking another partition and creating unallocated space. However, be sure to back up any important files on that partition before proceeding.
By following these steps, you can extend your C: drive and free up more space for your Windows 10 upgrade and other files and programs.
Creating More Space with External Storage Devices
One of the easiest ways to create more space on your computer is to use an external storage device. This can be a USB flash drive, an external hard drive, or even a cloud-based storage service like Dropbox or Google Drive.
To use an external storage device, simply connect it to your computer and then transfer files to it. This can include documents, photos, videos, and other files that are taking up too much space on your computer’s hard drive.
External storage devices are also great for backing up important files or creating a system image in case of a computer crash or other issue.
When choosing an external storage device, consider factors like capacity, speed, and durability. USB flash drives are great for small files and are easy to carry around, while external hard drives offer more storage space but are bulkier and require more power.
Migrating OS to a Larger Drive
If you’re running out of space on your current hard drive but don’t want to start fresh with a new operating system, migrating your OS to a larger drive is a good solution.
First, you’ll need to clone your current drive onto the new one using software like EaseUS Todo Backup or Macrium Reflect. Once the clone is complete, you can boot from the new drive and use disk management tools to extend partitions to take advantage of the additional space.
However, keep in mind that this process can be time-consuming and may require some technical knowledge. It’s also important to back up your data before attempting any drive migrations.
Upgrading or Updating Windows 10 with Media Creation Tool
If you’re running out of space on your computer, upgrading or updating your Windows 10 might not seem possible. However, the Media Creation Tool allows you to upgrade your Windows 10 without eating up too much space.
First, download the Media Creation Tool from the Microsoft website. Once it’s downloaded, run the tool and select “Upgrade this PC now.” This will begin the upgrade process, which may take some time.
If you want to upgrade another computer, select “Create installation media (USB flash drive, DVD, or ISO file) for another PC.” This will allow you to create an installation media that you can use on another computer.
Make sure to back up your important files and documents before upgrading. This will ensure that you don’t lose any important data during the upgrade process.
Recovering Lost/Deleted Data when Freeing up Disk Space
Recovering Lost/Deleted Data when Freeing up Disk Space
When trying to make space for a Windows 10 upgrade, it’s common to delete files and programs that are no longer needed. However, it’s easy to accidentally delete important data that you still need.
If you’ve accidentally deleted data, don’t panic just yet. The deleted data may still be recoverable. One way to attempt to recover lost data is through the use of data recovery software. There are several free and paid options available online, such as Recuva, EaseUS Data Recovery Wizard, and Disk Drill.
It’s important to note that the success of data recovery depends on a few factors, such as the length of time since the data was deleted and the amount of disk activity that has occurred since the deletion. So, it’s important to act quickly and avoid using the device as much as possible until the data has been recovered.
Summary of Fixing Limited Disk Space in Windows 10
When upgrading to Windows 10, you may encounter an error message stating that there’s not enough disk space to complete the installation. This can be frustrating, but there are several ways to fix limited disk space.
First, try cleaning up your disk by using the built-in Disk Cleanup tool or uninstalling unused programs. You can also move files to an external hard drive or cloud storage.
Another option is to disable hibernation, which can take up a significant amount of space, or to compress files and folders. You can also extend your disk space by adding an external hard drive or upgrading your internal hard drive.
If none of these solutions work, you may need to perform a clean installation of Windows 10. With these fixes, you can overcome limited disk space and enjoy all the benefits of Windows 10.


