
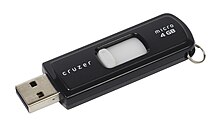
USB drives are essential tools for storing and transferring data on Windows PCs. Understanding the basics and optimal usage of these portable devices is crucial for efficient file management and data security.
History and Technology Improvements of USB Drives
USB drives have come a long way since their inception. Originally introduced in the late 1990s, USB drives quickly became popular due to their compact size and ability to store and transfer data.
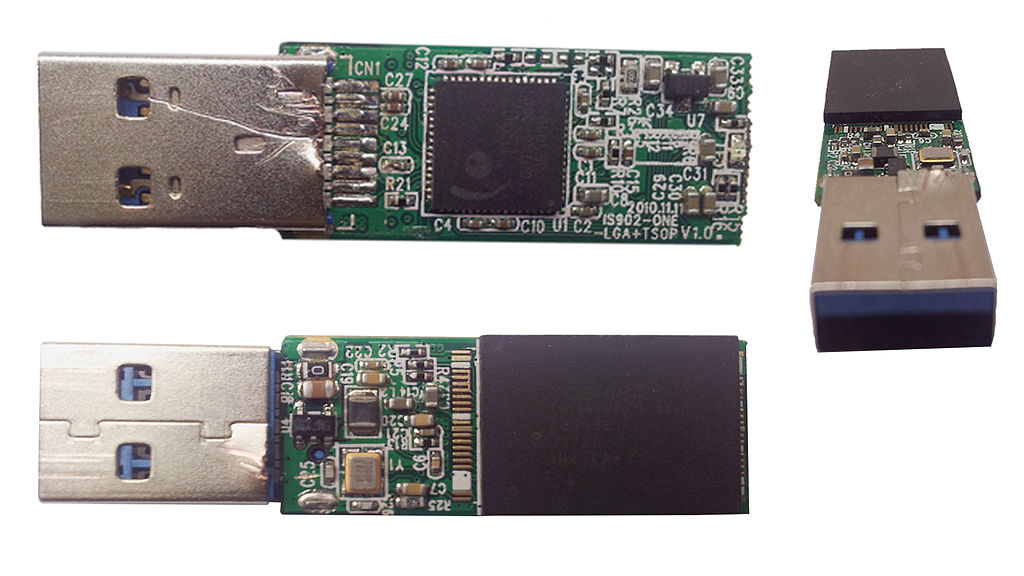
One of the most significant technological improvements in USB drives is the evolution of flash memory. Flash memory is a type of non-volatile storage that can retain data even when power is disconnected. This advancement allowed USB drives to become portable and reliable storage devices.
Another important development in USB drive technology is the introduction of different file systems. File systems determine how data is organized and stored on the device. Two commonly used file systems for USB drives are FAT32 and NTFS. FAT32 is an older file system that is compatible with a wide range of devices, while NTFS offers better security and file management features.
USB drives have also benefited from the introduction of USB-C technology. USB-C is a versatile connector that offers faster data transfer speeds and the ability to connect to various devices using a single port. This advancement has made USB drives even more convenient to use with laptops and other devices.
In terms of capacity, USB drives have significantly increased their storage capabilities over the years. From the initial sizes of a few megabytes, USB drives can now hold several terabytes of data. This improvement allows users to store large files, such as videos and high-resolution images, on their USB drives.
Furthermore, USB drives have replaced older storage mediums like floppy disks and optical discs. These older technologies had limited storage capacity and were prone to damage. USB drives, on the other hand, offer more durability and flexibility, making them a preferred choice for data storage and backup.
Essential and Additional Components of USB Drives
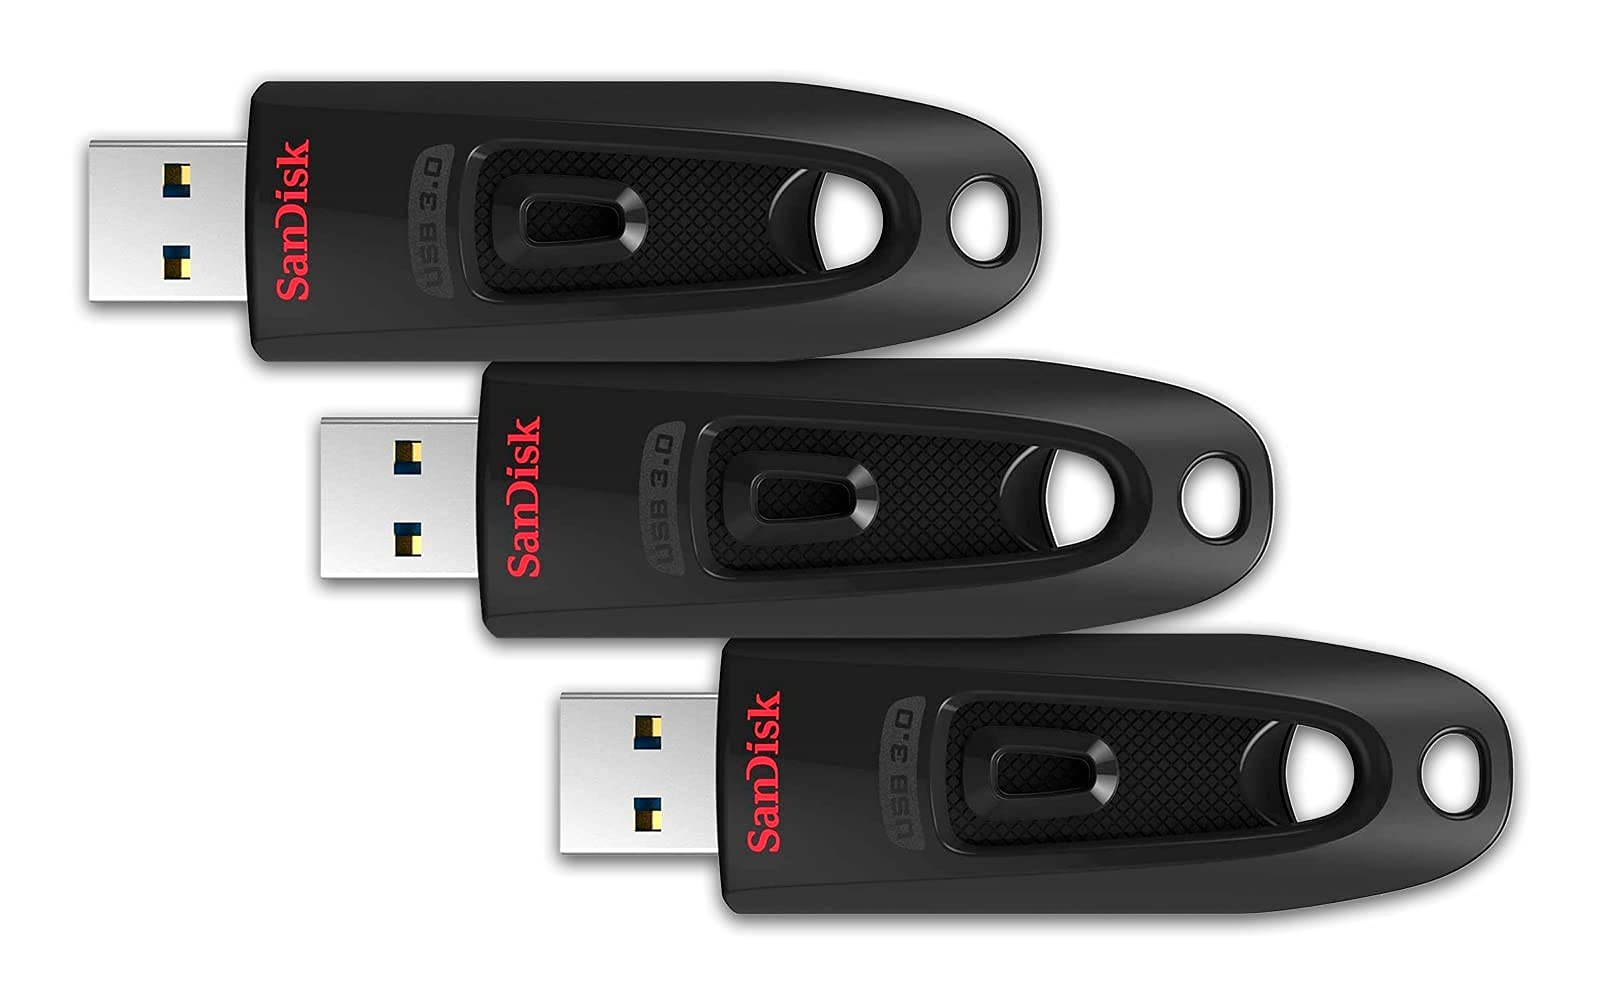
- USB connector: The physical port that allows the USB drive to be connected to a computer or other compatible device.
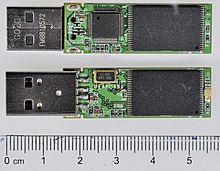
- Data storage chip: The internal component that stores data on the USB drive.

- Capacity: The amount of data that can be stored on the USB drive, typically measured in gigabytes (GB) or terabytes (TB).
- Data transfer speed: The rate at which data can be read from or written to the USB drive, usually measured in megabytes per second (MB/s) or gigabits per second (Gbps).
- File system: The way in which the USB drive organizes and stores files, such as FAT32 or NTFS.
- Read-only switch: Some USB drives have a physical switch that can make the drive read-only, preventing accidental deletion or modification of stored data.
- LED indicator: A light on the USB drive that indicates when it is connected to a computer and when data is being transferred.
- Password protection: Certain USB drives offer the ability to encrypt data and require a password for access, ensuring data security.
- Backup software: Some USB drives come with built-in backup software that allows for automatic data backups.
- Compatibility: USB drives can work with various operating systems, including Windows, Mac, and Linux.
- Plug-and-play capability: USB drives can be easily connected to a computer without the need for additional drivers or software installation.
- Physical durability: USB drives can differ in their resistance to physical damage, with some offering rugged designs for enhanced durability.
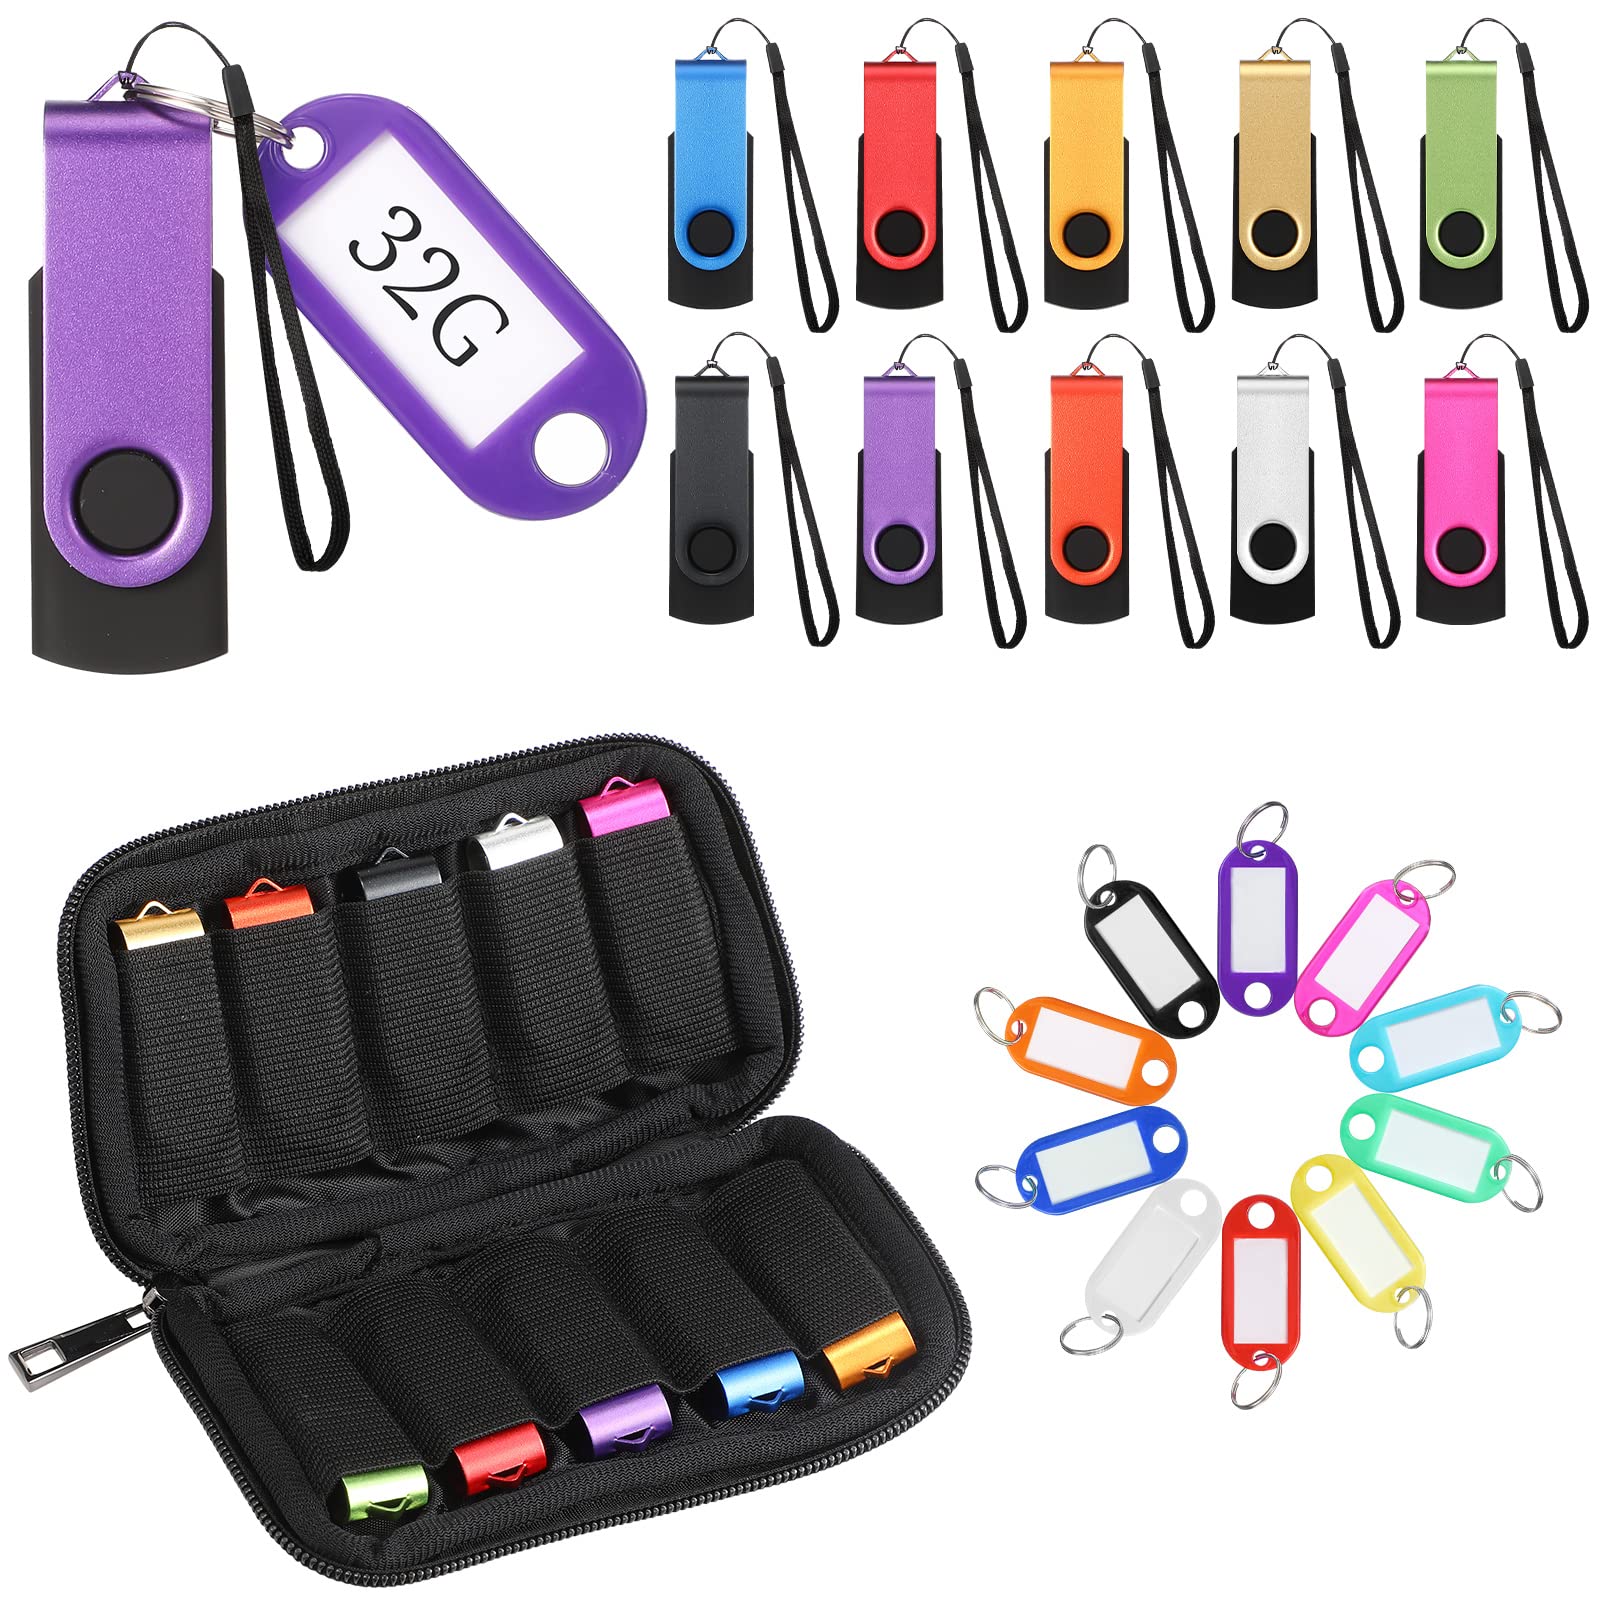
- Keychain or lanyard attachment: Some USB drives include a small hole or loop for attaching to a keychain or lanyard, making it easy to carry and prevent loss.
- USB 3.0 or USB 3.1: USB drives with these specifications offer faster data transfer speeds compared to older USB 2.0 drives.
- Wireless functionality: Certain USB drives support wireless connectivity, allowing for easy file sharing and access across multiple devices.
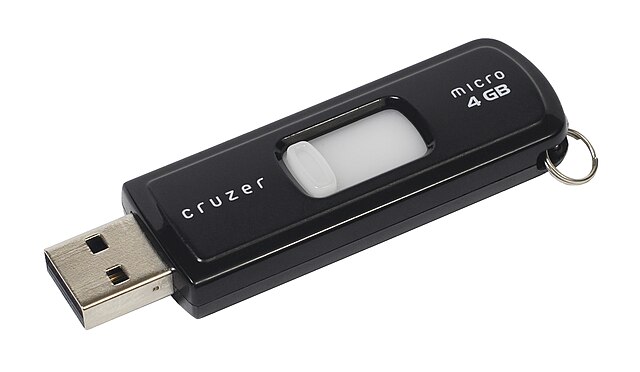
Size and Packaging of USB Drives
When it comes to USB drives, size and packaging are important factors to consider. The size of a USB drive refers to its physical dimensions, while packaging refers to the way it is presented and protected.
USB drives come in various sizes, ranging from small and compact to larger, more robust options. The smaller ones are usually more portable and convenient to carry around, while the larger ones may offer more storage capacity. When choosing a USB drive, consider your specific needs and preferences.
In terms of packaging, USB drives typically come in blister packs or plastic cases. The packaging helps protect the drive from damage during transportation and storage. It is important to handle the packaging with care, as any damage to it could potentially affect the integrity of the USB drive.
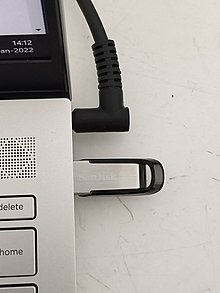
When using a USB drive on a Windows PC, it is important to follow the proper steps to ensure smooth usage. First, insert the USB drive into an available USB port on your computer. Make sure to wait for the computer to recognize the drive before proceeding.
To access the files on the USB drive, open File Explorer by clicking on the folder icon in the taskbar or by pressing the “Windows key + E” on your keyboard. Locate the USB drive under “This PC” or “Devices and Drives.” Double-click on the USB drive’s icon to open it and view its contents.
To safely remove the USB drive, right-click on its icon and select “Eject” or “Safely Remove Hardware.” This will prevent any data loss or corruption on the USB drive. Once the computer notifies you that it is safe to remove the drive, you can physically unplug it from the USB port.
Remember to always backup important files on your USB drive to avoid data loss. Additionally, if you plan to use the USB drive on different devices, make sure it is formatted in a compatible file system, such as FAT32 or exFAT.
By understanding the size and packaging of USB drives, as well as how to properly use them on a Windows PC, you can make the most out of this versatile storage solution.
File System and Defragmenting of USB Drives
When using USB drives on a Windows PC, it is important to understand the file system and how to optimize their performance through defragmentation.
The file system is the structure that organizes and stores files on a storage device. For USB drives, the most commonly used file systems are FAT32 and exFAT. FAT32 is compatible with a wide range of devices and has a maximum file size limit of 4GB. On the other hand, exFAT supports larger file sizes and is ideal for storing multimedia files.
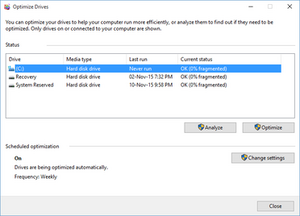
To ensure optimal performance, it is recommended to regularly defragment USB drives. Defragmentation is the process of reorganizing files on a storage device to improve access speed. This is especially important for USB drives that are frequently used to transfer or store large files.
To defragment a USB drive on a Windows PC, follow these steps:
1. Connect the USB drive to your computer.
2. Open “File Explorer” by clicking on the folder icon on the taskbar or pressing the Windows key + E.
3. Right-click on the USB drive and select “Properties.”
4. In the “Properties” window, go to the “Tools” tab.
5. Under the “Optimize and defragment drive” section, click on “Optimize.”
6. Select the USB drive from the list and click on “Optimize.”
7. Wait for the defragmentation process to complete. This may take some time depending on the size and fragmentation level of the USB drive.
By defragmenting your USB drives regularly, you can improve their performance and ensure smoother file transfers and access. Remember to safely eject the USB drive before removing it from your computer to avoid data corruption.
Whether you use USB drives for work, school, or personal use, understanding the file system and the importance of defragmentation can help you make the most of your storage devices.
Even Distribution and Longevity of USB Drives
When using USB drives on a Windows PC, it is important to ensure an even distribution of files and maintain their longevity. By following a few simple steps, you can optimize the usage of your USB drive and avoid potential issues.
Firstly, it is recommended to format your USB drive before using it. This will create a clean slate and ensure compatibility with your Windows PC. To format your USB drive, simply right-click on it in the File Explorer, select “Format,” and choose the desired file system, such as FAT32 or exFAT.
Once your USB drive is formatted, it is essential to organize your files properly. Avoid cluttering your USB drive with unnecessary files or duplicates. Create separate folders for different types of files, such as documents, photos, or videos, to keep everything organized and easily accessible.
To ensure the longevity of your USB drive, it is important to safely eject it from your Windows PC. Simply right-click on the USB drive in the File Explorer and select “Eject.” This will prevent any data corruption or loss that may occur if the drive is removed abruptly.
In addition, it is recommended to regularly back up your USB drive to prevent data loss. You can do this by copying the contents of your USB drive to another storage device, such as a computer hard drive or cloud storage. This way, even if your USB drive fails or gets lost, you will still have a copy of your important files.
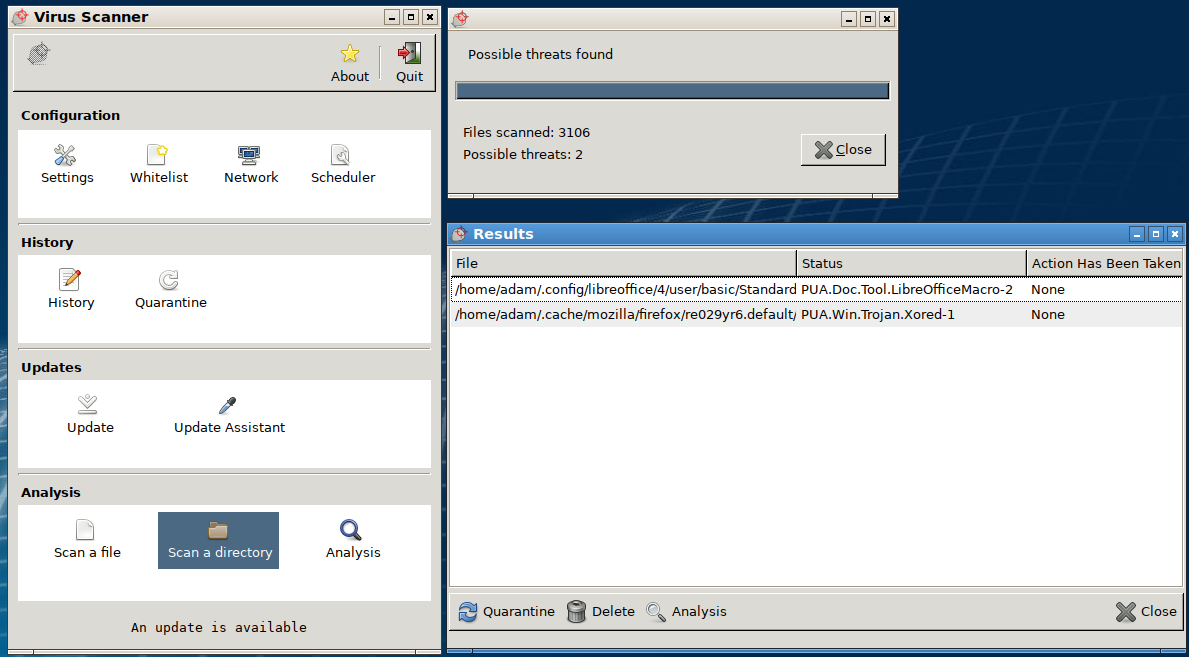
Lastly, it is crucial to protect your USB drive from potential threats. Install reliable antivirus software on your Windows PC and scan your USB drive regularly to detect and remove any malware or viruses. Be cautious when inserting your USB drive into unknown or suspicious computers to avoid potential risks.
Counterfeit Products and File Transfer Speeds of USB Drives

| USB Drive Basics and Usage on Windows PC | |
|---|---|
| Counterfeit Products | |
| Issue | Solution |
| 1. Purchasing counterfeit USB drives | Always buy from trusted retailers or official manufacturer websites. |
| 2. Fake capacity claims | Verify the drive’s actual capacity using reliable software tools. |
| 3. Poor build quality | Research and read product reviews before making a purchase. |
| File Transfer Speeds of USB Drives | |
| USB Generation | Maximum Transfer Speed |
| USB 2.0 | Up to 480 Mbps |
| USB 3.0 | Up to 5 Gbps |
| USB 3.1 | Up to 10 Gbps |
| USB 3.2 | Up to 20 Gbps |
Various Uses of USB Drives

-
Fixing USB Drive Not Recognized:
- Disconnect the USB drive from the computer.
- Try connecting the USB drive to a different USB port on the computer.
- If the USB drive is still not recognized, restart the computer.
- Update the USB drivers on the Windows PC.
- If the issue persists, try using the USB drive on a different computer to check if it is recognized.
- If none of the above steps work, the USB drive may be faulty and needs to be replaced.
-
Fixing Corrupted USB Drive:
- Connect the corrupted USB drive to the Windows PC.
- Open File Explorer by pressing Win+E.
- Locate the USB drive in the list of connected drives.
- Right-click on the USB drive and select Properties.
- Go to the Tools tab and click on Check under the Error checking section.
- Follow the on-screen instructions to scan and repair the corrupted USB drive.
- If the drive is still corrupted after the scan, try using data recovery software to retrieve your files.
- If the USB drive is not repairable, it may be necessary to format it, erasing all data on the drive.
-
Fixing Slow USB Transfer Speed:
- Make sure the USB drive is connected directly to a USB port on the computer, avoiding the use of USB hubs.
- Check if the USB drive is formatted with the correct file system (e.g., NTFS for larger files).
- Scan the USB drive for malware or viruses using a reliable antivirus software.
- Delete unnecessary files and folders from the USB drive to free up space.
- Defragment the USB drive to optimize its performance.
- If the transfer speed is still slow, try using a different USB drive or cable.
-
Fixing USB Drive Write Protection:
- Check if the USB drive has a physical write protection switch. If so, toggle it to the opposite position.
- Open Command Prompt by pressing Win+R and typing cmd.
- Type diskpart and press Enter.
- Type list disk and press Enter to display a list of connected disks.
- Type select disk X (replace X with the number of the write-protected USB drive) and press Enter.
- Type attributes disk clear readonly and press Enter to remove the write protection.
- Close the Command Prompt and check if the USB drive can now be written to.
- If the issue persists, the USB drive may be damaged and needs to be replaced.
USB Drives in Computer Forensics and Law Enforcement
USB drives are an essential tool in computer forensics and law enforcement. They provide a means for investigators to collect and preserve digital evidence from Windows PCs. When using USB drives in this context, it is important to follow proper procedures to ensure the integrity of the evidence.
First, it is crucial to handle USB drives carefully to avoid damaging or contaminating the evidence. Always use clean gloves when handling USB drives to prevent leaving fingerprints or other traces on the device.
Next, it is important to create a forensic image of the USB drive before conducting any analysis. This ensures that the original data is preserved and can be used as evidence if necessary. Use forensic software, such as dd, to create a bit-by-bit copy of the USB drive.
Once the forensic image is created, it can be analyzed using specialized software. This software allows investigators to examine the files and folders on the USB drive, recover deleted data, and extract valuable information that may be relevant to the investigation.
It is important to note that USB drives can contain hidden or encrypted data. Investigators should be familiar with techniques for detecting and decrypting such data. Specialized tools and software can assist in these processes.
Finally, it is crucial to document each step of the USB drive analysis process. This includes recording the date and time of each action taken, as well as any relevant findings or observations. This documentation is essential for maintaining the chain of custody and ensuring the validity of the evidence in court.
USB Drives for Updating Motherboard Firmware and Booting Operating Systems
USB drives are essential tools for updating motherboard firmware and booting operating systems on a Windows PC. These small, portable devices allow you to easily transfer and store files, making them ideal for these tasks.
When updating motherboard firmware, a USB drive is often required to transfer the necessary files from your computer to the motherboard. To do this, first, visit the manufacturer’s website and download the latest firmware update for your specific motherboard model.
Once you have the firmware file, follow these steps:
1. Insert the USB drive into an available USB port on your computer.
2. Format the USB drive to ensure compatibility. Right-click on the USB drive in File Explorer and select “Format.” Choose the appropriate file system (usually FAT32) and click “Start” to begin formatting.
3. After formatting, open the folder containing the downloaded firmware file. Right-click on the file and select “Copy.”
4. Navigate to the USB drive in File Explorer and right-click inside the drive. Select “Paste” to transfer the firmware file to the USB drive.
5. Safely eject the USB drive from your computer.
When it comes to booting operating systems from a USB drive, the process is slightly different. This method can be useful when troubleshooting issues or installing a new operating system.
To boot from a USB drive, follow these steps:
1. Insert the USB drive into an available USB port on your computer.
2. Restart your computer and enter the BIOS settings. This is typically done by pressing a specific key (e.g., F2 or Delete) during the boot process. Consult your computer’s manual or manufacturer’s website for the exact key.
3. Navigate to the “Boot” or “Boot Order” section in the BIOS settings. Adjust the boot order so that the USB drive is listed as the first boot option.
4. Save the changes and exit the BIOS settings.
5. Your computer will now boot from the USB drive, allowing you to install or troubleshoot the operating system.
USB drives provide a convenient and efficient way to update motherboard firmware and boot operating systems on a Windows PC.
USB Drives as Application Carriers and for Backup Purposes
USB drives are not only useful for storing and transferring files, but they can also serve as application carriers and backup devices on your Windows PC.
When it comes to using USB drives for applications, you can install portable applications directly on the drive so you can use them on any Windows PC without the need for installation. This is particularly handy if you frequently work on different computers or if you want to keep your personal settings and preferences intact. To install a portable application on a USB drive, simply download the portable version of the application and extract it to the drive. You can then run the application directly from the USB drive by double-clicking on its executable file.
In addition to being application carriers, USB drives are also great for backup purposes. You can use them to back up important files and folders from your Windows PC, ensuring that your data is safe in case of hardware failure or accidental deletion. To back up files to a USB drive, simply connect the drive to your PC and copy and paste the files or folders you want to back up onto the drive. Alternatively, you can use backup software to automate the process and create scheduled backups.
Remember to regularly update your backups and keep multiple copies of important files in different locations to further protect your data. It’s also a good idea to label and organize your USB drives for easy identification and retrieval.
When using USB drives for applications and backups, it’s important to safely eject the drive from your Windows PC to avoid data corruption. To do this, right-click on the drive in File Explorer and select “Eject” or “Safely Remove Hardware and Eject Media”. Wait for the confirmation message before physically removing the drive from your PC.
By utilizing USB drives as application carriers and backup devices, you can conveniently carry your favorite applications and keep your important files safe and secure. So, make the most out of your USB drives and take advantage of their versatility and portability on your Windows PC.
USB Drives in Media Storage and Marketing
USB drives are a versatile tool for both media storage and marketing purposes. They provide a convenient and portable solution for storing and transferring files on a Windows PC. Whether you need to transport important documents, share promotional materials, or back up important data, USB drives offer a reliable and efficient solution.
To use a USB drive on your Windows PC, simply plug it into an available USB port. The drive will be detected by your computer and assigned a drive letter. You can then access the drive by opening File Explorer and navigating to the corresponding drive letter.
To transfer files to a USB drive:
1. Open File Explorer and locate the files you want to transfer.
2. Select the files and folders you want to transfer by holding down the Ctrl key and clicking on each item.
3. Right-click on the selected files and choose “Copy.”
4. Open the USB drive in File Explorer.
5. Right-click inside the USB drive and choose “Paste” to transfer the files.
To safely remove a USB drive:
1. Locate the “Safely Remove Hardware” icon in the system tray, usually located in the bottom right corner of the screen.
2. Click on the icon and select the USB drive you want to remove.
3. Wait for the system to notify you that it is safe to remove the USB drive.
4. Gently remove the USB drive from the USB port.
It’s important to note that USB drives can be easily damaged if not handled properly. Avoid dropping or exposing the drive to extreme temperatures or moisture. Additionally, it’s a good practice to regularly back up the data stored on your USB drive to ensure you don’t lose any important files.
Encryption and Security of USB Drives
When using USB drives on a Windows PC, it is crucial to prioritize the encryption and security of your data. By following these guidelines, you can ensure the safety of your files and protect them from potential threats.
Firstly, make sure to use encryption software to protect the data stored on your USB drive. This will add an extra layer of security, making it difficult for unauthorized users to access your files even if the drive gets lost or stolen.
Additionally, always use a strong password to lock your USB drive. This will prevent anyone from accessing the data without your permission. Avoid using easily guessable passwords, and consider using a password manager to securely store and manage your passwords.
Furthermore, regularly update your antivirus software and run scans on your USB drive. This will help detect and remove any malware or viruses that may have been transferred onto the drive from an infected computer.
It is also recommended to enable the “BitLocker” feature on your Windows PC, which provides full disk encryption for your USB drive. This feature is available on most versions of Windows and adds an additional layer of protection to your data.
When not in use, safely eject your USB drive from the Windows PC. This will ensure that all data has been written and that the drive can be safely removed without any risk of data corruption.
Lastly, regularly back up the data on your USB drive to another secure location. This will prevent data loss in case the drive gets damaged or lost.
Current and Future Developments in USB Drive Technology
One of the most significant advancements is the increase in storage capacity. USB drives now come in sizes ranging from a few gigabytes to multiple terabytes, making them capable of storing large amounts of data. This is especially useful for individuals who need to transfer or backup large files such as videos, photos, or documents.
Another important development is the introduction of USB 3.0 technology. USB 3.0 offers faster data transfer speeds compared to its predecessor, USB 2.0. This means that transferring files to and from a USB drive is much quicker, saving valuable time. To take advantage of this improvement, make sure to use a USB 3.0 port when connecting your drive to a computer or laptop.
USB drives have also become more durable. Many models now feature shockproof, waterproof, and dustproof designs, making them suitable for various environments and situations. This added durability ensures that your data remains safe, even in challenging conditions.
Encryption and security features have also seen advancements in USB drive technology. Some USB drives now come with built-in encryption software, allowing you to protect sensitive data from unauthorized access. This is particularly useful for individuals who frequently carry important or confidential information on their USB drives.
Additionally, USB drives have become more versatile in terms of compatibility. Most modern operating systems, including Windows, Mac, and Linux, support USB drives without the need for additional device drivers. This makes it easier to use USB drives across different platforms and devices.
As for future developments, USB drives are expected to continue increasing in storage capacity and speed. There is also ongoing research and development to enhance the security features of USB drives, including biometric authentication and advanced encryption methods.


