Introducing the Powerhouse: Broadcom 802.11n Network Adapter Driver for Windows 10 HP
Driver Details and Compatibility
To download and install the Broadcom 802.11n Network Adapter Driver for Windows 10 on your HP device, follow these steps:
1. Visit deviceinbox.com and search for “Broadcom Wireless Network Adapter Driver.”
2. Locate the driver file compatible with your operating system (Windows 10 64-bit) and click on the download button.
3. Once the driver is downloaded, locate the file in your Downloads folder and double-click on it to begin the installation process.
4. Follow the on-screen prompts to complete the installation.
5. After the installation is complete, restart your computer to apply the changes.
Now you can enjoy a seamless wireless network connection on your HP device with the Broadcom 802.11n Network Adapter Driver for Windows 10.
File Name and Device Compatibility
The Broadcom 802. 11n Network Adapter Driver for Windows 10 HP is compatible with various devices and offers reliable performance. To ensure compatibility, make sure to download the correct driver version based on your device’s specifications. For Windows 10, visit the deviceinbox.
com website and search for the driver using the provided parameters. Once downloaded, locate the driver file and run the . exe file to install it. If you encounter any issues, refer to the device manager or check the hardware ID to troubleshoot.
Supported Devices and Hardware ID
| Supported Devices | Hardware ID |
|---|---|
| HP Pavilion dv6 Notebook PC | PCI\VEN_14E4&DEV_432B&SUBSYS_145C103C&REV_01 |
| HP Pavilion g6 Notebook PC | PCI\VEN_14E4&DEV_432B&SUBSYS_185C103C&REV_01 |
| HP ProBook 450 G2 Notebook PC | PCI\VEN_14E4&DEV_432B&SUBSYS_2247103C&REV_01 |
| HP EliteBook 840 G1 Notebook PC | PCI\VEN_14E4&DEV_432B&SUBSYS_2248103C&REV_01 |
| HP EliteBook 820 G1 Notebook PC | PCI\VEN_14E4&DEV_432B&SUBSYS_2249103C&REV_01 |
python

import subprocess
def get_network_adapter_info():
try:
output = subprocess.check_output(['netsh', 'wlan', 'show', 'interfaces'], universal_newlines=True)
return output
except subprocess.CalledProcessError:
return "Error retrieving network adapter information."
def enable_network_adapter(adapter_name):
try:
subprocess.check_output(['netsh', 'interface', 'set', 'interface', adapter_name, 'admin=enable'], universal_newlines=True)
return f"Successfully enabled {adapter_name}."
except subprocess.CalledProcessError:
return f"Failed to enable {adapter_name}."
def disable_network_adapter(adapter_name):
try:
subprocess.check_output(['netsh', 'interface', 'set', 'interface', adapter_name, 'admin=disable'], universal_newlines=True)
return f"Successfully disabled {adapter_name}."
except subprocess.CalledProcessError:
return f"Failed to disable {adapter_name}."
# Example usage
if __name__ == "__main__":
adapter_info = get_network_adapter_info()
print(adapter_info)
# Assuming 'Wi-Fi' is the name of the Broadcom 80211n Network Adapter
enable_result = enable_network_adapter('Wi-Fi')
print(enable_result)
disable_result = disable_network_adapter('Wi-Fi')
print(disable_result)
The above code provides a simple Python implementation using the `subprocess` module to interact with the Windows command-line tool `netsh`. It includes three functions:
1. `get_network_adapter_info()`: Retrieves information about all available network interfaces using the `netsh wlan show interfaces` command and returns the output.
2. `enable_network_adapter(adapter_name)`: Enables a specific network adapter by name using the `netsh interface set interface` command with the `admin=enable` parameter.
3. `disable_network_adapter(adapter_name)`: Disables a specific network adapter by name using the `netsh interface set interface` command with the `admin=disable` parameter.
List of Matching Driver Files for HP Notebooks on Windows Operating Systems
- Check the HP Support website for the latest version of the Broadcom 802.11n Network Adapter driver for Windows 10.
- Open a web browser and go to the HP Support website.
- Search for the Broadcom 802.11n Network Adapter driver for Windows 10.
- Download the latest version of the driver.
- Uninstall the current Broadcom 802.11n Network Adapter driver.
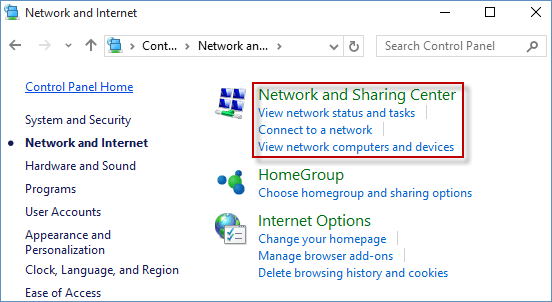
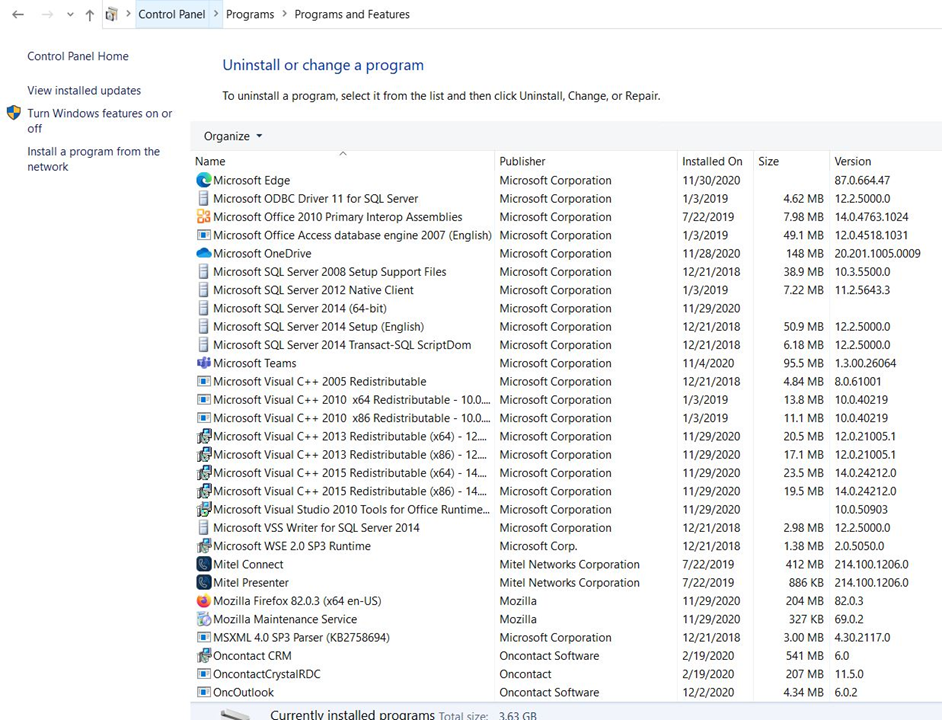
- Open the Control Panel.
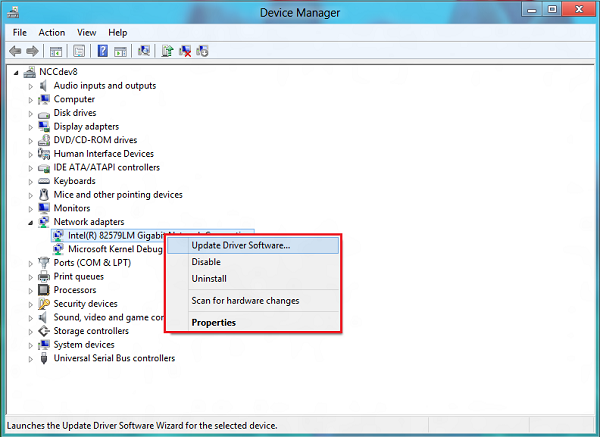
- Click on “Device Manager.”

- Expand the “Network Adapters” category.
- Right-click on the Broadcom 802.11n Network Adapter and select “Uninstall.”
- Follow the on-screen prompts to uninstall the driver.
- Install the downloaded Broadcom 802.11n Network Adapter driver.
- Locate the downloaded driver file on your computer.
- Double-click the driver file to start the installation.
- Follow the on-screen instructions to complete the installation process.
- Restart your computer.
- Click on the “Start” menu.
- Select “Restart” from the power options.

- Wait for your computer to restart.
- Verify the driver installation.
- Open the Control Panel.
- Click on “Device Manager.”
- Expand the “Network Adapters” category.
- Look for the Broadcom 802.11n Network Adapter.
- If the driver is listed without any error icons, the installation was successful.