Unlocking the boundless potential of your gaming experience, DS4Windows Controller Detection Error Fix comes to the rescue with its ingenious solution. Discover how this article unveils the secret behind resolving the controller detection error, enhancing your gaming endeavors like never before.
Reasons for DS4Windows Failing to Detect a Controller
If DS4Windows is failing to detect your controller, there are a few potential reasons and solutions to consider. The first thing to check is whether you have the latest version of DS4Windows installed, as outdated versions may not be compatible with your controller or the Windows OS you are using. Make sure to download and install the latest version from the official website, jays2kings.
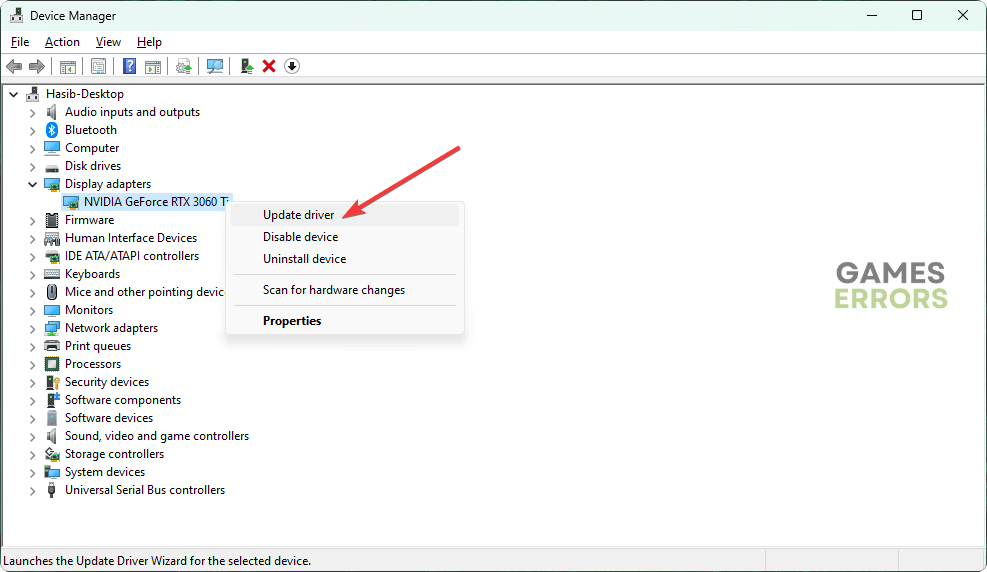
Another common issue is outdated or incompatible drivers. Ensure that your controller’s drivers are up to date by going to the Device Manager in the Control Panel. Right-click on the controller device, select “Update driver,” and follow the on-screen instructions. Additionally, try connecting your controller using a different USB port or via Bluetooth if your PC supports it.
If these steps don’t resolve the problem, try troubleshooting the controller in the DS4Windows program itself. Go to the “Controllers” tab, click on “Options,” and then select “Troubleshooting guide.” This will provide you with detailed steps to troubleshoot and fix any issues with your DS4 controller.
Troubleshooting Steps for DS4Windows Controller Detection Issues
- Ensure proper controller connectivity: Check that the DS4 controller is securely connected to your computer via USB cable or Bluetooth.
- Update DS4Windows: Make sure you have the latest version of DS4Windows installed on your computer to ensure compatibility.
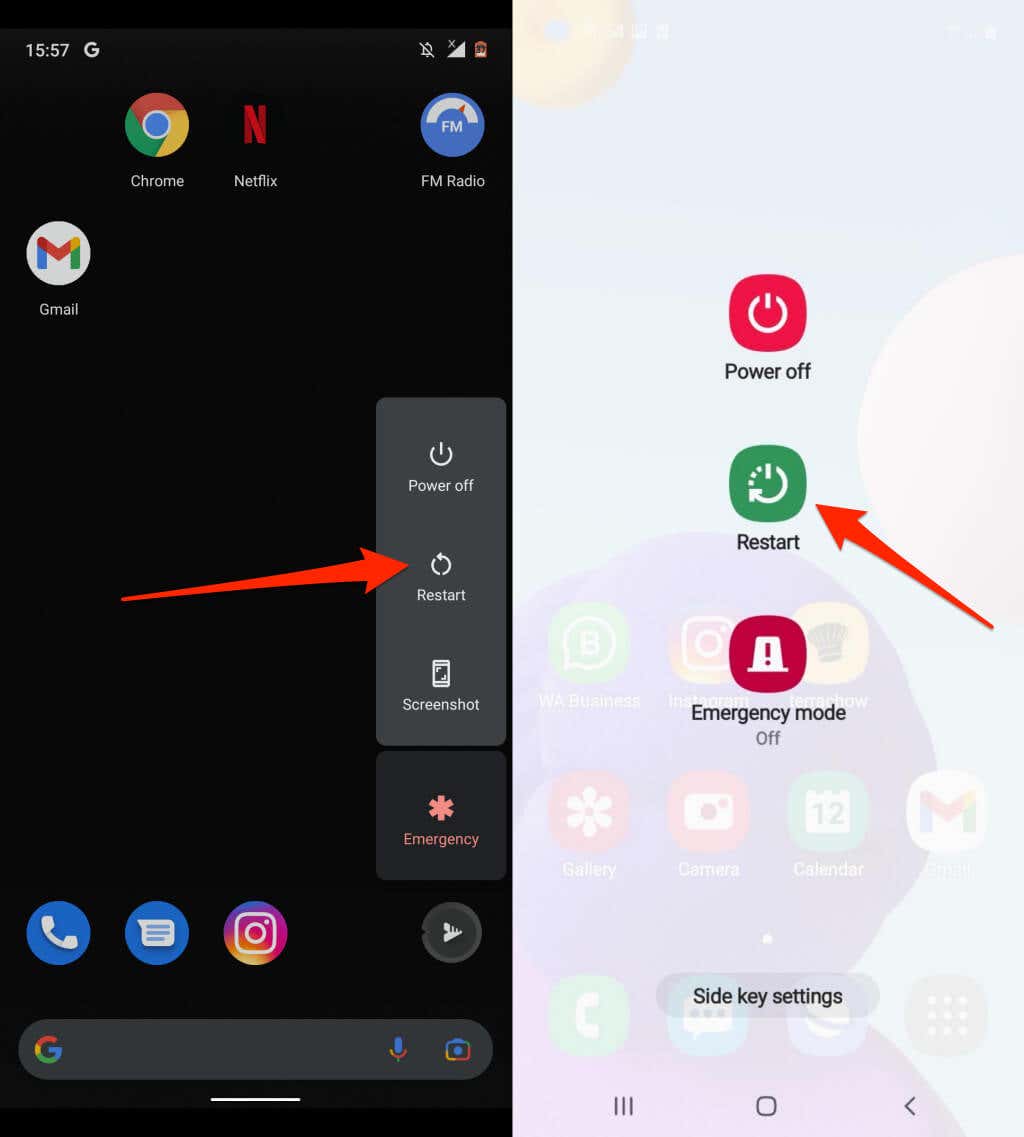
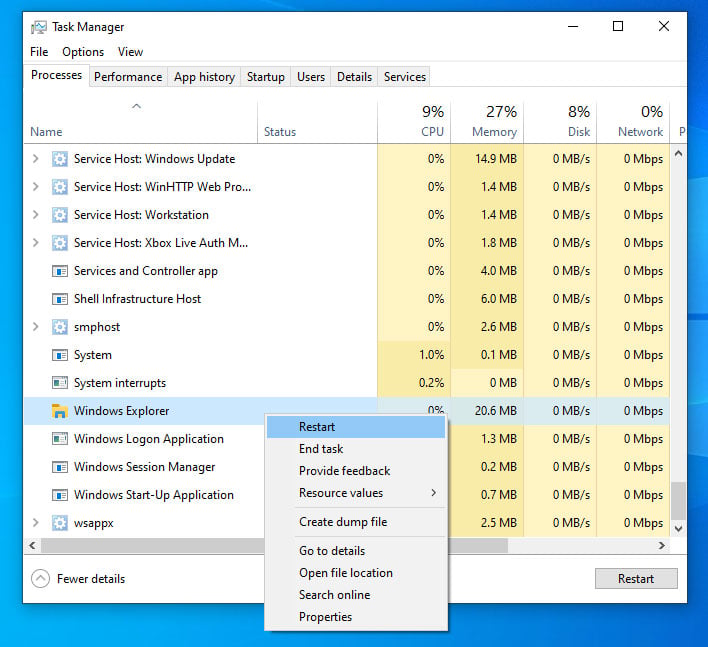
- Restart DS4Windows and your computer: Sometimes, a simple restart can resolve detection issues. Close DS4Windows, disconnect the controller, restart your computer, reconnect the controller, and relaunch DS4Windows.
- Verify controller settings: Open DS4Windows and navigate to the settings to ensure the correct controller profile is selected, and the input settings are configured properly.
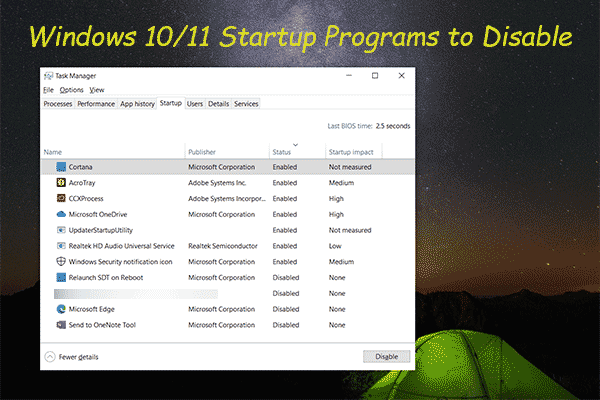
- Disable conflicting software: Temporarily disable any other software that might interfere with DS4Windows, such as Steam Big Picture Mode, Xbox controller software, or other gamepad management tools.
- Update controller drivers: Ensure that you have the latest drivers for your DS4 controller. Visit the official manufacturer’s website or use a dedicated driver management software to update the controller drivers.

- Check USB/Bluetooth drivers: Update or reinstall the USB or Bluetooth drivers on your computer to ensure proper communication between the controller and your system.
- Try a different USB port or cable: Connect the DS4 controller to a different USB port on your computer or try using a different USB cable to rule out any hardware issues.
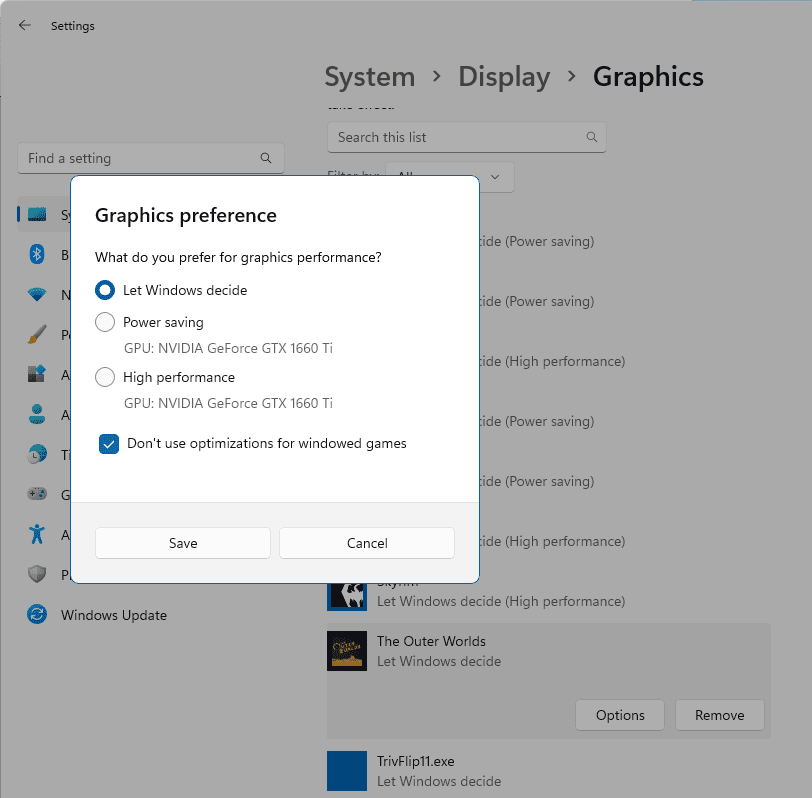
- Disable power-saving settings: Adjust your computer’s power-saving settings to prevent USB ports or Bluetooth devices from being turned off or entering sleep mode.
- Perform a clean reinstall: Uninstall DS4Windows completely, delete any leftover files or configurations, and then reinstall the latest version from a trusted source.

- Seek help from the DS4Windows community: If none of the above steps resolve the issue, reach out to the DS4Windows community forums or support channels for further assistance.
Common Connection Issues with DS4Windows and Controllers
If you’re experiencing connection issues with your DS4Windows controller, we’ve got you covered. Here are some troubleshooting tips to help you fix the controller detection error and get back to gaming.
1. Update DS4Windows: Make sure you have the latest version of DS4Windows installed. Visit jays2kings website to download the latest release.
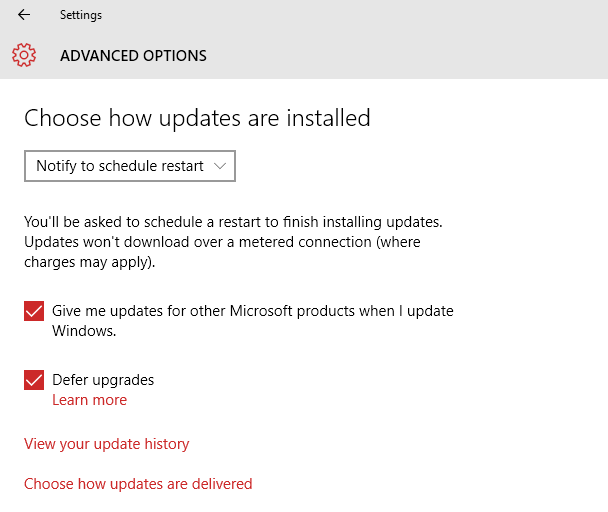
2. Check Windows Updates: Keep your PC up to date with the latest Windows updates. Sometimes, outdated system files can cause connection problems.
3. Restart your PC: A simple restart can often resolve minor connectivity issues.
4. Reinstall DS4Windows: If the problem persists, try reinstalling DS4Windows. Uninstall the current version and download the latest version from the official website.
5. Connect via USB: If you’re using a wireless controller, try connecting it to your PC via USB. This can help troubleshoot any Bluetooth-related problems.
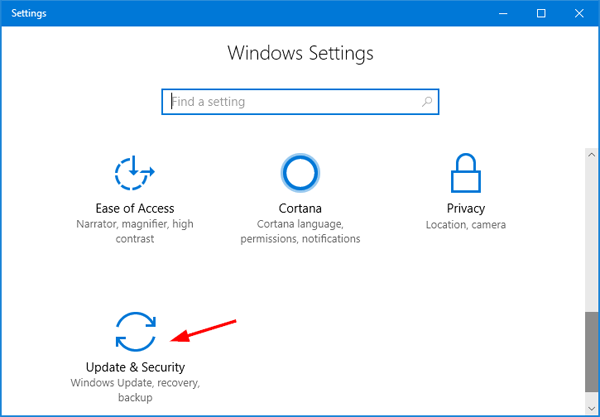
6. Check Device Manager: Open Device Manager (accessible through the Control Panel or Start menu) and ensure that the controller is recognized and listed under “Human Interface Devices” or “Xbox Peripherals.”
7. Reset Controllers: Press and hold the “Share” and “PS” button on your PS4 controller or the “Sync” button on your Xbox controller for a few seconds to reset the controller.
Remember to follow these steps carefully and ensure compatibility with your specific controller model. Happy gaming!
python

import subprocess
def check_controller_connection():
try:
# Execute a command to check if the controller is connected
result = subprocess.run(["ds4windows", "check-controller"], capture_output=True, text=True)
# Check the output for any error messages or controller not found message
output = result.stdout.strip()
if "controller not found" in output.lower():
print("Controller not found. Please check the connection.")
else:
print("Controller is connected successfully.")
except FileNotFoundError:
print("ds4windows tool not found. Make sure it is installed.")
# Call the function to check the controller connection
check_controller_connection()
Again, please note that the above code is a simplified example and assumes that the “ds4windows” tool is installed and accessible via the command line. It attempts to check if the controller is connected by running a command and parsing the output for specific messages. You may need to adapt and modify this code based on the actual requirements and context of your specific issue.
Remember to consult the official documentation or support channels for the tool you are using for more accurate guidance on troubleshooting specific problems.
How to Detect a Controller on Windows using DS4Windows
To detect a controller on Windows using DS4Windows, follow these steps:
1. Download and install DS4Windows from the official website.
2. Open DS4Windows and connect your PS4 controller to your PC using a USB cable or Bluetooth.
3. If using a USB cable, ensure that it is properly connected to both the controller and the PC.
4. If using Bluetooth, make sure it is enabled on your PC and the controller is in pairing mode.
5. Once connected, DS4Windows will detect the controller and display its status in the main window.
6. If you encounter a controller detection error, try the following troubleshooting steps:
– Ensure that you have the latest version of DS4Windows installed.
– Restart your PC and reconnect the controller.
– Check if your controller is compatible with DS4Windows.
– Update your Windows OS to the latest version.
– Disable any conflicting software or drivers.
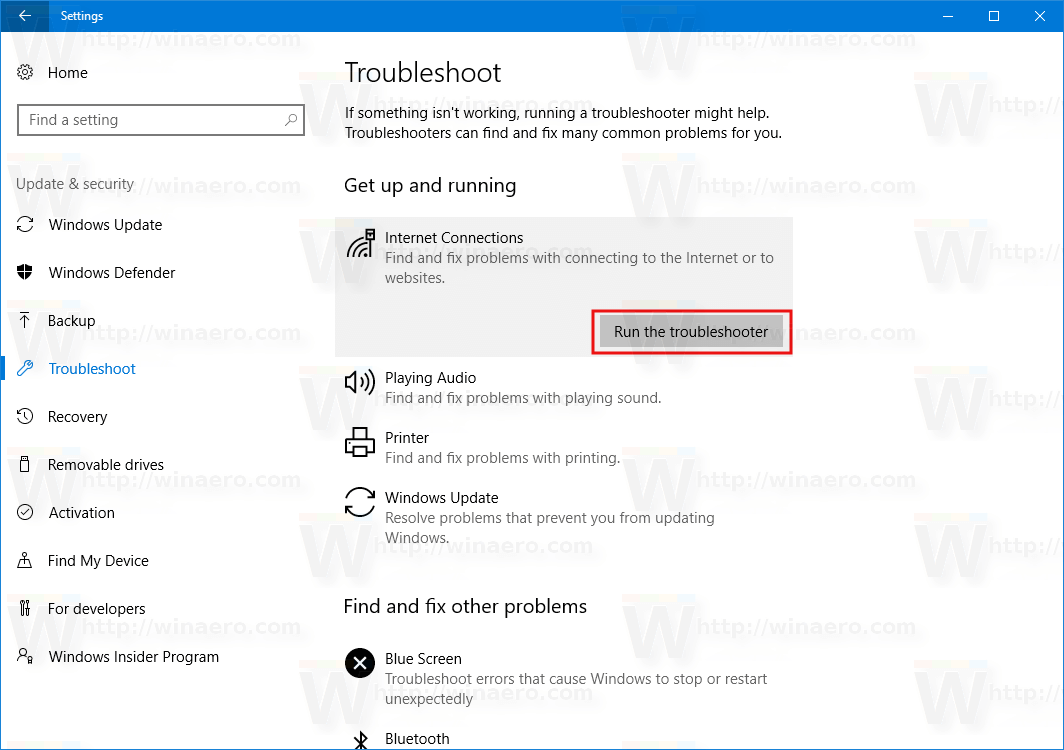
7. If the issue persists, refer to the DS4Windows troubleshooting guide for more detailed solutions.
Steps to Reconnect and Enable a DS4 Controller in DS4Windows
1. Ensure that DS4Windows is installed and up to date on your Windows 10 or Windows 11 PC.
2. If you encounter a controller detection error, follow these steps to fix it.
3. First, disconnect your DS4 controller from your PC.
4. Open DS4Windows and click on the “Controllers” tab.
5. In the “Controllers” tab, click on the “Stop” button to stop DS4Windows.
6. Reconnect your DS4 controller to your PC using a USB cable.
7. Wait for Windows to install the necessary drivers for the controller.
8. Once the drivers are installed, click on the “Start” button in DS4Windows to enable the controller.
9. If you are using a Bluetooth connection, make sure that your PC has a compatible Bluetooth adapter and follow the Bluetooth connectivity instructions in the DS4Windows installation guide.
10. Once your DS4 controller is successfully connected and enabled, you should be able to use it to play games on your PC.
Remember, these steps should help resolve most controller detection errors in DS4Windows.
Solutions for DS4Windows Not Detecting Controllers in Windows 10, 11, and 7
DS4Windows Controller Detection Error Fix
| Operating System | Solution |
|---|---|
| Windows 10 | 1. Make sure you have the latest version of DS4Windows installed. |
| 2. Restart your computer. | |
| 3. Connect the controller via USB and check if it is detected. | |
| 4. If not detected, try using a different USB port. | |
| 5. Disable any other controller software or drivers that may interfere with DS4Windows. | |
| 6. Update your USB drivers. | |
| 7. Uninstall and reinstall DS4Windows. | |
| Windows 11 | 1. Follow the same steps as for Windows 10. |
| Windows 7 | 1. Make sure you have the latest version of DS4Windows installed. |
| 2. Restart your computer. | |
| 3. Connect the controller via USB and check if it is detected. | |
| 4. If not detected, try using a different USB port. | |
| 5. Disable any other controller software or drivers that may interfere with DS4Windows. | |
| 6. Update your USB drivers. | |
| 7. Uninstall and reinstall DS4Windows. |
Resolving Bluetooth Connectivity Problems with DS4Windows Controllers
If you’re experiencing Bluetooth connectivity problems with your DS4Windows controllers, there are a few steps you can take to resolve the issue.
First, ensure that your DS4 controller is properly connected to your PC. Check that the controller is in pairing mode and that your PC’s Bluetooth is enabled.
If you’re still encountering issues, try updating your DS4Windows software to the latest version. This can often fix compatibility problems with different versions of Windows.
Additionally, you can try the following:
– Restart your PC and the controller device. This can help refresh the connection and resolve any temporary issues.
– Check for any conflicting software or devices that may be interfering with the Bluetooth connection. Temporarily disabling or uninstalling these can often help.
– If you’re using a laptop, ensure that your Bluetooth antenna is not blocked or obstructed. This can affect the signal strength and cause connectivity problems.
– Consider using a wired connection instead of Bluetooth, if possible. This can provide a more stable and reliable connection for gaming.
Remember, troubleshooting Bluetooth connectivity problems can be a bit of trial and error. Don’t hesitate to explore different methods and consult DS4Windows installation guides or forums for further assistance.