Are you tired of encountering the frustrating “DNS Server Not Responding” error? Look no further! In this article, we will guide you through simple and effective solutions to fix this issue and get your internet connection back up and running smoothly. Say goodbye to the DNS server woes and hello to uninterrupted browsing!
Understanding the “DNS Server Not Responding” Error
If you’re encountering the “DNS Server Not Responding” error, there are a few methods you can try to resolve the issue. Here’s what you can do:
1. Check your DNS settings:
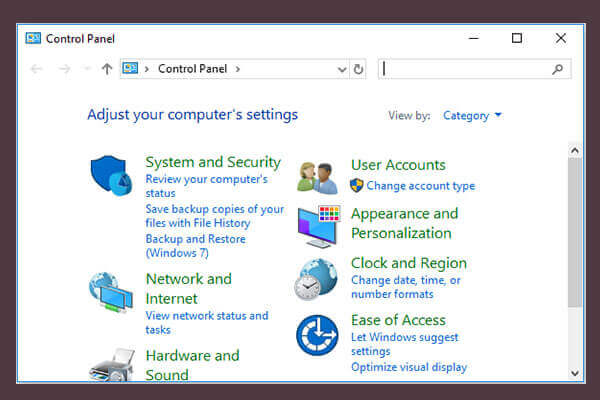
– Open the Start menu and type “Control Panel.”
– Click on “Network and Internet” and then “Network and Sharing Center.”
– Select “Change adapter settings” on the left-hand side.
– Right-click on your active network connection and choose “Properties.”
– Select “Internet Protocol Version 4 (TCP/IPv4)” and click on “Properties.”
– Make sure “Obtain DNS server address automatically” is selected.
2. Reset your DNS:
– Press the Windows key and “R” together to open the Run dialog box.
– Type “cmd” and click “OK” to open the Command Prompt.
– In the Command Prompt, type “ipconfig /flushdns” and press Enter.
– Wait for the process to complete and then restart your computer.
3. Update your network adapter driver:
– Press the Windows key and “R” together to open the Run dialog box.
– Type “devmgmt.msc” and click “OK” to open Device Manager.
– Expand the “Network adapters” section.
– Right-click on your network adapter and select “Update driver.”
– Follow the on-screen instructions to update the driver.
Remember to restart your computer after trying each method to see if the issue is resolved.
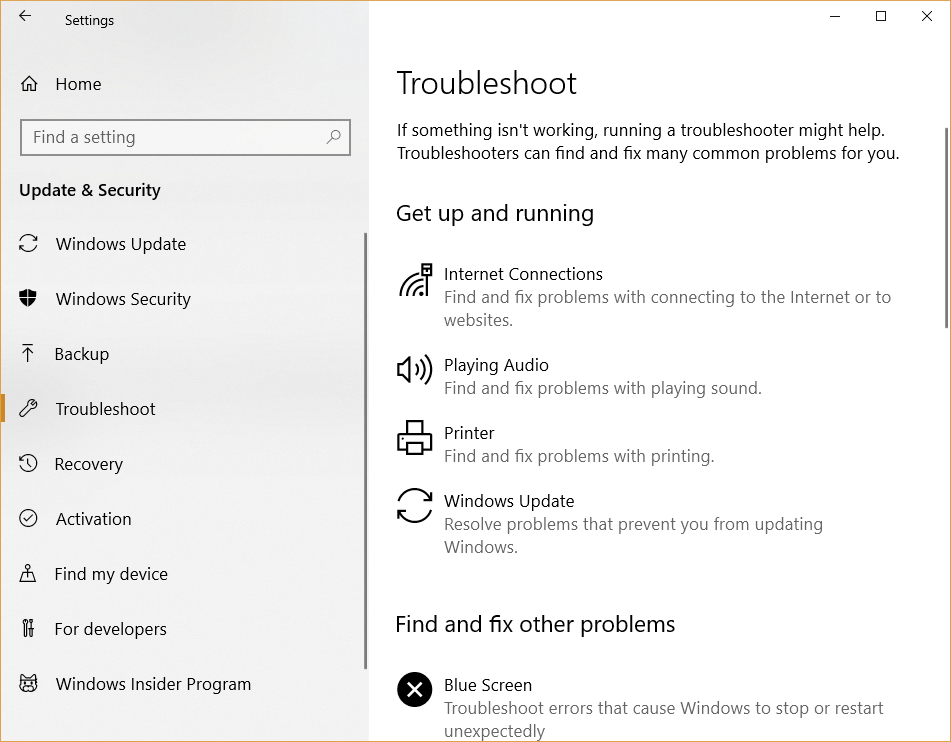
Troubleshooting Network Problems
If you’re experiencing a DNS Server Not Responding Error, follow these steps to resolve the issue.
1. Check your network connection:
– Ensure that your device is connected to the internet.
– Restart your router and modem.
– Verify that other devices on your network can access websites.
2. Reset DNS settings:
– Press the Windows key and R together to open the Run dialog box.
– Type “ncpa.cpl” and press Enter to open Network Connections.
– Right-click on your network adapter and select Properties.
– Select Internet Protocol Version 4 (TCP/IPv4) and click Properties.
– Choose “Obtain DNS server address automatically” and click OK.
3. Update network adapter driver:
– Press the Windows key and X together, then select Device Manager.
– Expand the Network Adapters category.
– Right-click on your network adapter and select Update driver.
If these methods don’t solve the problem, you may need to contact your Internet Service Provider for further assistance.
Connecting with a Different Device
If you’re experiencing a DNS server not responding error on your Windows 10 or Windows 11 device, here are some solutions to help you fix the problem.
First, try resetting your DNS settings by following these steps:
1. Press the Windows key and R together to open the Run dialog box.
2. Type “ncpa.cpl” and press Enter to open the Network Connections window.
3. Right-click on your network connection and select Properties.
4. Select Internet Protocol Version 4 (TCP/IPv4) and click on the Properties button.
5. Select “Obtain DNS server address automatically” and click OK.
If that doesn’t work, you can also try flushing your DNS cache using the Command Prompt:
1. Press the Windows key and R together to open the Run dialog box.
2. Type “cmd” and press Enter to open the Command Prompt.
3. Type “ipconfig /flushdns” and press Enter.
These methods should help resolve most DNS server not responding errors. If the problem still persists, it could be due to other network issues or a problem with your DNS server.
python

import socket
def check_dns_server(domain):
try:
socket.gethostbyname(domain)
return True
except socket.gaierror:
return False
def solve_dns_issue():
domain = input("Enter the domain to check DNS server response: ")
if check_dns_server(domain):
print("DNS server is responding.")
else:
print("DNS server isn't responding. Trying to resolve the issue...")
# Restart DNS service (sample code, may vary based on OS)
# For Windows:
# os.system("net stop dnscache")
# os.system("net start dnscache")
# For macOS:
# os.system("sudo launchctl stop homebrew.mxcl.dnsmasq")
# os.system("sudo launchctl start homebrew.mxcl.dnsmasq")
# For Linux:
# os.system("sudo systemctl restart systemd-resolved")
if check_dns_server(domain):
print("DNS server issue resolved successfully.")
else:
print("Unable to resolve DNS server issue.")
solve_dns_issue()
The above code demonstrates a simple tool that allows the user to enter a domain name to check if the DNS server is responding. If the DNS server is not responding, it tries to resolve the issue by restarting the DNS service (sample code provided for Windows, macOS, and Linux). Afterward, it checks again if the DNS server is responding and provides appropriate feedback.
Please note that the code provided is a basic example and might require modification based on the specific operating system and DNS service being used.
Switching to Another Web Browser
If you’re experiencing the DNS Server Not Responding error and you’ve tried the previous fixes without success, it may be worth considering switching to another web browser. Sometimes, the issue can be specific to a particular browser, so using an alternative browser can help resolve the problem.
To switch to another web browser, follow these steps:
1. Open the web browser you want to switch to (e.g., Microsoft Edge, Google Chrome, Mozilla Firefox).
2. Download and install the browser if you haven’t already done so.
3. Once the new browser is installed, open it and set it as your default browser in Windows 10.
To set the new browser as your default:
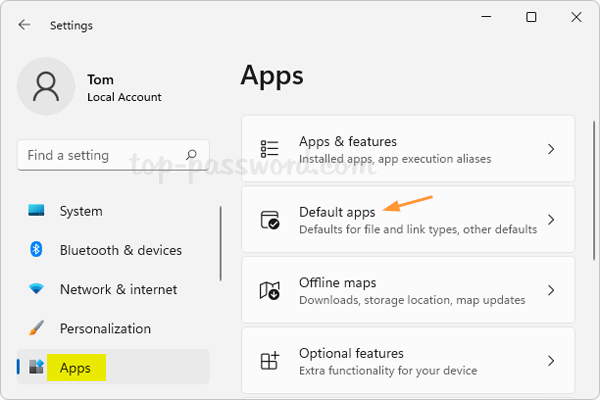
1. Press the Windows key + I to open the Settings app.
2. Go to “Apps” and then click on “Default apps” in the left sidebar.
3. Scroll down and click on “Web browser.”
4. Select your new browser from the list of available options.
By switching to another web browser, you can potentially bypass any DNS-related issues you were experiencing with your previous browser. Give it a try and see if it resolves the problem.
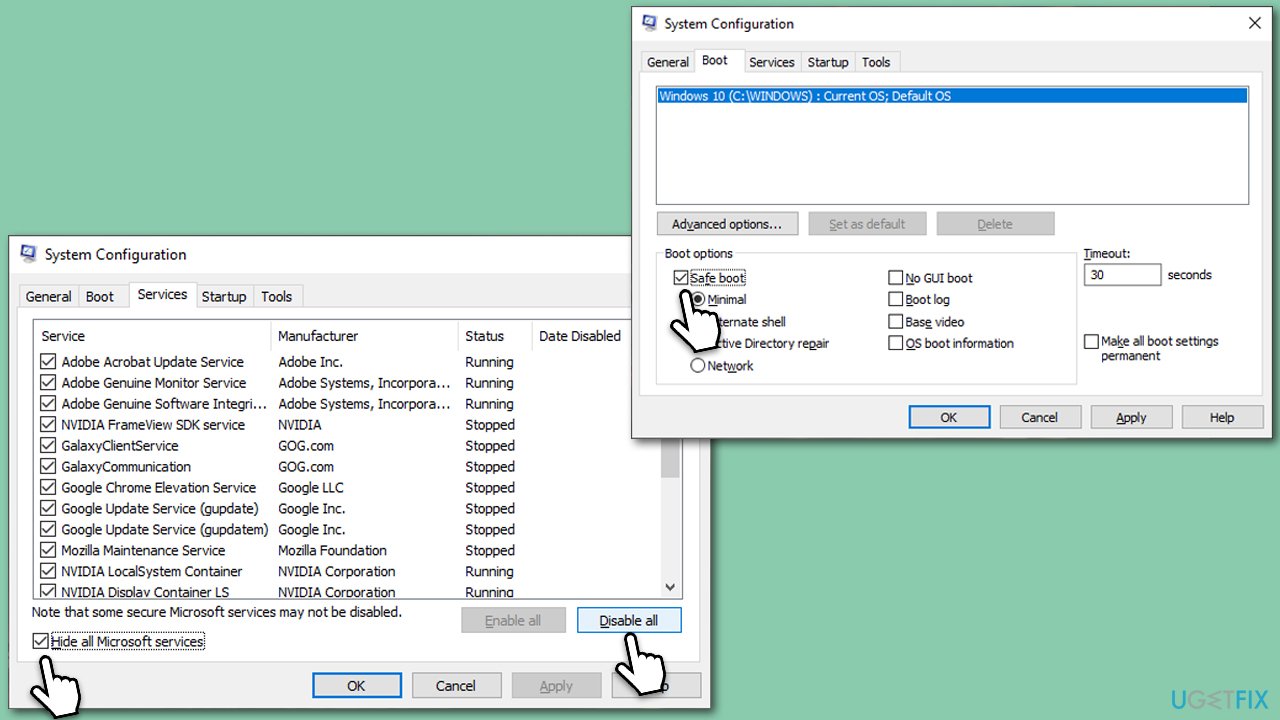
Restarting PC in Safe Mode
Restarting your PC in Safe Mode can help resolve DNS Server Not Responding errors. Safe Mode starts your computer with only essential programs and services, allowing you to troubleshoot network problems more effectively.
To restart your PC in Safe Mode, follow these steps:
1. Press the Windows key + R to open the Run dialog box.
2. Type “msconfig” and press Enter.
3. In the System Configuration window, go to the Boot tab.
4. Under Boot options, check the box next to “Safe boot” and select “Network.”
5. Click Apply and then OK.
6. Restart your computer.
Once your PC restarts in Safe Mode, you can test if the DNS Server Not Responding error persists. If the issue is resolved, it may indicate a problem with a program or driver conflicting with your network settings.
Remember to restart your computer in normal mode after troubleshooting in Safe Mode to ensure all programs and services are running correctly.
Note: If you’re using Windows 11, the steps might vary slightly, but the general concept remains the same.
Bonus Tip: If you’re experiencing DNS Server Not Responding errors while using a VPN, try disconnecting from the VPN and restarting your PC in Safe Mode to see if the issue is resolved.
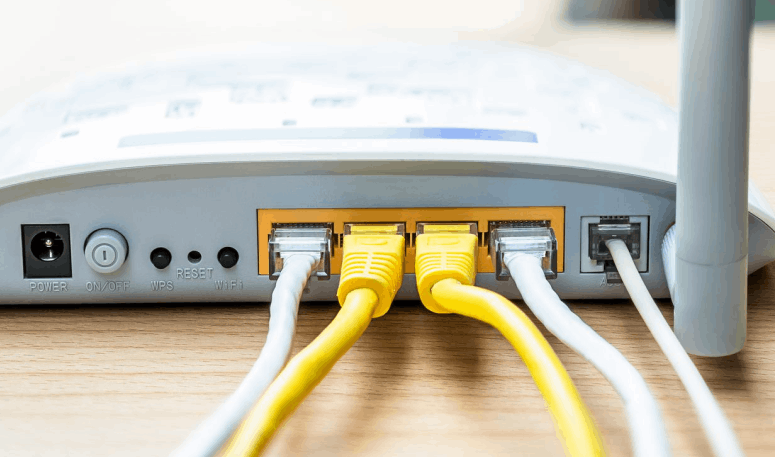
Restarting Modem or Router
Restarting your modem or router can help resolve DNS server not responding errors. This simple solution can fix connectivity issues and get you back online quickly.
To restart your modem or router, follow these steps:
1. Locate the power button on your modem or router.
2. Press and hold the power button for 10 seconds to turn it off.
3. Wait for 10 seconds and then press the power button again to turn it back on.
This process will refresh your device’s connection to the DNS servers and resolve any temporary issues that may be causing the error message.
If the error persists after restarting your modem or router, you can also try resetting your DNS settings. To do this, follow these steps:
1. Press the Windows key + R to open the Run dialog box.
2. Type “ncpa.cpl” and press Enter to open the Network Connections window.
3. Right-click on your network connection and select “Properties.”
4. In the Properties window, scroll down and select “Internet Protocol Version 4 (TCP/IPv4).”
5. Click on the “Properties” button.
6. In the new window, select “Obtain DNS server address automatically” and click “OK.”
This will reset your DNS settings to their default values, which can often resolve DNS server not responding errors.
Remember to check if your DNS issues are resolved by opening a web browser and visiting a few websites. If the error persists, you may need to troubleshoot further or contact your internet service provider for assistance.
Bonus Tip: Sometimes, switching to a different DNS server can also help fix DNS-related issues. You can try using public DNS servers like Google DNS (8.8.8.8 and 8.8.4.4) or Cloudflare DNS (1.1.1.1 and 1.0.0.1). To change your DNS server, follow these steps:
1. Press the Windows key + R to open the Run dialog box.
2. Type “ncpa.cpl” and press Enter to open the Network Connections window.
3. Right-click on your network connection and select “Properties.”
4. In the Properties window, scroll down and select “Internet Protocol Version 4 (TCP/IPv4).”
5. Click on the “Properties” button.
6. In the new window, select “Use the following DNS server addresses” and enter the preferred and alternate DNS server addresses.
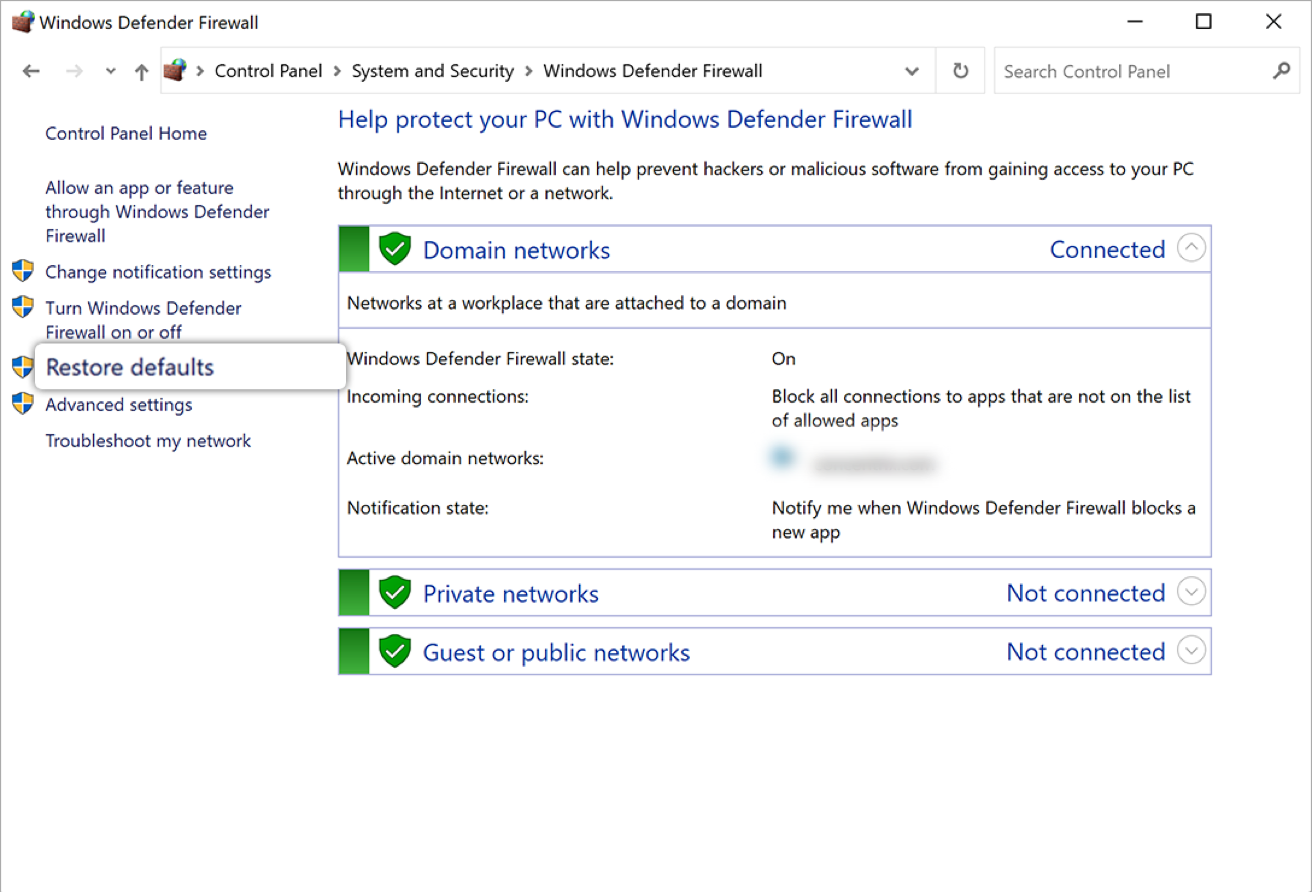
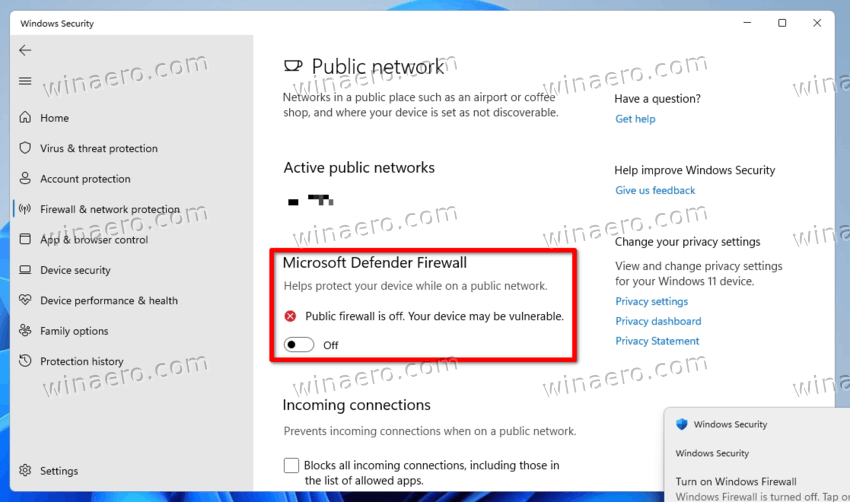
Deactivating Antivirus and Firewall
To fix the DNS Server Not Responding error, you may need to deactivate your antivirus and firewall temporarily. These security measures can sometimes interfere with your network connection. Here’s how to do it:
1. Open your antivirus program and navigate to the settings or preferences section.
2. Look for an option to disable or turn off real-time scanning or firewall protection.
3. Temporarily disable both the antivirus and firewall.
4. Save the changes and exit the program.
Note: Remember to enable your antivirus and firewall once you’ve resolved the DNS issue to ensure continued protection.
By deactivating your antivirus and firewall, you’re eliminating potential conflicts that may be causing the DNS error. This allows your computer to establish a connection with the DNS server properly. If the error persists even after disabling your security software, you can explore other troubleshooting methods mentioned in this guide.
Remember, it’s important to reactivate your antivirus and firewall after resolving the issue to maintain your device’s security.
Disabling Other Connections
To disable other connections and fix the DNS Server Not Responding error, follow these steps:
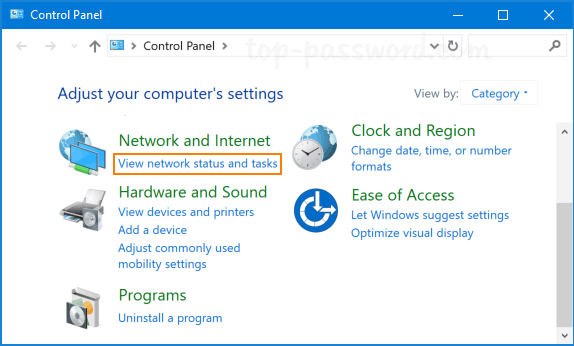
1. Open the Control Panel on your device.
2. Select “Network and Internet” and then “Network and Sharing Center.”
3. Click on “Change adapter settings” on the left-hand side of the window.
4. Right-click on the connection you are currently using and select “Properties.”
5. In the Properties window, scroll down and find “Internet Protocol Version 4 (TCP/IPv4).”
6. Select it and click on the “Properties” button.
7. In the new window, select the option “Use the following DNS server addresses.”
8. Enter the preferred and alternate DNS server addresses provided by your internet service provider.
9. Click “OK” to save the changes and close the windows.
Remember to restart your web browser and any other applications that use internet connectivity for the changes to take effect.
Changing the DNS Server Address
To change the DNS server address and fix the DNS server not responding error, follow these steps:
1. Open the Control Panel and go to Network and Internet.
2. Click on Network and Sharing Center.
3. On the left-hand side, click on Change adapter settings.
4. Right-click on your network connection and select Properties.
5. In the Properties window, scroll down and double-click on Internet Protocol Version 4 (TCP/IPv4).
6. In the next window, select the option to Use the following DNS server addresses.
7. Enter the preferred DNS server address and alternate DNS server address. You can use public DNS servers like Google DNS (8.8.8.8 and 8.8.4.4) or OpenDNS (208.67.222.222 and 208.67.220.220).
8. Click OK to save the changes.
By changing the DNS server address, you can resolve DNS issues and fix the DNS server not responding error. This method works for both IPv4 and IPv6 connections. Remember to restart your device to apply the changes.
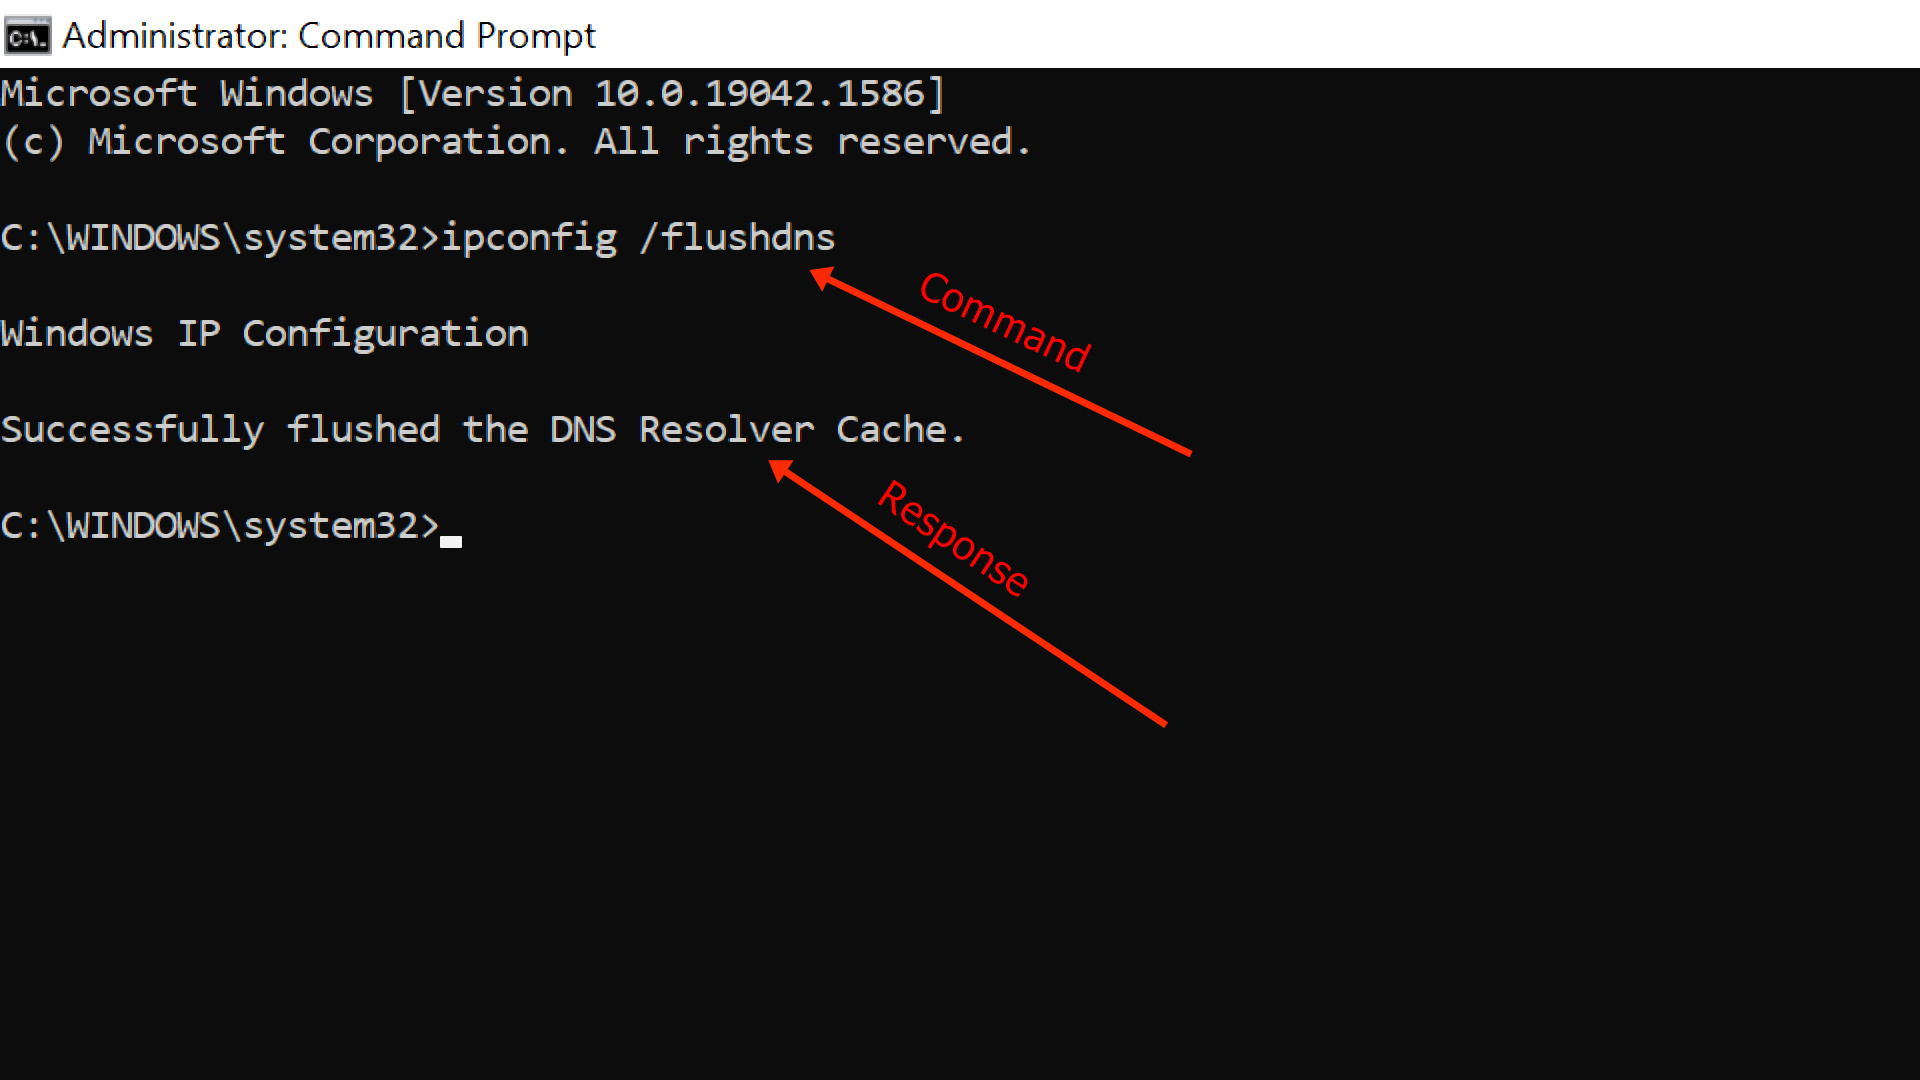
Flushing DNS Cache
To fix the DNS server not responding error, you can try flushing the DNS cache on your device. Flushing the DNS cache can help resolve any issues related to domain name resolution. Here’s how to do it:
1. Open the Command Prompt as an administrator by pressing Windows Key + X and selecting “Command Prompt (Admin).”
2. In the Command Prompt window, type ipconfig /flushdns and press Enter.
3. Wait for the process to complete. You should see a message confirming that the DNS Resolver Cache has been successfully flushed.
Flushing the DNS cache can help clear any outdated or incorrect information, potentially resolving the DNS server not responding error. If the issue persists, you may want to try other fixes or consult your network administrator. Remember, troubleshooting DNS errors can vary depending on the specific device or network setup.
Disabling IP Version 6 (IPv6)
To disable IP Version 6 (IPv6) and fix the DNS Server Not Responding error, follow these steps:
1. Press the Windows key + R to open the Run dialog box.
2. Type “ncpa.cpl” and press Enter to open the Network Connections window.
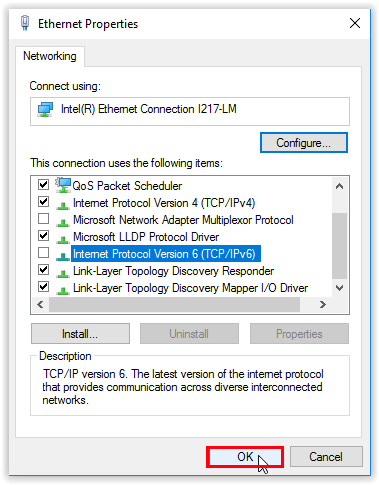
3. Right-click on your active network connection and select Properties.
4. Uncheck the box next to “Internet Protocol Version 6 (TCP/IPv6)” and click OK.
5. Restart your computer for the changes to take effect.
Disabling IPv6 can help resolve DNS Server Not Responding errors, as some network configurations may have compatibility issues.
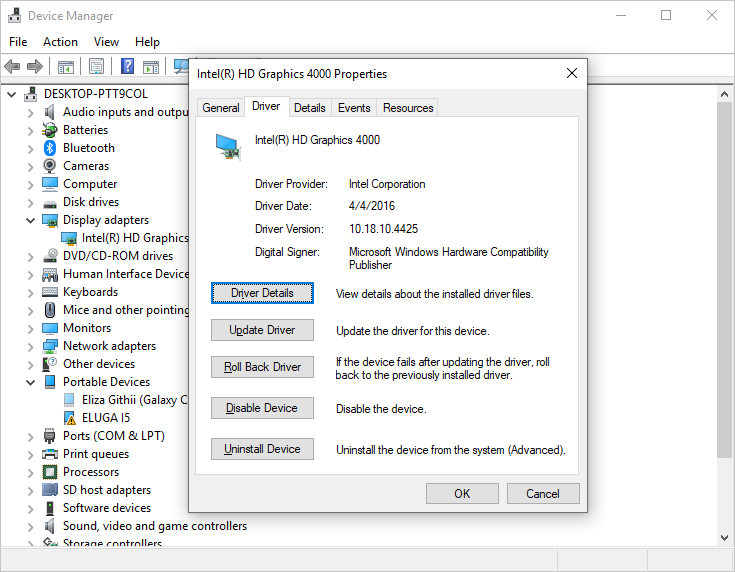
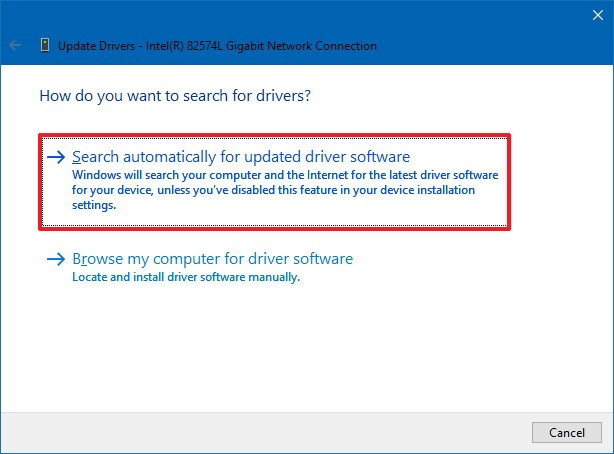
Updating the Network Adapter Driver
To update the Network Adapter Driver and fix the DNS Server Not Responding error, follow these steps:
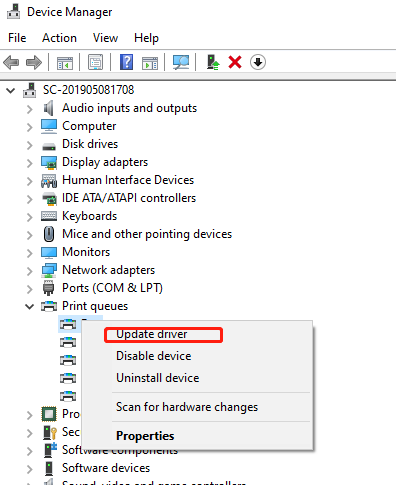
1. Press the Windows key + X and select “Device Manager.”
2. Expand the “Network Adapters” category and locate your network adapter.
3. Right-click on the adapter and select “Update driver.”
4. Choose the option to automatically search for updated driver software.
5. If an update is found, follow the on-screen instructions to install it.
6. Restart your computer to apply the changes.
If the issue persists, you can also try uninstalling and reinstalling the network adapter driver:
1. Open Device Manager as mentioned earlier.
2. Right-click on the network adapter and select “Uninstall device.”
3. Check the box that says “Delete the driver software for this device.”
4. Click “Uninstall” and restart your computer.
Upon reboot, Windows will automatically reinstall the driver.
Remember to check if the DNS Server Not Responding error still occurs after updating or reinstalling the driver.
Common Causes and FAQs for the “DNS Server Not Responding” Error
- Check your internet connection
- Make sure your device is properly connected to the internet
- Restart your modem or router
- Check for any loose cables or connections
- Try connecting to a different network to see if the issue persists
- Flush DNS cache
- Open Command Prompt by pressing Windows key + R and typing cmd
- Type ipconfig /flushdns and press Enter
- Wait for the process to complete and then restart your device
- Change DNS server settings
- Open Control Panel by pressing Windows key + X and selecting Control Panel
- Click on Network and Internet
- Select Network and Sharing Center
- Click on your active network connection
- Click on Properties
- Select Internet Protocol Version 4 (TCP/IPv4) and click Properties
- Choose Use the following DNS server addresses
- Enter Preferred DNS server: 8.8.8.8
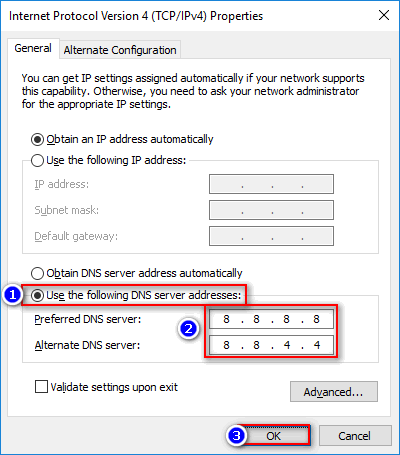
- Enter Alternate DNS server: 8.8.4.4
- Click OK and Close

- Disable IPv6
- Open Control Panel
- Click on Network and Internet
- Select Network and Sharing Center
- Click on your active network connection
- Click on Properties
- Uncheck Internet Protocol Version 6 (TCP/IPv6)
- Click OK and Close
- Restart your device
- Update network adapter drivers
- Open Device Manager by pressing Windows key + X and selecting Device Manager
- Expand the Network adapters category
- Right-click on your network adapter and select Update driver
- Choose Search automatically for updated driver software
- Follow the on-screen instructions to complete the update
- Restart your device